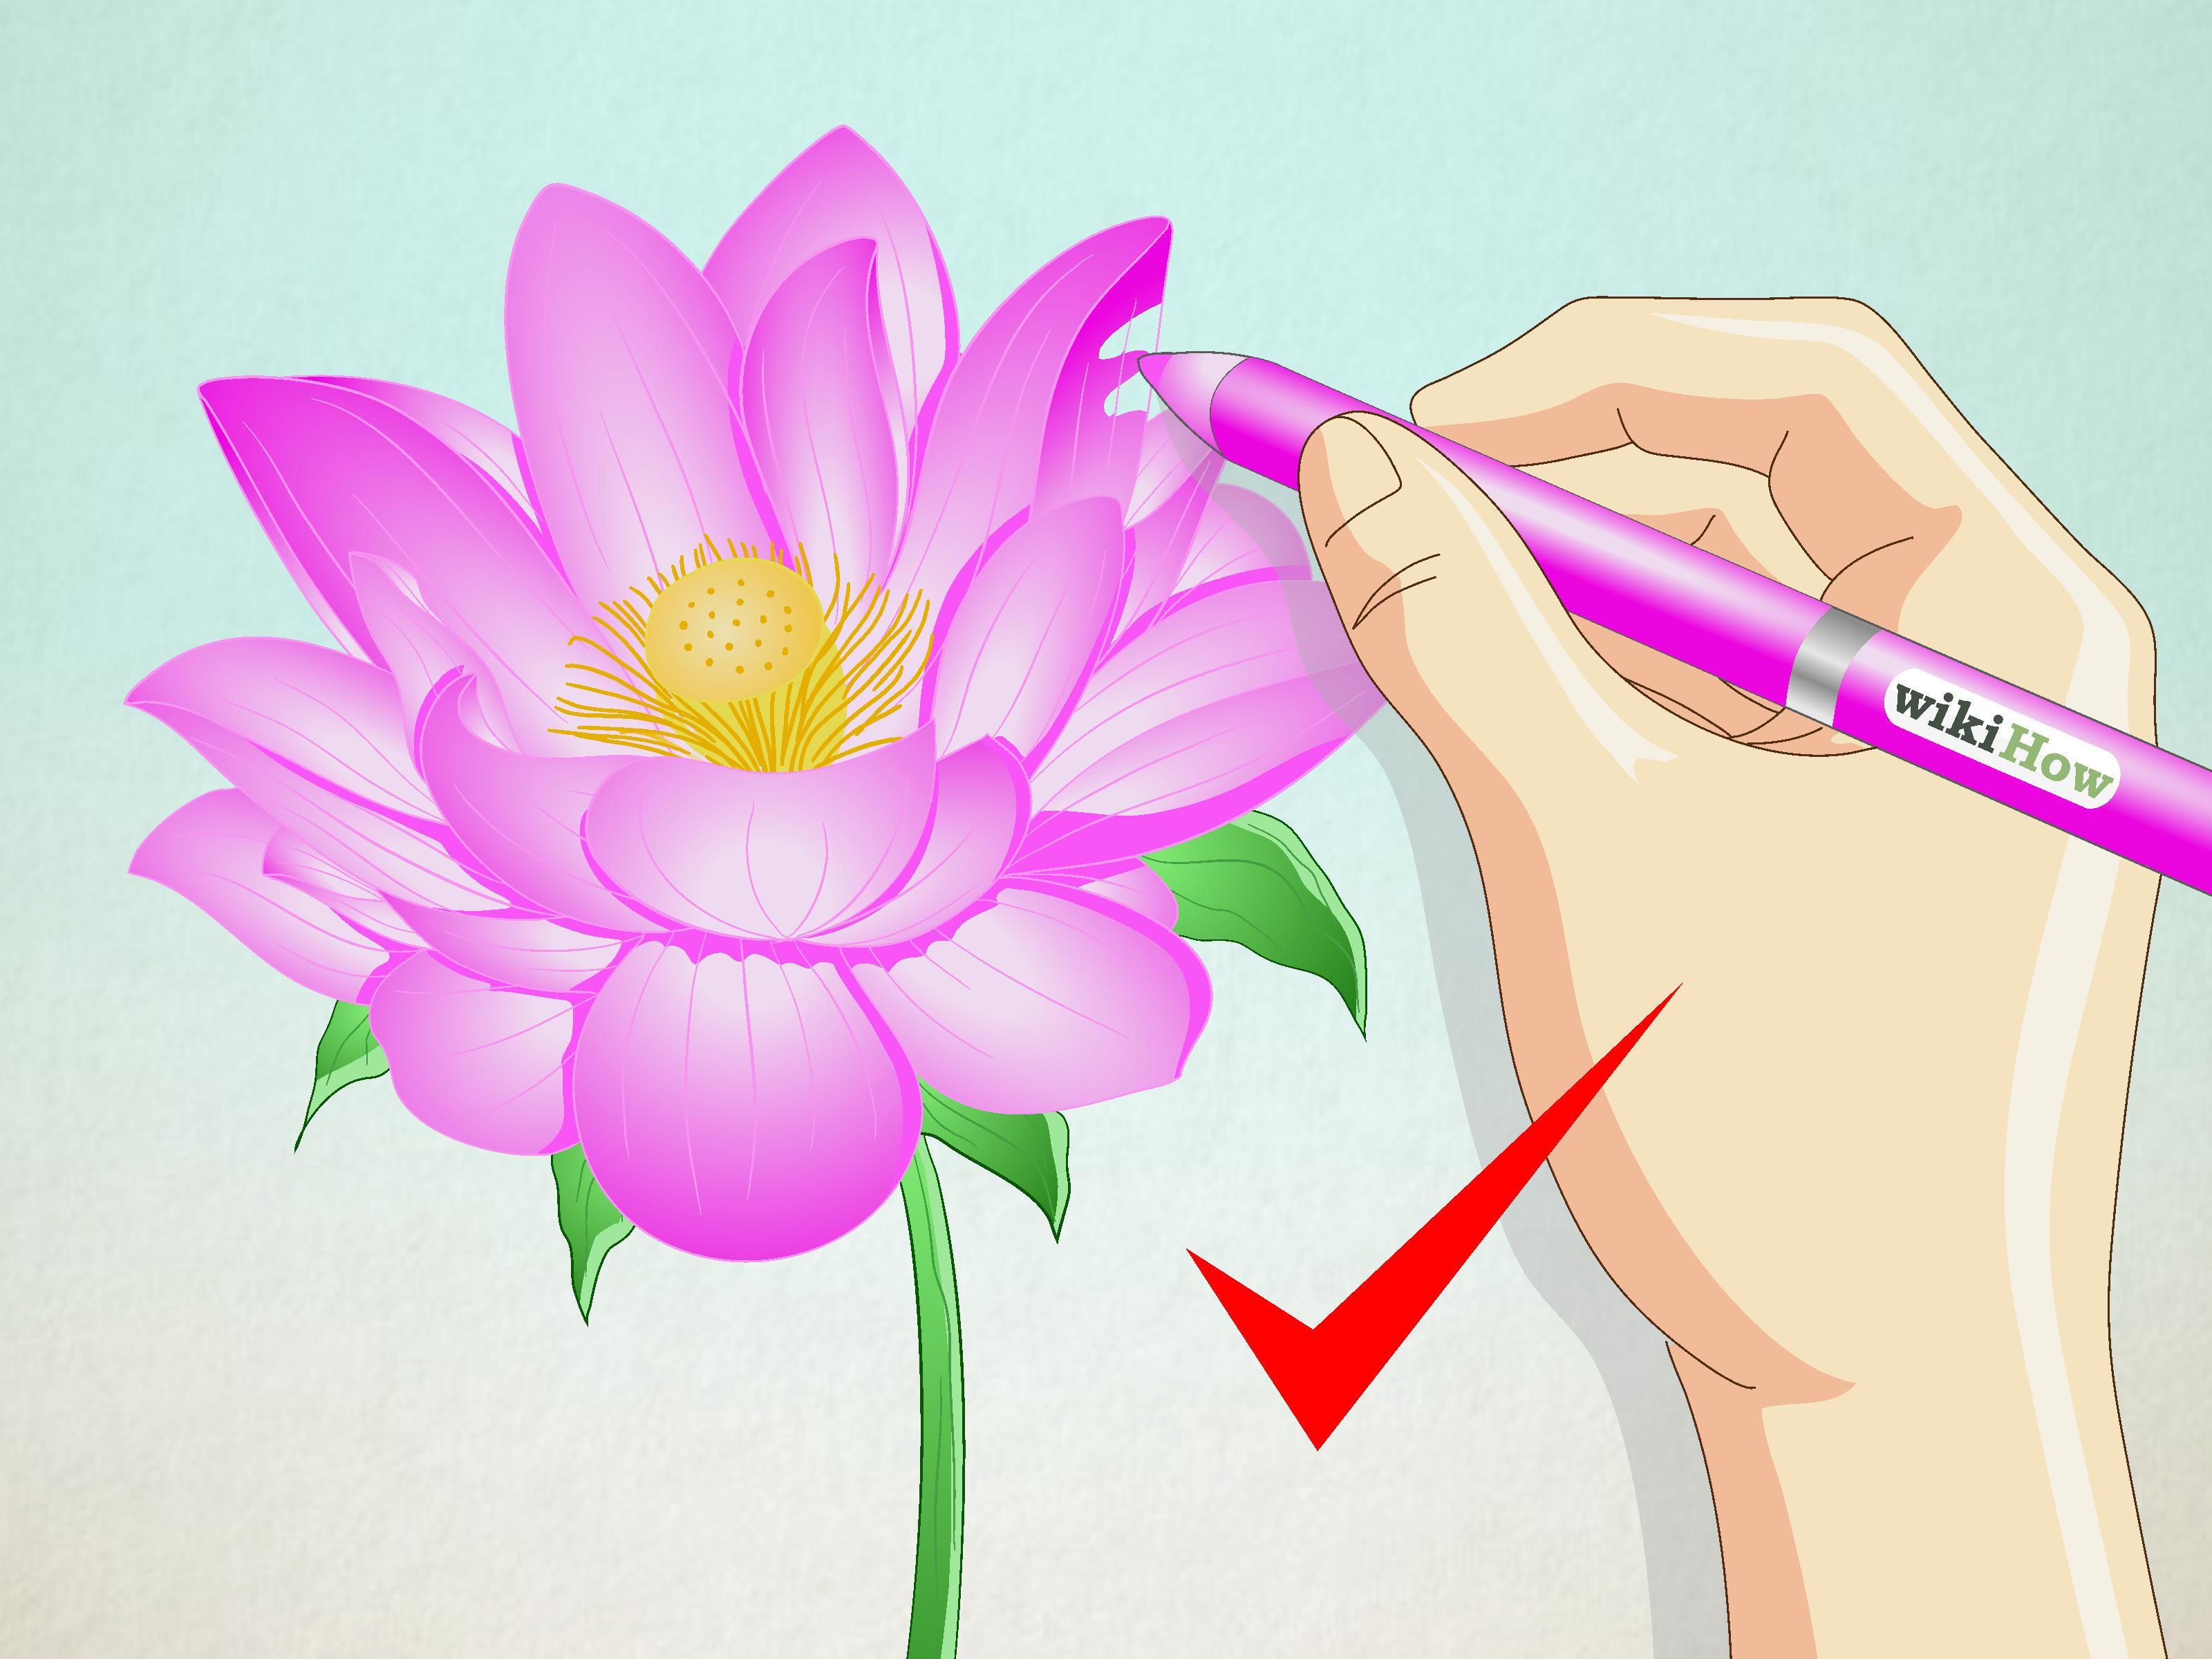
Learning how to draw a lotus flower is a little like learning how to fold a fitted sheet: it looks mysterious at first, but once you understand the structure, the whole thing becomes much less dramatic. The lotus may look delicate, peaceful, and wildly sophisticatedbasically the flower version of someone who owns linen napkinsbut it is built from simple shapes: ovals, teardrops, curved triangles, and layered petals.
This step-by-step lotus flower drawing guide is designed for beginners, casual sketchbook artists, students, and anyone who has ever drawn a flower that somehow turned into a suspicious onion. You do not need fancy tools, a degree in botanical illustration, or the ability to pronounce Nelumbo nucifera at a dinner party. You only need a pencil, paper, eraser, and a willingness to draw lightly before committing to darker lines.
In this tutorial, you will learn how to draw a lotus flower in 7 steps, from the first center petal to the final shading and optional color. We will focus on shape, proportion, layering, symmetry, and small details that make the flower look graceful instead of flat. By the end, your lotus should look calm, balanced, and ready to float on a pondor at least on the corner of your notebook during a long meeting.
Before You Start: What Makes a Lotus Flower Unique?
A lotus flower is often confused with a water lily, and honestly, the confusion is understandable. Both are aquatic flowers, both look elegant on water, and both seem like they would judge your messy desk. But visually, a lotus has its own personality. Lotus flowers often rise above the water on sturdy stems, with layered petals that form a rounded, cup-like blossom. The petals are usually oval or teardrop-shaped, with pointed or softly rounded tips.
When drawing a lotus, the most important idea is layering. The flower is not a flat starburst. It is a three-dimensional bloom with petals tucked behind other petals. The front petals are usually shorter and wider. The center petals stand more upright. The outer petals spread outward and downward. If you keep that structure in mind, your drawing will instantly feel more natural.
Basic Supplies You Need
You can draw a lotus flower with almost anything, but these supplies make the process easier:
- A graphite pencil, preferably HB or 2B
- A clean eraser or kneaded eraser
- Smooth drawing paper or sketchbook paper
- A black fineliner, optional for outlining
- Colored pencils, markers, or watercolor pencils, optional for coloring
- A ruler, optional if you want a centered guideline
If you are a beginner, start with pencil only. Ink is wonderful, but it has the emotional flexibility of a courtroom transcript. Pencil lets you adjust petals, soften lines, and rescue the drawing when one petal decides to become a banana.
How to Draw a Lotus Flower: 7 Steps
The easiest way to draw a lotus flower is to build it from the inside out. Think of the bloom as a layered fan of petals arranged around a central vertical axis. Draw lightly at first, because the early lines are only guides. Once the shape looks balanced, you can darken the final outline and add shading.
Step 1: Draw the Center Petal
Start by drawing a single vertical petal in the middle of your page. This center petal should look like a tall teardrop or almond shape. Keep the bottom slightly narrow and the top gently pointed. It does not need to be perfectly symmetrical, but it should feel upright because it will act as the anchor for the rest of the flower.
Use light pressure. The center petal is your visual compass. If it leans too far left or right, the whole lotus may look like it is caught in a polite breeze. To keep things balanced, imagine a vertical line running through the middle of the petal. You can even draw that guide very faintly and erase it later.
At this stage, avoid adding detail. Focus only on the outer shape. A good lotus flower drawing begins with clean, confident construction, not with tiny veins, shadows, or decorative extras. Those come later, when the flower has earned its accessories.
Step 2: Add Two Side Petals Around the Center
Next, draw two petals on either side of the center petal. These side petals should curve outward slightly, like they are opening away from the center. Their inner edges can overlap behind the main petal, while their outer edges flare gently to the left and right.
Try to keep the two side petals similar in size, but not identical. Real flowers are symmetrical in spirit, not in spreadsheet form. If one petal is a little wider or higher, that can make the drawing feel organic. The trick is to keep the overall lotus balanced, so neither side looks heavier than the other.
Use curved lines rather than straight lines. Lotus petals are soft and graceful, so each line should feel relaxed. If your petals look stiff, lighten your grip and draw from your wrist instead of pressing hard with your fingers.
Step 3: Sketch the Front Petals
Now draw the lower front petals. These petals sit at the base of the lotus and are usually shorter, wider, and more open than the upright center petals. Draw one petal directly below the center, shaped like a curved bowl or rounded teardrop. Then add one or two smaller petals beside it.
This is where the lotus flower starts to look layered. The front petals should overlap the lower edges of the petals behind them. Overlapping is one of the simplest ways to create depth in flower drawing. When one shape covers part of another, your eye understands which petal is closer.
Do not make all the petals the same length. A common beginner mistake is drawing a lotus like a paper snowflake, with every petal evenly spaced and identical. That can look decorative, but not very natural. Vary the petal size slightly. Let some petals peek out. Let others hide halfway behind their neighbors. Flowers are elegant, but they are not manufactured by a printer.
Step 4: Draw the Outer Petals
The outer petals give the lotus its full bloom shape. Draw larger petals extending from the left and right sides of the flower. These petals should angle outward and slightly downward. Their tips can be pointed, rounded, or gently curled depending on the style you prefer.
For a simple lotus drawing, add two broad outer petals on each side. For a more detailed botanical look, add extra petals behind them. The key is to keep the flower wider at the middle and slightly narrower at the top and bottom. A lotus often has a soft oval silhouette when viewed from the front.
As you draw, pay attention to negative spacethe small gaps between petals. These gaps help define each petal and prevent the flower from becoming one big blob with ambitions. If two petals touch too closely, adjust one line so the overlap is clearer.
Step 5: Refine the Shape and Clean the Guidelines
Once all the main petals are in place, step back and look at the whole flower. Does it feel centered? Are the petals layered clearly? Is one side much larger than the other? This is the editing stage, also known as the “be honest with the flower” stage.
Use your eraser to remove unnecessary guide lines. Then refine the final petal outlines. Make the curves smoother and adjust awkward corners. You can also slightly thicken the base of some petals to show where they tuck into the bloom.
If you plan to ink the drawing, this is the moment to decide which pencil lines are final. Trace only the cleanest lines with a fineliner. Let the ink dry completely before erasing pencil marks. This may sound obvious, but many sketchbooks have suffered from the ancient tragedy of impatient smudging.
Step 6: Add Petal Veins and Gentle Details
Lotus petals often have subtle veins running from the base toward the tip. To draw them, add one light curved line down the center of each major petal. Then add a few shorter curved lines branching from the base or sides. Keep these details soft. Petal veins should support the form, not shout, “Look at me, I am a vein!”
Follow the curve of each petal. On an upright petal, the vein may run almost vertically. On an outer petal, the vein should curve outward with the petal shape. This helps the flower feel three-dimensional.
You can also add tiny fold lines near the tips of some petals. A small crease or curved edge can make the lotus look more natural. However, avoid over-detailing every petal. Leave some areas clean so the drawing has breathing room.
Step 7: Shade or Color the Lotus Flower
Shading turns your lotus from a flat outline into a soft, dimensional flower. Choose a light source first. For example, imagine light coming from the upper left. The right side of the petals and the areas where petals overlap will be slightly darker.
Use gentle pencil shading near the base of each petal. Add darker tones where one petal sits behind another. Blend lightly with your finger, a tissue, or a blending stump if you like a smooth look. For a sketchier style, use hatching or crosshatching. Parallel lines can create a delicate texture without making the flower look heavy.
If you want to color your lotus flower, soft pink, white, pale yellow, lavender, and peach are beautiful choices. Use the lightest color first, then layer darker tones near the base and edges. Leave small highlights uncolored to suggest glossy or delicate petals. For a pond-inspired scene, add a green round lotus leaf beneath the bloom and a simple stem rising from the water.
Lotus Flower Drawing Tips for Beginners
Drawing a lotus flower is easier when you stop thinking of it as “a flower” and start seeing it as a collection of simple shapes. Each petal is basically a curved triangle, oval, or teardrop. The beauty comes from how those shapes overlap.
Use Light Construction Lines
Beginners often press too hard too early. Heavy construction lines are difficult to erase and can make the final drawing look muddy. Keep your first sketch pale and flexible. Build the lotus slowly, then darken the best lines at the end.
Think in Layers
A lotus flower has depth because petals sit in front of and behind one another. Draw the central petals first, then front petals, then outer petals. This order helps you understand which shapes overlap.
Avoid Perfect Symmetry
Symmetry is helpful, but perfection can make a flower look stiff. A slightly uneven petal or tiny curve can make your lotus feel alive. Aim for balanced, not robotic. The flower should look peaceful, not like it has been measured by an accountant.
Common Mistakes When Drawing a Lotus Flower
Even simple lotus flower drawings can go sideways if you rush the structure. Here are a few common mistakes and how to fix them.
Mistake 1: Making Every Petal the Same Size
If every petal is identical, the lotus may look flat and decorative rather than natural. Fix this by making front petals shorter, center petals taller, and outer petals wider.
Mistake 2: Forgetting Overlap
Without overlap, the flower can look like a collection of separate petals pasted onto the page. Let petals hide behind each other. Use darker shading in the tucked areas to show depth.
Mistake 3: Outlining Too Dark Too Soon
Dark outlines are hard to change. Start lightly, refine the shape, then commit. Your eraser will thank you, and so will your blood pressure.
Mistake 4: Adding Too Much Detail
Petal veins and shading are useful, but too many lines can make the lotus look busy. Use detail where it helps explain form. Leave some petals simple for contrast.
Simple Variations: Easy, Realistic, and Decorative Lotus Styles
Once you understand the basic 7 steps, you can adapt your lotus flower drawing into different styles.
Easy Lotus Flower Drawing
For a beginner-friendly version, use fewer petals and skip heavy shading. Draw one center petal, two side petals, three front petals, and two large outer petals. Add a few light veins and stop there. This style is perfect for journals, cards, classroom projects, and quick sketches.
Realistic Lotus Flower Drawing
For a more realistic lotus, study a reference photo. Notice how the petals curve, overlap, and change direction. Add more layers in the back, vary the petal edges, and use gradual shading. Keep the center of the flower slightly darker to create depth.
Decorative Lotus Drawing
For a decorative or mandala-inspired lotus, make the petals more symmetrical and stylized. Use clean outlines, repeated shapes, dots, curved lines, and patterns. This version works beautifully for coloring pages, tattoo-style art, logos, and meditation-themed designs.
How to Add a Lotus Leaf and Water
If you want to create a complete lotus scene, add a large round leaf beneath or beside the flower. Lotus leaves are often circular with a central point where the stem connects. Draw the leaf as a wide circle or oval, then add a small center mark and curved veins radiating outward.
For water, use a few horizontal wavy lines around the base of the stem. Keep the water simple so it does not compete with the flower. You can add a faint reflection by sketching a soft, broken version of the flower shape below it. Reflections should be lighter and less detailed than the main drawing.
Practice Experience: What Drawing a Lotus Flower Teaches You
The first time many people try to draw a lotus flower, they expect calm, graceful results. Then the first petal appears, slightly crooked, and suddenly the peaceful lotus has the energy of a confused artichoke. This is normal. In fact, the lotus is a fantastic practice subject because it teaches several important drawing skills at once.
One helpful experience is learning to slow down. A lotus rewards patience. If you rush straight into details, the structure can fall apart. But when you begin with a center petal, add side petals carefully, and build outward, the flower starts to make sense. It becomes less about copying a complicated object and more about organizing simple forms.
Another lesson is observation. Even if you are drawing from imagination, looking at real lotus photos can improve your work. You may notice that the petals are not all perfectly open. Some stand tall, some bend outward, and some curl at the tips. A few petals may hide behind others. These little differences make the drawing feel believable. They also remind you that nature is not obsessed with perfect symmetry. Nature likes balance, rhythm, and the occasional surprise.
Shading is another skill that improves quickly with lotus practice. Because the petals overlap, you can clearly see where shadows belong. The darkest areas are usually near the base of the petals and behind overlapping shapes. The lightest areas are often near the petal tips or the side facing the light source. This makes the lotus a gentle introduction to value, form, and depth.
Drawing a lotus also teaches confidence with curved lines. Many beginners draw short, scratchy strokes because they are afraid of making mistakes. But lotus petals look best when the lines are smooth and flowing. Practicing these curves helps your hand relax. After a few attempts, your petals will look softer and more natural. Your pencil will stop acting nervous. Everyone wins.
If you use colored pencils or watercolor, the lotus becomes a lesson in subtle color. A white lotus is rarely pure white on paper. It may include pale gray, cream, pink, or blue shadows. A pink lotus may shift from deep rose near the base to pale blush at the tips. Layering these colors lightly creates a delicate effect. The goal is not to attack the paper with color. The goal is to whisper nicely until the flower appears.
Perhaps the best experience is realizing that each attempt improves something. One drawing may have better petal shapes. Another may have smoother shading. Another may finally get the leaf right. Keep your older sketches instead of throwing them away. They become proof that your eye and hand are learning together. Also, old sketches are excellent for dramatic before-and-after comparisons, which is one of life’s harmless little joys.
For steady improvement, try drawing the lotus three times. First, draw a simple outline. Second, draw the same flower with more overlapping petals. Third, add shading or color. This repetition builds confidence without making the process feel overwhelming. By the third drawing, you will likely notice that the lotus no longer feels mysterious. It feels manageable, beautiful, and maybe even relaxing.
In the end, learning how to draw a lotus flower is not about creating a perfect botanical masterpiece on the first try. It is about understanding shape, rhythm, layering, and light. With seven clear steps and a little practice, your lotus drawing can become elegant, expressive, and uniquely yours.
Conclusion
Drawing a lotus flower may look complicated at first, but the process becomes simple when you build the bloom one layer at a time. Start with the center petal, add side petals, sketch the front and outer petals, refine the outline, include delicate veins, and finish with shading or color. The key is to draw lightly, observe the overlapping forms, and let the petals vary naturally.
Whether you want an easy lotus flower drawing for a sketchbook, a realistic botanical study, or a decorative design for a card or wall art project, these 7 steps give you a reliable foundation. Practice slowly, keep your lines graceful, and do not worry if your first lotus looks a little quirky. Every artist has drawn at least one flower with a secret vegetable identity. Keep going, and the next one will bloom better.
Note: This article is written as original educational content in clean HTML body format for web publishing.