Old satellite TV gear has a way of lingering in closets like it pays rent. One day it is bringing you live sports, movie marathons, and weather alerts. The next day it is a dusty tower of cables, remotes, brackets, and one mysterious black box nobody in the house wants to claim. If you are staring at a retired satellite setup and wondering what to do with it, the good news is this: disposing of dish equipment is not complicated when you do it in the right order.
In this guide, “dish equipment” means satellite TV hardware such as the dish itself, the receiver, DVR, remotes, LNBF or LNB, node or hub, coaxial cables, power cords, and mounting hardware. Some pieces may need to be returned to your provider. Some can be donated if they still work. Some belong at an e-waste recycler. And some, especially batteries, need special handling. The trick is not tossing everything into one heroic trash bag and hoping your conscience stays quiet.
Here is the smart, simple, and environmentally responsible way to handle it, broken into nine practical steps.
Step 1: Figure Out What Counts as Dish Equipment
Before you dispose of anything, make a quick inventory. This saves time, prevents accidental returns of the wrong parts, and keeps you from throwing away something that should be recycled separately.
Typical satellite TV equipment includes the outdoor dish, mounting arm, pole or wall bracket, LNBF or LNB attached to the dish arm, indoor receiver, DVR, node or hub, remote controls, coaxial cables, HDMI cables, power adapters, and sometimes splitters or accessories. A DVR or receiver may look like a harmless little box, but it still counts as electronics. In other words, it is not just “metal stuff from the roof.” It is a mixed-material bundle of metal, plastic, wiring, and sometimes data storage.
Take photos of the full setup if you are unsure what belongs together. Labeling items into small groups like “provider return,” “battery items,” “metal hardware,” and “electronics recycling” makes the rest of the process a lot easier. Think of it as spring cleaning, but with fewer sweaters and more coax cable trying to start a fight.
Step 2: Check Whether the Gear Is Leased, Borrowed, or Actually Yours
This is the step people skip right before discovering an unpleasant charge on their account. If any part of your setup is leased from a provider, do not recycle it first. Check your account, old service paperwork, or provider support instructions to see what must be returned. For DISH customers in particular, leased receivers and related components may need to go back within the provider’s return window after service ends.
If the provider sent you a return box and prepaid label, use them. Follow the packing directions carefully, especially for receivers, LNBF parts, or other listed components. Keep a copy of the tracking number and take a quick photo of the packed box before you drop it off. That tiny act can save you from the classic customer-service sentence nobody enjoys: “We have no record of receiving your equipment.”
If the provider clearly states you can keep or dispose of certain items, such as older cables, remotes, or the dish itself, then those can move into the donation, recycling, or scrap stream.
Step 3: Save What You Need and Wipe What You Can
Some dish equipment is dumber than a brick. Some is smarter than it looks. A receiver or DVR may contain recordings, saved settings, paired accessories, or account-related information. Before disposal, disconnect the device properly, remove any memory cards if present, and perform a factory reset if the device offers one.
If you used external storage or connected the unit to other devices, double-check that you are not leaving personal information behind. It is a good habit to back up anything worth saving before wiping a device, then erase it as completely as the manufacturer allows. No, your old box probably does not contain state secrets. But it may still hold enough information to make you regret being casual.
This step matters even more if you are donating or selling a working receiver, streaming accessory, or related electronic gear. Passing along a clean device is good manners, good security, and one less weird surprise for the next owner.
Step 4: Remove Batteries and Sort the Small Stuff
Remote controls, wireless accessories, and backup components often hide batteries. Remove them before you do anything else. Rechargeable batteries and lithium-ion batteries should never be casually tossed into household trash or curbside recycling. They need to go through the right battery drop-off or household hazardous waste route.
Button batteries, rechargeable packs, and battery-powered accessories deserve their own small container while you sort the rest. Keep the battery terminals protected if needed, especially with lithium batteries, because damaged batteries can spark, heat up, or create fire hazards. Translation: your junk drawer does not need more drama.
Once the batteries are out, sort the rest into categories. Put cables and cords in one pile, plastic remotes in another, metal brackets and bolts in another, and electronic boxes like DVRs or receivers in their own group. This makes it easier to match each item with the correct disposal option.
Step 5: Reuse First If the Equipment Still Works
The greenest disposal method is not disposal at all. If your owned equipment still works and is compatible with someone else’s setup, donation or reuse may be the better move. Some local reuse groups, electronics reuse charities, or community organizations accept functional electronics, especially when they come with all the necessary cords and accessories.
Be realistic, though. A battered remote with no battery cover and a receiver from the digital stone age is probably not a hot donation item. But a working accessory, unused coax cable, wall mount hardware, or compatible receiver may still have value. If you are donating, include the power cord, label the model number clearly, and say whether the device has been reset.
If the equipment is outdated, damaged, or no longer supported, skip the fantasy that someone somewhere is waiting for your mystery box of obsolete tech. Send it to proper recycling instead.
Step 6: Take the Hardware Down Safely
If the dish is mounted on a low wall, deck, or easy-to-reach pole, removal may be straightforward. If it is mounted high on a roof, near power lines, above a steep pitch, or secured with aging hardware, do not turn disposal day into an action movie. Use a professional installer, handyperson, or removal service.
Safety matters here because old satellite dishes are awkward more than they are heavy. The reflector catches wind, the bolts may be rusted, and the mount can leave holes that need to be sealed correctly afterward. If you remove it yourself from a safe location, disconnect cables first, support the dish while loosening hardware, and keep all screws and anchors in a bucket so they do not vanish into the grass forever.
After removal, inspect the mounting area. Patch holes and reseal the surface if needed. Disposing of the dish is only half the job. Preventing a surprise leak the next time it rains is the other half, and that half tends to matter a lot when your ceiling gets involved.
Step 7: Separate Scrap Metal from True E-Waste
Not every part of the system belongs in the same stream. The outdoor dish reflector and mounting brackets are often mostly metal. The receiver, DVR, node, powered accessories, and anything with circuit boards belong with electronics recycling. Remotes may count as electronics too, especially if they contain batteries or electronic components.
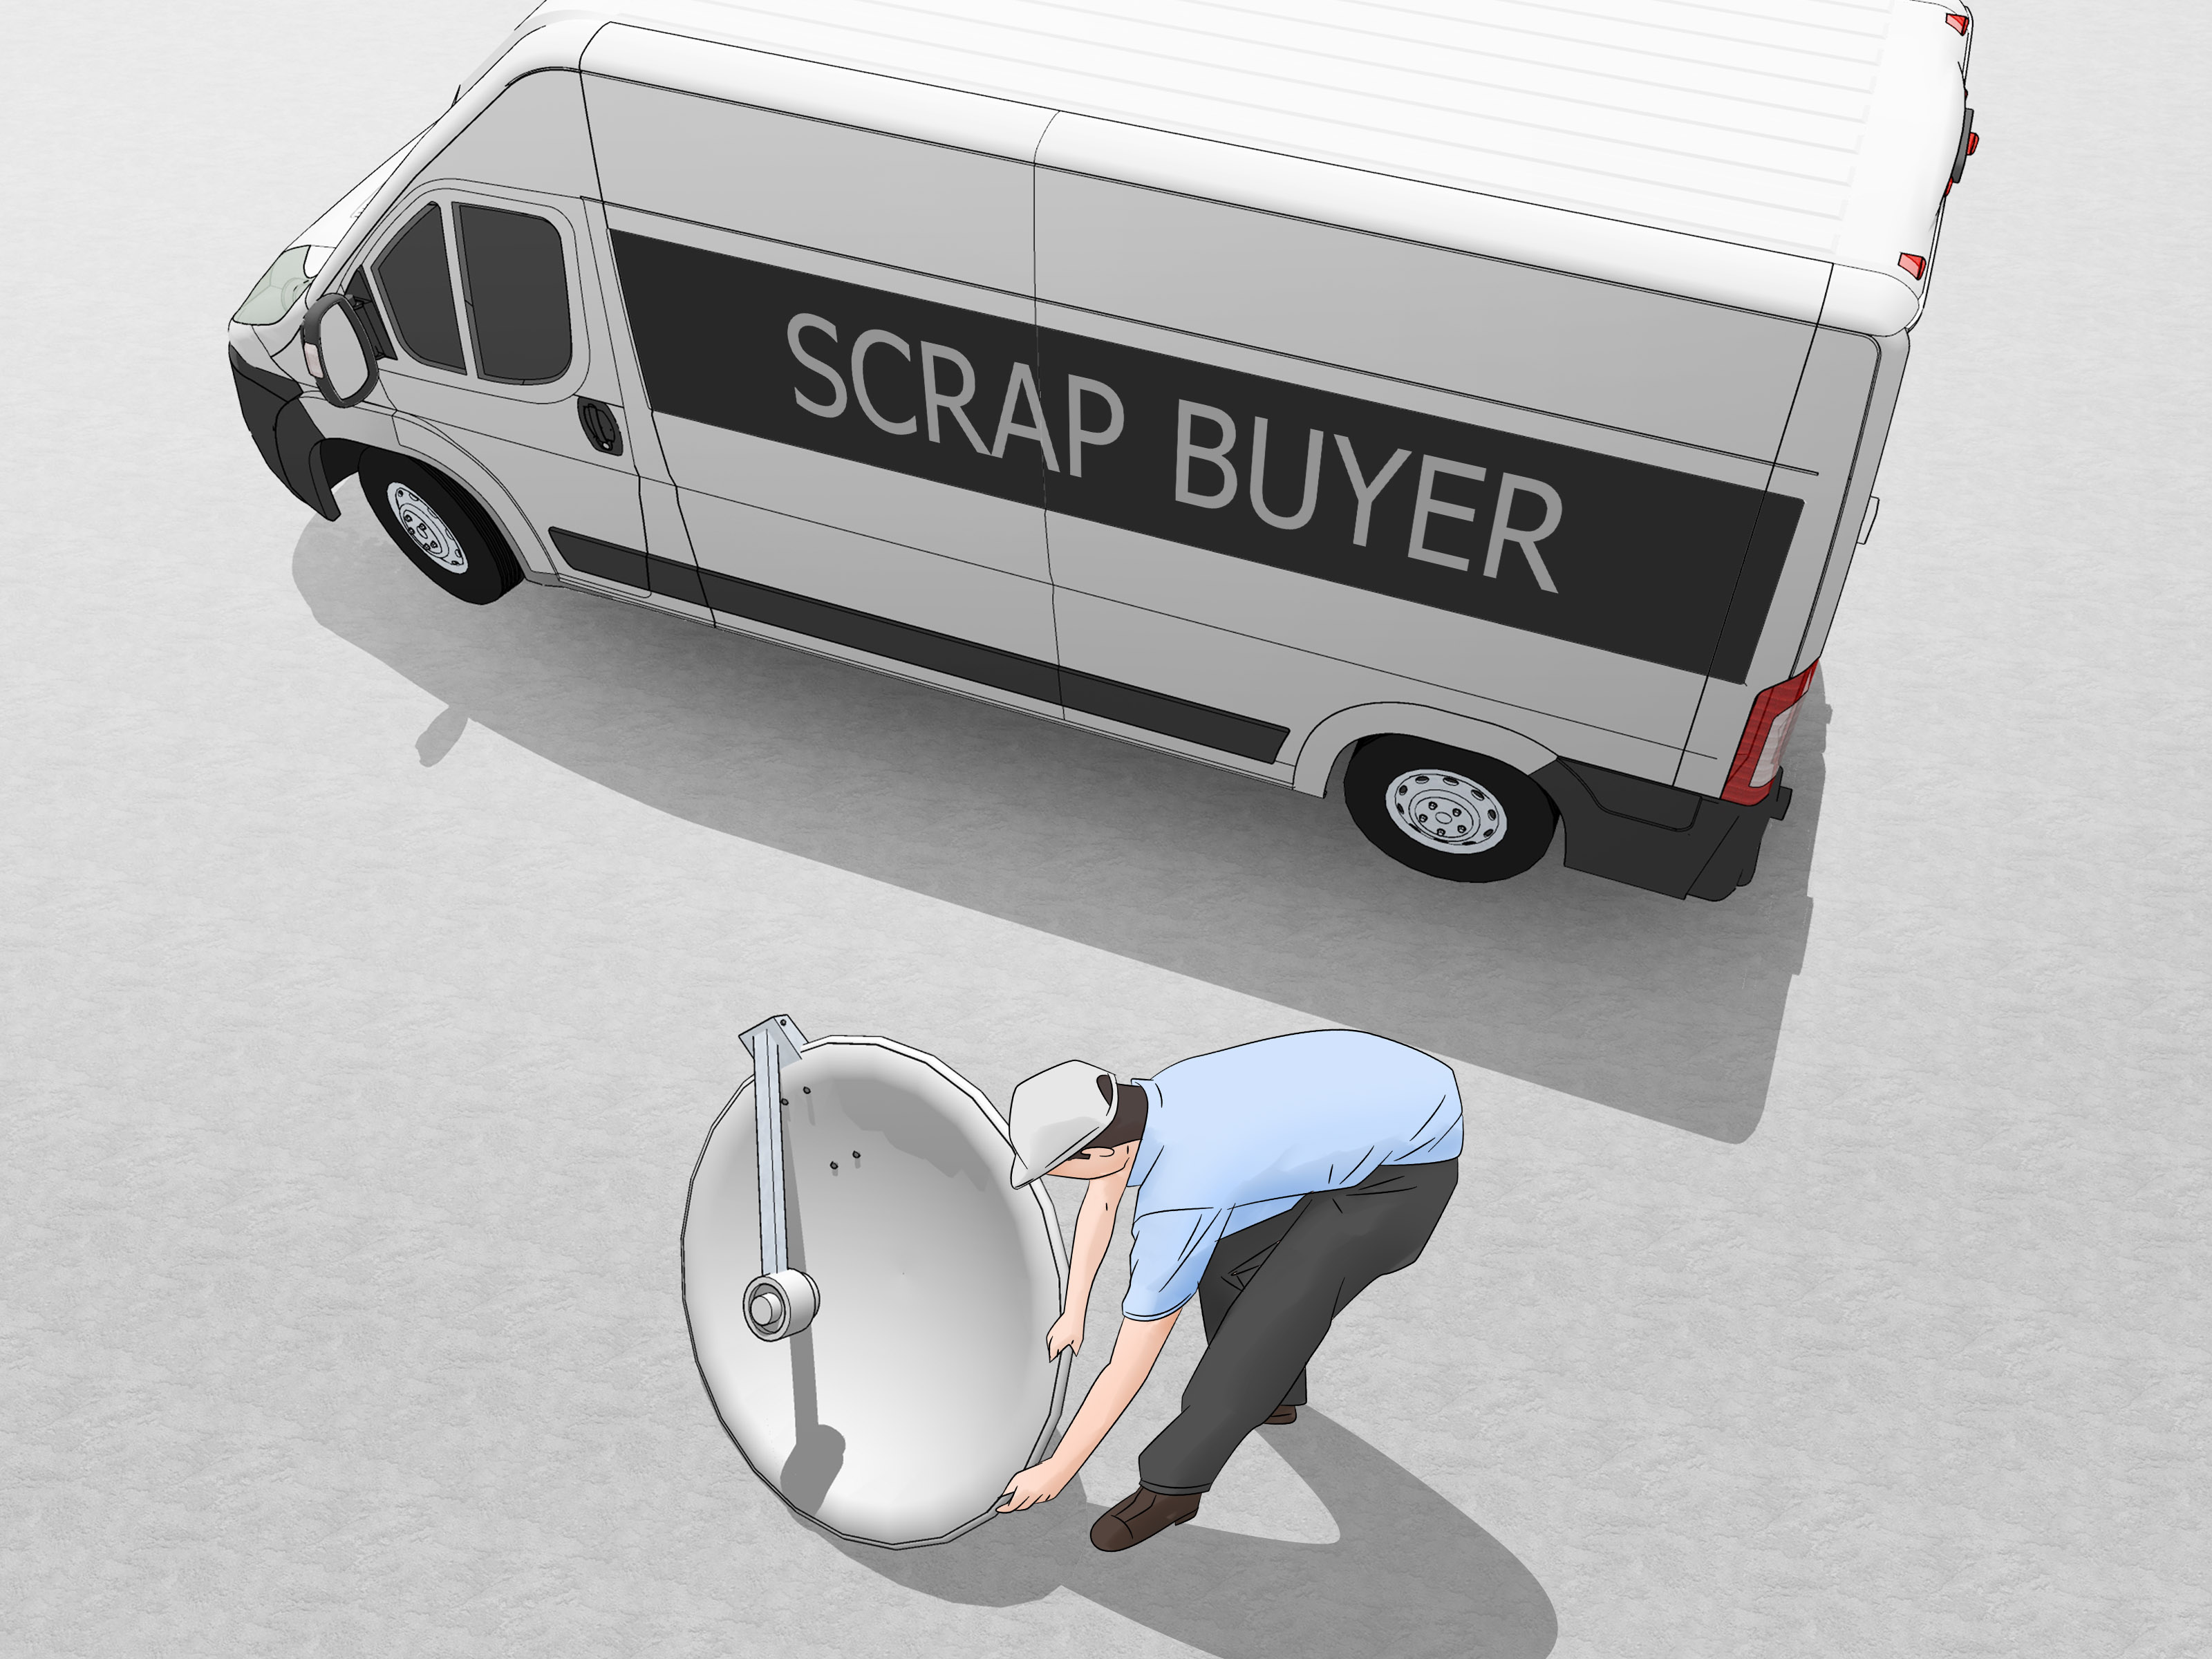
If your local scrap yard accepts clean metal hardware, the dish and mount may be recyclable as scrap once non-metal attachments are removed. Call first. Some places accept mixed metal easily, while others want electronics and metal separated. Coaxial cable may be accepted by some scrap or recycling programs, but policies vary, so it is worth checking ahead.
The key idea is simple: metal hardware is not the same thing as e-waste, and e-waste is not the same thing as ordinary trash. Mixing them is messy, less recyclable, and sometimes illegal depending on where you live.
Step 8: Choose the Right Drop-Off Route
Once everything is sorted, pick the best destination for each category. There is no single national answer because local rules differ, retailer programs differ, and accepted-item lists change. But most people can choose from three reliable routes.
Retail Recycling Programs
Large retailers and electronics stores may accept certain old electronics for recycling. This can be handy for receivers, remotes, cords, and small accessories. Some stores also accept rechargeable batteries. Always check current item limits, fees, and category restrictions before loading the car. Nothing ruins a Saturday like arriving heroically with a trunk full of gear and learning the store only takes three items per household per day.
Municipal or County E-Waste Programs
City, county, and state e-waste sites are often the most dependable option for dish equipment that does not belong back with the provider. Many jurisdictions provide drop-off sites, collection events, or searchable databases of registered electronics recyclers. These programs are especially useful when your items include cable or satellite boxes, DVR players, batteries, or mixed electronics that curbside service will not take.
Check your local sanitation, solid waste, or environmental agency website before you go. Some programs are free for residents. Others charge fees for items outside covered categories. A quick call ahead can save time, gas, and grumpy sighing in a parking lot.
Certified Electronics Recyclers
If you want the most responsible route, use a certified e-waste recycler. In the United States, R2 and e-Stewards are widely recognized certification standards for electronics recycling. These recyclers are a strong choice for equipment with storage, mixed materials, or anything you want handled with documented care. Certified recyclers are especially helpful when you care about data security, downstream handling, and responsible material recovery.
For households, this may sound fancy, but it is actually practical. Many certified recyclers have public drop-off programs or partner with community collection events. You do not need a corporate badge and a clipboard to use one.
Step 9: Finish the Job Like a Pro
Once the equipment is dropped off, returned, donated, or recycled, do a final cleanup. Save your provider return receipt, donation receipt, or recycling confirmation if available. Remove any leftover cable clips from walls, sweep up loose anchors or screws, and store any reusable tools you borrowed from your future self.
Update your account records too. If you returned leased equipment, confirm that the provider marked it received. If you donated gear, note the organization and date. If you recycled batteries separately, make sure none are still rattling around in a kitchen drawer planning a tiny revolution.
The goal is not just to get rid of old dish equipment. The goal is to finish with no surprise fees, no safety hazards, no identity headaches, and no guilty pile of electronics quietly aging in the garage.
Mistakes to Avoid When Disposing of Dish Equipment
One of the biggest mistakes is assuming every part can go straight into the trash. That is not true for electronic boxes, many batteries, or certain covered devices in places with e-waste rules. Another common mistake is forgetting that leased provider gear must often be returned, not recycled. People also underestimate data issues on DVRs and receiver-style devices, even though those boxes may store more than they think.
Then there is the classic “I’ll deal with it later” approach, which is how one dish, two remotes, five cables, and a suspicious bag of screws become a permanent sculpture in the basement. Disposal works best when you sort immediately, label clearly, and move the items out in one planned trip.
Real-World Experiences and Lessons Learned
People usually do not think much about dish equipment until moving day, renovation day, or the moment they decide streaming has finally won. That is when the old setup suddenly becomes visible, like an ex who somehow still has a key. And the stories that come out of dish-equipment disposal are surprisingly consistent.
One common experience comes from renters who assume the outdoor dish is the landlord’s problem, while the landlord assumes the tenant will remove it. That misunderstanding tends to last right up until the final walkthrough. The smart lesson here is to ask early. If the dish was installed for your service, do not assume someone else will handle it. A simple email can prevent last-minute scrambling with a screwdriver and a moving truck already idling outside.
Another frequent story comes from homeowners who cancel service and carefully return the receiver, but forget about the LNBF, accessory box, or other listed components. Weeks later, they are on the phone sorting out what should have gone back. The lesson is simple: read the return instructions like they matter, because they do. Providers often care less about your emotional farewell to cable television and more about whether all the leased parts came home.
There are also people who proudly remove the dish from the house, toss it into the garage, and declare victory. Months later, the dish is still there, now joined by holiday decorations and exactly seventeen lengths of unidentified cable. That is not disposal. That is relocation with better lighting. The real win comes from finishing the full process: sorting, recycling, returning, and documenting.
Battery mistakes show up a lot too. Someone finds old remotes, leaves the batteries inside, and throws everything into a mixed electronics bin. Or they discover a swollen rechargeable battery and realize, very suddenly, that “I’ll just deal with this later” was not a great strategy. People who have gone through it once usually become passionate evangelists for battery separation. They are not being dramatic. They are just people who have looked into the eyes of a spicy battery and decided never again.
On the positive side, many people are surprised by how easy the process becomes once the items are sorted. A provider return for the leased box, a battery drop-off for the remotes, a municipal e-waste site for the DVR, and a scrap or recycling option for the metal hardware can turn what felt like a giant project into a one-afternoon errand run. The emotional difference is huge. What began as a messy pile becomes a checklist with receipts.
There is also a practical satisfaction in doing this well. The room looks cleaner. The roofline looks cleaner. The garage regains a square foot of dignity. More importantly, you avoid the nagging feeling that you handled electronics carelessly. People who dispose of dish equipment properly often say the best part is not just the extra space. It is the sense that the job is actually finished, with no loose ends, no mystery fees, and no awkward box of outdated tech haunting the corner forever.
In short, the lived experience around dish disposal teaches one big lesson: the hard part is not the equipment. The hard part is procrastination. Once you start, sort carefully, and send each item where it belongs, the whole thing gets much less intimidating.
Conclusion
Knowing how to dispose of dish equipment comes down to doing things in the right sequence. Identify what you have, return leased items first, wipe data from any smart boxes, remove batteries, separate metal from electronics, and use a reputable recycling or municipal drop-off route. If the gear still works, reuse or donation may beat disposal entirely. If the dish is mounted in a risky spot, let a professional handle removal.
That may sound like a lot, but it is really just organized common sense. A little sorting now prevents fees, protects your data, keeps hazardous components out of the wrong bins, and gives your old satellite setup a cleaner ending than “abandoned behind the lawn chairs.” And honestly, that is a pretty decent final chapter for a piece of technology that once ruled your roof.