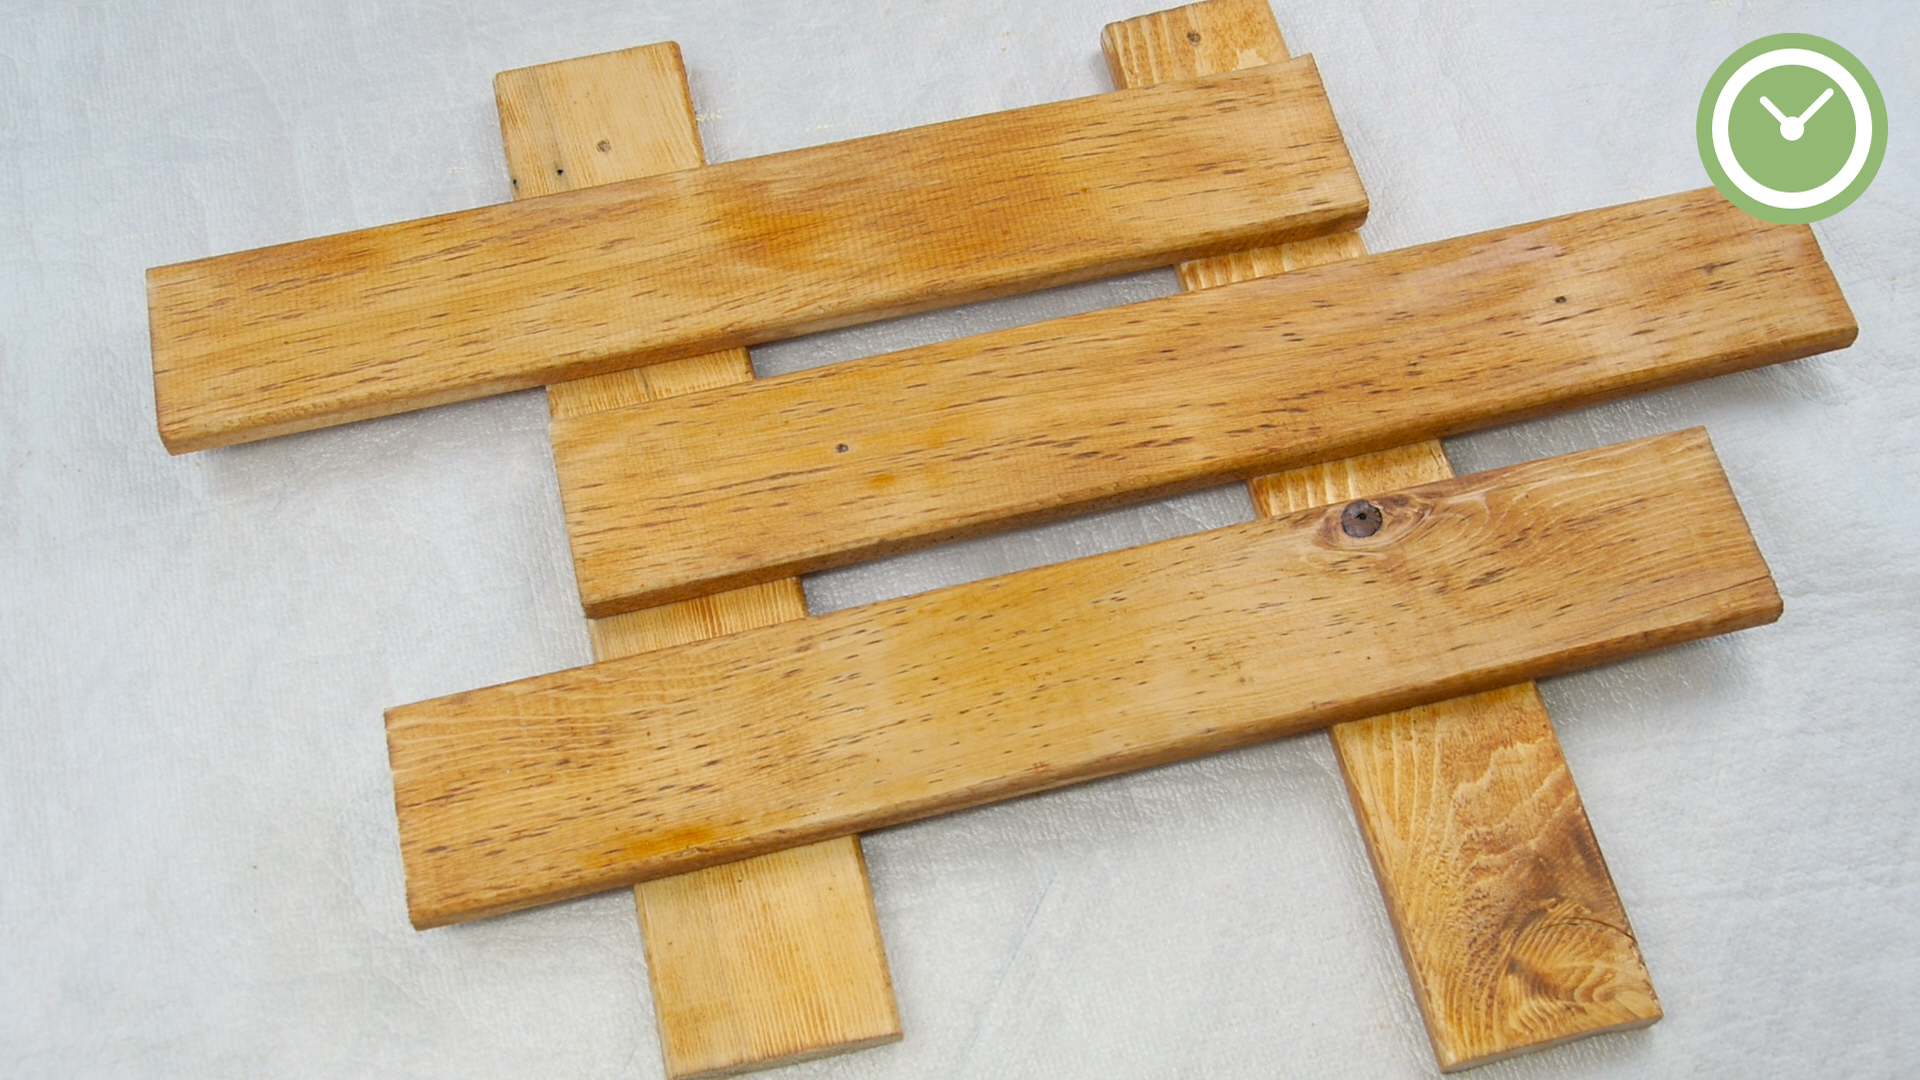
Applying Varathane wood stain can make an ordinary piece of lumber look like it has been quietly aging in a charming cabin for 80 years. Or, if you rush the process, it can make your project look like a raccoon held a paint party. The difference is usually not expensive tools or advanced woodworking skills. It is preparation, timing, and knowing when to stop adding stain.
Varathane wood stain is popular because it is available in several formulas, including classic oil-based stains, fast-dry stains, water-based stains, gel stains, and stain-and-polyurethane combinations. Each formula behaves a little differently, but the goal stays the same: help the wood absorb color evenly while keeping the grain visible and attractive.
This guide explains simple ways to apply Varathane wood stain, avoid blotches, control color depth, choose the right applicator, and finish your project with confidence. Whether you are staining a coffee table, cabinet door, bookshelf, trim board, or thrift-store dresser, the process can be pleasantly straightforward.
Start by Choosing the Right Varathane Stain Formula
Before opening the can, make sure the product matches your project. “Wood stain” sounds simple, but different formulas are designed for different situations. Picking the wrong product is like bringing a butter knife to cut a tree down: technically possible, emotionally exhausting.
Oil-Based Varathane Wood Stain
Traditional oil-based Varathane stain is a solid choice for unfinished interior wood, furniture, trim, cabinets, and many woodworking projects. It usually gives you a longer working time, which can be helpful when staining larger surfaces or learning the basics. The slower pace gives you time to spread the stain, let it soak in, and wipe off the excess before it gets sticky.
Fast-Dry Varathane Stain
Fast-dry stain is convenient when you want to move from staining to topcoating sooner. It can be especially useful for small furniture projects, shelves, decorative wood pieces, and quick weekend repairs. However, it also requires you to work in smaller sections because the stain can dry faster than your playlist reaches the chorus.
Water-Based Varathane Stain
Water-based stain is often chosen for its lower odor, quick drying time, and easier cleanup. It works well for indoor projects where ventilation may be limited, although you should still work in a well-ventilated area. Water-based stain can dry quickly, so it is best to prepare everything before you begin: rags, gloves, stir stick, applicator, and a clear path to the trash can.
Gel Stain
Gel stain sits more on the surface instead of soaking deeply into the wood. That can make it helpful for difficult woods, vertical surfaces, veneers, fiberglass doors, and projects where you want better control. Gel stain can also help reduce uneven color on woods that tend to absorb stain like they are emotionally processing a breakup.
Stain and Polyurethane in One Step
Varathane stain-and-polyurethane products combine color and protective coating in one formula. They can save time on small indoor projects, but they are not always the best choice when you want maximum control over the stain color. For a dining table, desk, or frequently used surface, separate stain and topcoat steps often make it easier to adjust color and build durable protection.
Gather the Basic Supplies Before You Begin
A successful staining project becomes much easier when everything is ready before the can is opened. Stain is not difficult, but it does not appreciate interruptions. If you stop halfway through to search for a clean rag, the wood may decide to dry unevenly just to keep things interesting.
You will usually need:
- Varathane wood stain in your chosen color and formula
- Sandpaper in several grits, such as 120, 150, 180, or 220 grit
- A sanding block or orbital sander
- A vacuum, tack cloth, or clean microfiber cloth
- Lint-free cotton rags or shop towels
- A brush, foam applicator, stain pad, or clean cloth
- Disposable gloves
- Wood conditioner for blotch-prone woods
- A protective topcoat, such as Varathane polyurethane
- A covered metal container for stain-soaked rags when working with oil-based products
Prepare the Wood Before Applying Varathane Stain
Wood stain does not hide flaws. It highlights them with the enthusiasm of a high-definition camera. Scratches, glue residue, fingerprints, old finish, and uneven sanding may become more visible after stain is applied. Preparation is not glamorous, but it is the part that separates “handcrafted furniture” from “mystery garage experiment.”
Remove Old Finish and Surface Contamination
If you are staining bare wood, you can move directly to sanding. If you are refinishing furniture, remove old paint, varnish, wax, grease, or damaged finish first. Stain needs access to raw wood fibers. It cannot soak evenly through old polyurethane or a mystery layer of furniture polish from 1998.
Pay close attention to glue spots. Glue can seal small sections of wood and prevent stain from absorbing. These spots may look invisible before staining but become pale, shiny patches afterward. Inspect the wood from different angles and sand away any residue before proceeding.
Sand With the Grain
Begin with a grit that can remove roughness or old surface damage, then work progressively finer. For many unfinished furniture projects, sanding through 120, 150, and 180 grit works well. Some woods may benefit from finishing at 220 grit, but sanding too finely can reduce stain absorption on certain species.
Always make your final sanding passes in the direction of the wood grain. Cross-grain scratches may be difficult to see on raw wood, but stain can reveal them like tiny road maps across the surface.
Remove All Dust
Vacuum the project carefully, including joints, corners, edges, and carved areas. Then wipe it with a clean lint-free cloth. Dust left on the surface can mix with stain and create a muddy, uneven appearance. Your goal is clean wood, not wood seasoned with sawdust.
Test the Varathane Stain Color First
Testing is the easiest way to prevent disappointment. The color shown on the can is a useful suggestion, not a legally binding promise. The final appearance depends on wood species, grain pattern, sanding level, wood age, moisture, conditioner, lighting, and whether you add a topcoat afterward.
Use an offcut from the same wood whenever possible. Sand it exactly as you sanded the project. If you plan to use conditioner, apply conditioner to the test board too. Then stain the sample and let it dry completely before judging the color.
For example, Early American stain may look warm and balanced on oak, deeper on maple, and much darker in pine knots. A color that seems perfect under workshop lighting may look more reddish, gray, or golden in a living room. Test samples save you from discovering this after staining an entire tabletop.
Use Wood Conditioner on Problem Woods
Some woods absorb stain unevenly. Pine, birch, cherry, alder, maple, and poplar are common examples. These woods can develop blotches, dark patches, and dramatic color swings that may look less “rustic farmhouse” and more “spotted banana.”
Wood conditioner helps reduce uneven absorption. Apply it to clean, sanded bare wood according to the conditioner label, then stain within the recommended time window. Conditioner may make the final color lighter, so choose your stain color with that in mind.
Do not assume conditioner is required for every project. Oak, ash, and other open-grain woods often accept stain more evenly. Still, a test board is the best way to decide. If the test sample looks good without conditioner, there may be no reason to add another step.
The Simple Method: Apply, Wait, and Wipe
The basic process for applying Varathane wood stain is simple:
- Stir the stain thoroughly.
- Apply enough stain to wet the surface evenly.
- Allow it to penetrate for the label-recommended time.
- Wipe off all excess stain before it dries.
- Let the stain dry fully before applying another coat or topcoat.
That is the whole recipe. The challenge is doing each step consistently.
Stir, Do Not Shake
Stir Varathane stain thoroughly before starting and occasionally during the project. Pigments can settle toward the bottom of the can. If you do not stir, the first part of your project may look lighter than the last part, creating an accidental ombré effect that nobody requested.
Avoid shaking the can. Shaking can introduce bubbles, which can make application messier and affect the final appearance.
Apply Enough Stain to Saturate the Wood
You can apply most traditional stains with a lint-free cloth, brush, foam applicator, or stain pad. A rag is often the easiest choice for flat surfaces because it spreads stain quickly and allows you to work it into the grain. A brush can be useful for grooves, carved details, edges, corners, and tight spaces.
Apply stain generously enough that the wood surface appears evenly wet. Do not use a dry brush approach where you barely skim color across the surface. Sparse application can lead to uneven absorption and streaks.
For oil-based stains, you can work the stain across the grain first to fill pores and then make your final wiping passes with the grain. For water-based stains, work promptly because they usually dry faster. On large panels, divide the surface into manageable sections and keep a wet edge.
Control the Color With Penetration Time
In general, wiping the stain sooner produces a lighter color, while allowing more penetration time can create a darker tone. Check your specific Varathane product label because formulas vary. Do not leave stain sitting so long that it begins drying on the surface.
Think of penetration time as seasoning food. A little more can deepen the flavor, but too much can overpower everything. You can usually darken a project with another stain coat, but removing overly dark stain is much more annoying.
Wipe Off Every Bit of Excess
This is the most important step. Use a clean lint-free rag and wipe away excess stain before it dries. Make your final strokes in the direction of the grain, especially on visible surfaces such as tabletops, cabinet doors, and shelves.
Leaving stain pooled on the surface can cause sticky spots, uneven sheen, slow drying, poor adhesion, and problems with the protective finish. If the wood looks glossy or wet after wiping, keep wiping with fresh sections of cloth until the surface looks evenly colored rather than coated.
How to Avoid Lap Marks and Streaks
Lap marks happen when fresh stain overlaps partially dried stain. They are especially common with water-based and fast-dry products. The easiest solution is to work in smaller sections and keep the edge wet.
For a tabletop, work from one side to the other in a logical path. Do not stain the middle, answer a phone call, make coffee, return 15 minutes later, and attempt to blend the edges. Wood stain remembers.
For cabinet doors, stain the detailed areas first, then move to the flat panels and rails. For trim boards, stain the full length when possible instead of stopping in the middle. For furniture legs or spindles, work one complete piece at a time.
Apply a Second Coat Only When Needed
If the first coat is lighter than expected, let it dry according to the product directions and then apply a second coat. Do not sand between stain coats unless the label specifically instructs you to do so. Sanding can create light areas, remove color, or produce uneven absorption.
Use the same application method for the second coat: apply evenly, allow the appropriate penetration time, and wipe off all excess. A second coat often deepens the color, but it may not make every wood species dramatically darker. Dense woods may resist additional color, while porous woods may darken quickly.
Finish the Project With a Protective Topcoat
Traditional wood stain adds color, but it does not provide enough protection for most furniture and high-touch surfaces. A topcoat protects the stained wood from scratches, moisture, fingerprints, food spills, and everyday life.
For many indoor projects, polyurethane is a practical choice. Water-based polyurethane tends to dry clear and usually has lower odor, while oil-based polyurethane can add a warmer amber tone. Always confirm compatibility and drying time on the specific Varathane product label before applying a topcoat.
Apply the protective finish in a clean, dust-free space. Use thin, even coats instead of one thick coat. Thick finish may drip, dry unevenly, or create a surface that looks more like plastic than wood.
Common Varathane Stain Problems and Easy Fixes
The Stain Looks Blotchy
Blotchiness often happens when wood absorbs stain unevenly. It is common on pine, birch, maple, alder, cherry, and poplar. Prevent it by sanding consistently, removing glue residue, using wood conditioner when needed, and testing on scrap wood before staining the project.
The Surface Feels Sticky
Sticky stain usually means too much product was left on the surface or the workspace was too cold, humid, or poorly ventilated. Wipe away excess stain immediately during application. If a surface remains tacky, give it more drying time before deciding on a repair. Avoid adding topcoat over tacky stain because it can trap the problem underneath.
The Color Is Too Dark
Dark color may result from leaving the stain on too long, using a very absorbent wood species, or applying multiple coats too quickly. Test your process on scrap wood first. For future projects, wipe sooner, use conditioner, or choose a lighter stain color.
The Color Is Too Light
If the color is too light, first make sure the stain dried completely before judging it. A topcoat can deepen the appearance slightly. If needed, apply another stain coat after the first one has dried according to the label. Do not try to solve a light color problem by leaving a thick puddle of stain on the surface.
The Topcoat Will Not Adhere Properly
Topcoat problems often begin with stain residue. If stain was not wiped thoroughly, the polyurethane may struggle to bond well. Always remove excess stain, allow proper drying time, and use compatible products. A clean, dry, evenly stained surface gives the topcoat its best chance to perform well.
Safety Tips for Applying Varathane Wood Stain
Even a small staining project deserves basic safety habits. Work in a well-ventilated area, wear gloves, keep food and drinks away from the work surface, and follow the label on your specific Varathane product.
For oil-based stains, treat used rags seriously. Stain-soaked rags can create a fire risk if they are piled together. Place them in an appropriate covered metal container or follow the disposal directions on the product label and your local waste rules. Do not leave oily rags crumpled on a workbench, in a trash bag, or on the floor where they can become a surprise problem later.
Keep stain away from children, pets, open flames, heat sources, and direct sunlight. If you are working indoors, open windows and use fans to improve airflow. A nicer-smelling workspace is also a better workspace.
Practical Experiences and Lessons From Real-World Staining Projects
One of the most useful lessons from everyday wood-staining projects is that the first test board is rarely wasted. It may feel like an unnecessary detour when you are excited to stain a new bookshelf or restore an old dresser, but that small scrap piece often reveals the entire personality of the wood. Pine may turn much darker around knots. Maple may absorb color unevenly. Oak may look almost boring until the stain dries and suddenly makes the grain look dramatic. The test board is where surprises become decisions instead of regrets.
Another common experience is discovering that sanding affects color more than expected. A project sanded aggressively in one area and lightly in another may stain differently even when the wood is technically the same species. This is why consistent sanding matters so much. Many DIYers learn this after staining a tabletop that looks darker on one side. The good news is that the lesson sticks. After seeing uneven sanding show up through stain once, most people become much more patient with preparation.
Furniture edges and end grain also teach important lessons. End grain often absorbs stain faster and darker than flat grain. On chair legs, table edges, drawer fronts, and cut ends of trim, the color may look stronger than expected. A light touch with conditioner or a quick wipe can help reduce that contrast. It is easier to slow down stain absorption before it happens than to explain later why one edge looks like it spent a week tanning in the desert.
Many people also discover that the best applicator depends on the shape of the project. A lint-free cloth works beautifully on broad flat boards and tabletops. A brush helps stain settle into grooves, carvings, routed edges, and corners. A stain pad can move quickly across larger surfaces. The smart approach is not choosing one tool forever. It is using the right tool for each part of the job, then wiping the surface clean with a rag before the stain dries.
Timing becomes more important with water-based and fast-dry stains. On a small drawer front, the process feels relaxed. On a large dining table, the same product can feel like a race against a stopwatch. Breaking larger projects into sections helps keep the work manageable. It also helps to have clean rags ready before applying stain. Reaching for a rag after the surface is already drying is one of those small moments that can turn a calm project into a dramatic one.
Topcoats bring another practical lesson: the stain color is only part of the final appearance. Water-based polyurethane often keeps the color relatively clear, while oil-based polyurethane can warm the tone and make it look richer or slightly more amber. Testing the stain with the exact topcoat you plan to use gives the most honest preview. A project can look one way after staining and noticeably different after the protective finish is added.
Finally, the most successful staining projects usually come from accepting that wood is natural, not printed wallpaper. Grain variation, pores, knots, and subtle color differences are part of the appeal. The goal is not always to make every inch identical. The goal is to create an even, intentional finish that lets the wood look like woodjust better dressed.
Final Thoughts
The simplest way to apply Varathane wood stain is to prepare the wood carefully, test the color, apply a wet and even coat, wipe away all excess before it dries, and protect the finished project with a compatible topcoat. Most staining mistakes come from rushing the prep work, skipping the test board, leaving too much stain on the surface, or treating every wood species as if it behaves the same way.
Take your time with sanding, keep clean rags nearby, work in manageable sections, and let each layer dry properly. With those habits, Varathane wood stain can turn a plain wood project into something polished, warm, and surprisingly professional-lookingwithout requiring a workshop full of expensive tools or a woodworking beard of legendary proportions.
Note: Varathane formulas, drying times, cleanup methods, topcoat compatibility, and application recommendations can differ by product. Always follow the directions on the label and technical sheet for the exact stain you are using.