Pyrite crystals are the divas of the mineral world. They show up looking like tiny treasure chests, flash a golden metallic shine, and immediately make every other rock on the shelf look underdressed. But unlike sturdier display pieces that can survive a casual rinse and a shrug, pyrite needs a lighter touch. Treat it like a brass doorknob and you may dull it. Treat it like a museum specimen and it has a much better chance of staying gorgeous.
If you are searching for the best way to polish pyrite crystals, the good news is that you usually do not need a full lapidary setup, harsh chemicals, or a dramatic soundtrack. In most cases, what pyrite really needs is careful cleaning, gentle buffing, and smart storage. That is because the goal is not to grind the crystal into a mirror-finished pebble. The goal is to preserve the natural crystal faces, keep that metallic luster visible, and avoid accidentally kicking off oxidation.
This guide walks through three practical ways to polish pyrite crystals at home, plus the mistakes that can turn fool’s gold into fool’s regret. Whether you found a dusty cube at a rock shop, inherited a specimen that looks tired, or rescued one from the back of a shelf where it was quietly plotting its own decay, these methods will help you clean it up without making things worse.
Why Pyrite Needs Special Care Before You Polish It
Pyrite is beautiful, but it is not especially forgiving. It is hard enough to resist a casual fingernail scratch, yet brittle enough to chip if you get too enthusiastic. It can also tarnish or oxidize when exposed to moisture, oxygen, and unstable storage conditions. In plain English: pyrite can look tough and still behave like it has opinions.
That is why the phrase “polishing pyrite” can be a little misleading. With natural pyrite crystals, you usually are not trying to sand, reshape, or mechanically polish the crystal faces the way a lapidary artist would polish a cabochon or slab. You are usually doing one of three things: removing dust, removing surface grime, or stabilizing a specimen that has started to look dull, powdery, or slightly tragic.
So before you start, take a close look at your specimen under bright light. If it is just dusty, you are in luck. If it has fingerprints, oily film, or a cloudy surface, a more targeted cleaning may help. If you see yellow-gray or whitish powder, small fractures, or a sulfur-like smell, that is no longer a simple shine-up job. That is a preservation problem wearing a sparkly disguise.
What You Need Before You Begin
You do not need to raid a chemistry lab. For most healthy specimens, a simple setup is enough:
- a very soft brush, such as a clean makeup brush or soft artist’s brush
- a rubber bulb blower or canned air used very cautiously from a distance
- a clean microfiber cloth
- high-percentage isopropyl alcohol for light surface cleaning
- cotton swabs or lint-free pads
- a dry storage box and silica gel packets for aftercare
Skip the steel wool, skip the toothpaste, skip the “mystery polish” from the garage, and definitely skip the idea that more force equals more shine. Pyrite rewards patience, not wrestling.
Way 1: Dry Brush and Buff for Dusty, Healthy Crystals
Best for
Use this method when your pyrite crystal still looks structurally sound and you mainly want to remove dust, shelf grime, or the fine dullness that comes from sitting untouched for months.
How to do it
Start by holding the specimen over a clean towel or tray. Use a soft dry brush to loosen dust from the crystal faces, crevices, and corners. Brush with the natural geometry of the crystal rather than jabbing into it like you are interrogating it. Pyrite often forms sharp cubes, pyritohedrons, and striated faces, so dust loves to hide in all the little architectural details.
Next, use a bulb blower to remove the loosened particles. This is especially helpful if the specimen has tight seams where a cloth cannot reach. Once the visible dust is gone, lightly buff the broadest crystal faces with a clean microfiber cloth. Think gentle pressure, not “buff until ignition.” You are encouraging the luster to show again, not trying to sand away the top layer.
Why it works
Dust scatters light. Remove the dust, and pyrite usually looks brighter almost immediately. This method is the safest first step because it avoids adding moisture, avoids unnecessary abrasion, and lets you evaluate the true condition of the crystal before you decide whether it needs more attention.
When to stop
If the crystal still looks dull after dry brushing, do not keep buffing harder and harder like you are trying to polish a bowling trophy. Dullness that survives this method may be caused by oils, residue, or early oxidation. That is your cue to move to method two or, if the specimen looks unstable, method three.
Way 2: Use Alcohol to Remove Fingerprints, Film, and Light Grime
Best for
This method works well for pyrite that has a greasy film, fingerprints, or a slightly cloudy look from handling. It is also useful for specimens that seem clean but still lack that crisp metallic flash after dry brushing.
How to do it
Dampen a cotton swab or lint-free pad with a small amount of high-percentage isopropyl alcohol. Do not soak the crystal. Do not dunk it in a bowl like it is having a spa day. Instead, work in small sections, gently wiping the surface to lift oils and residue. Rotate to a fresh swab as it picks up grime.
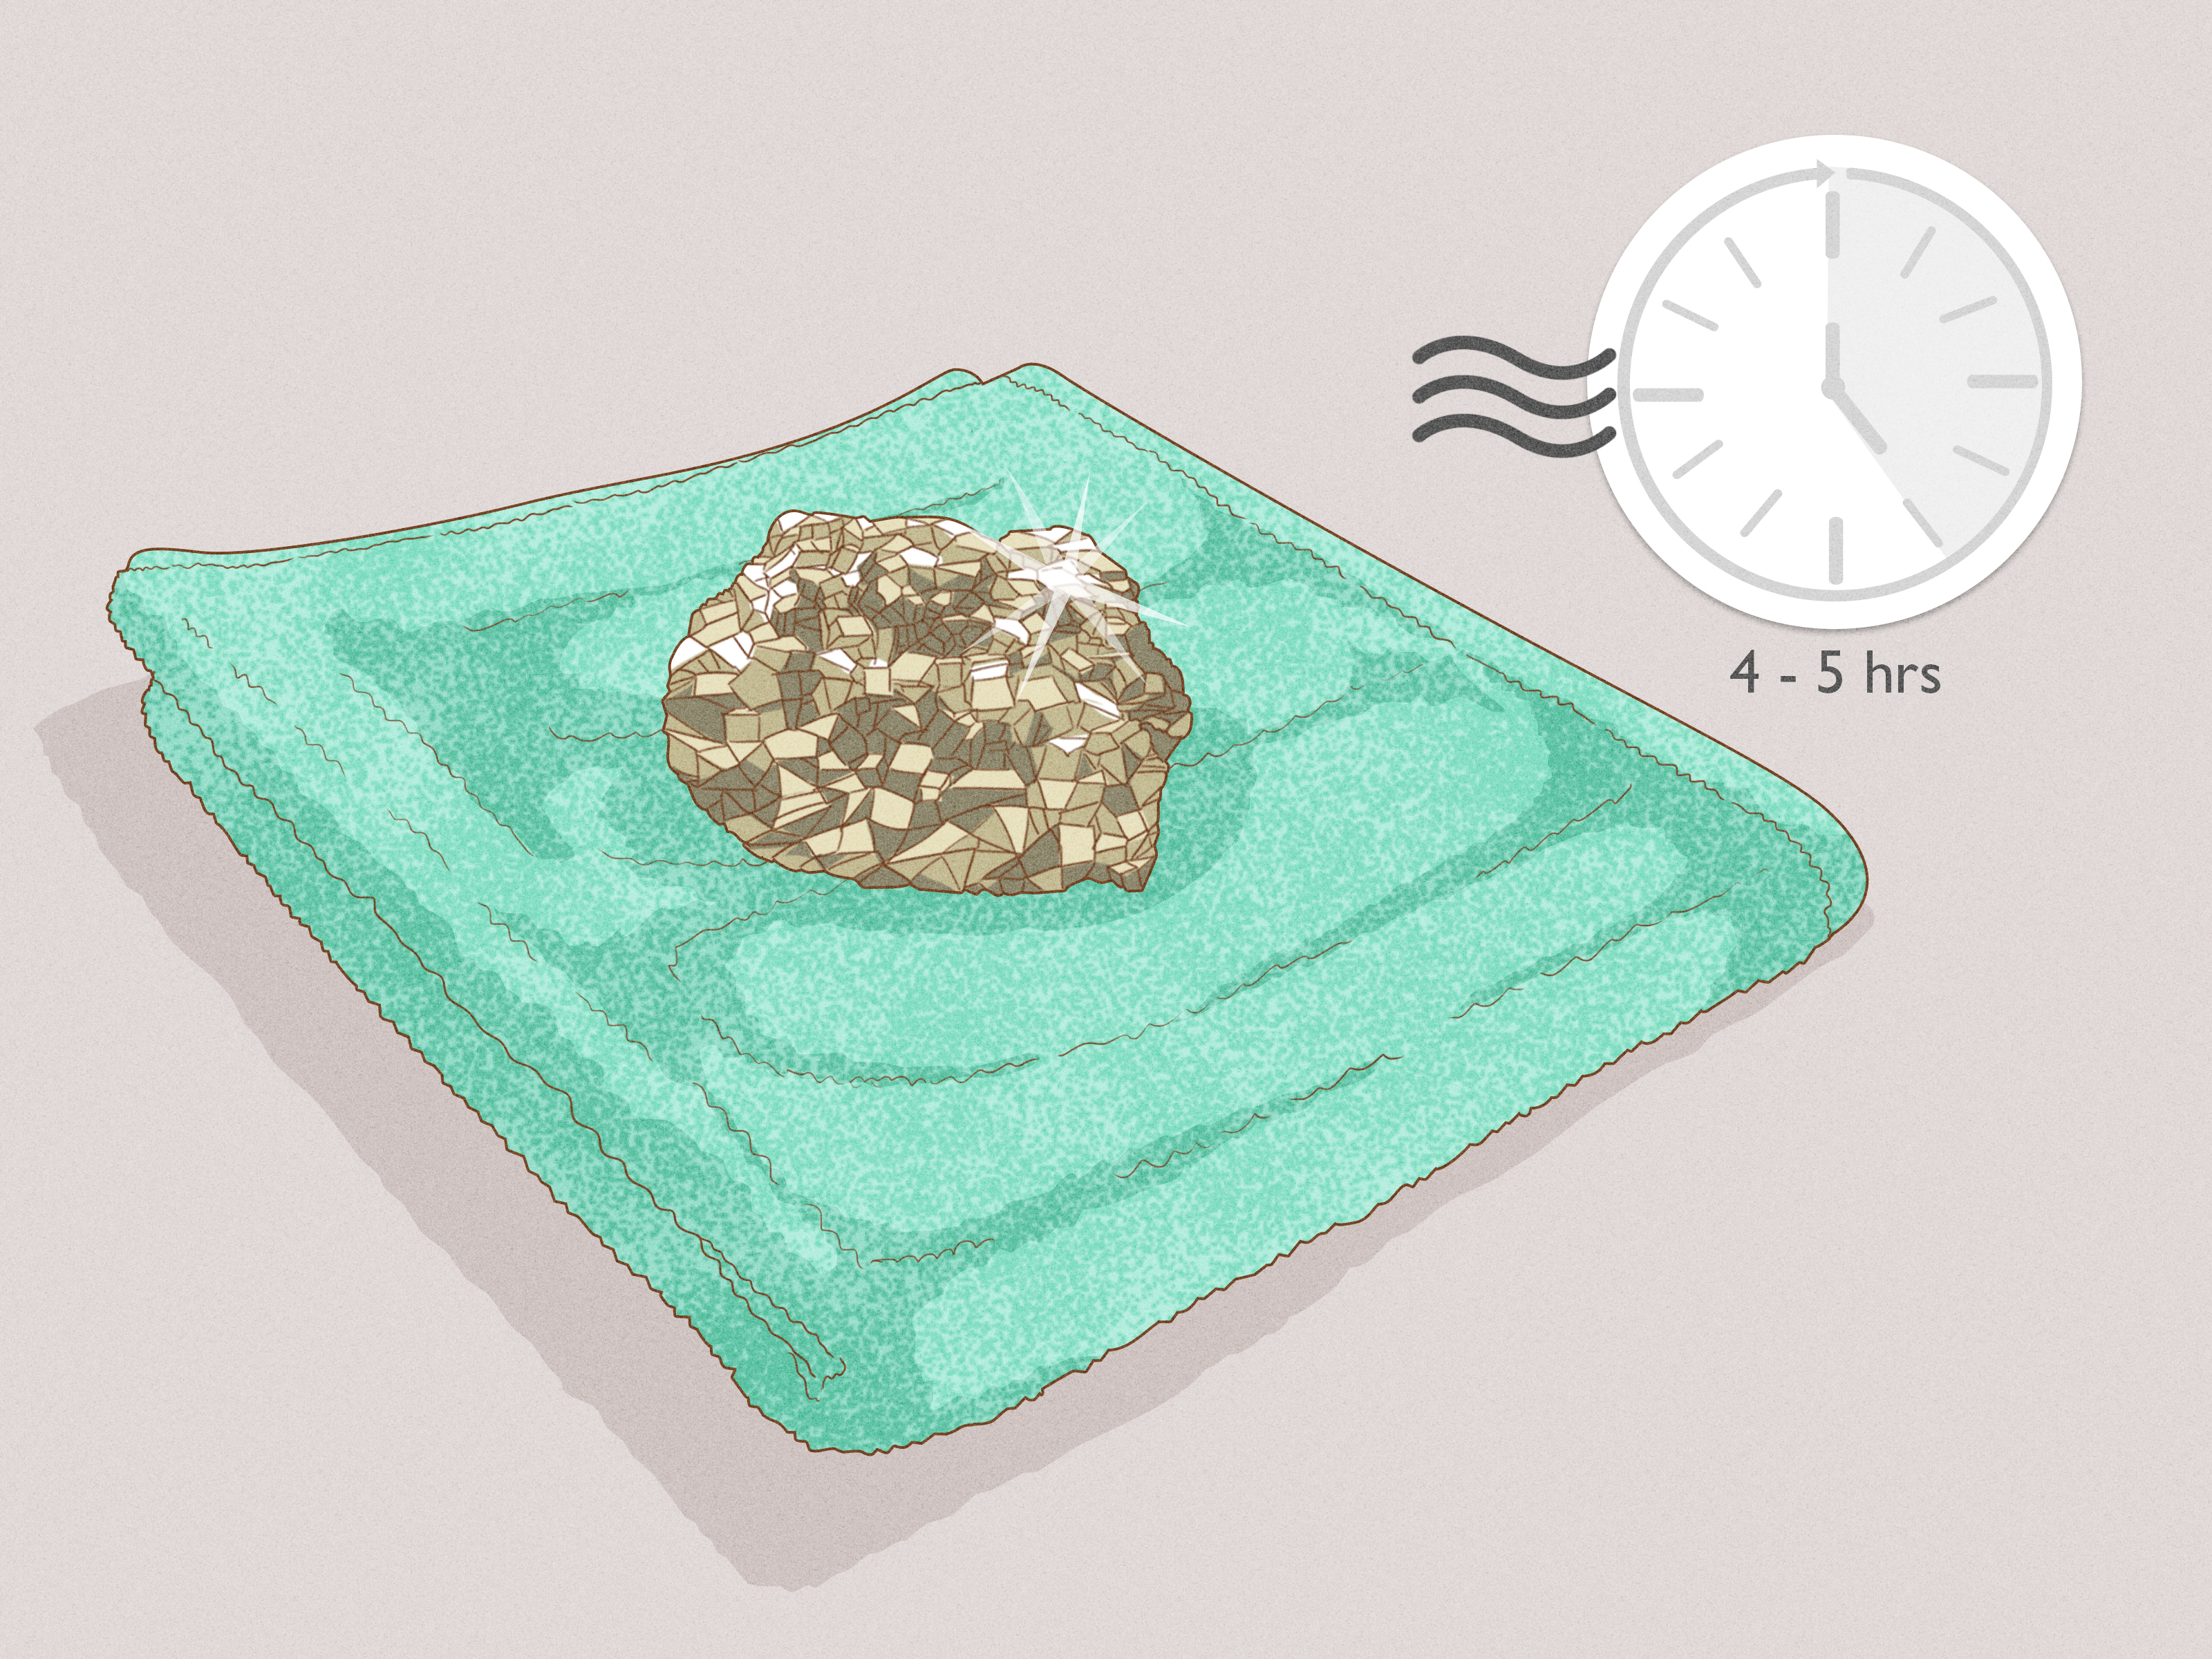
Once you have cleaned the surface, use a dry microfiber cloth to remove any remaining film and help the surface dry quickly. Let the specimen air-dry completely in a low-humidity spot before putting it back on display or into storage.
Why this method is smarter than water
Pyrite has a well-earned reputation for reacting badly to damp conditions over time. That does not mean a single brief encounter with moisture always causes disaster, but it does mean soaking pyrite in water is a bad gamble. Alcohol evaporates faster than water and can help remove surface grime without leaving the specimen damp for long. In the pyrite world, “dries fast” is a beautiful phrase.
Important caution
If your specimen has been repaired, glued, coated, or mounted, test a tiny hidden spot first. Solvents can affect old adhesives and finishes. Also, never combine alcohol cleaning with heat, open flames, or the kind of “DIY hack” video that begins with the words “trust me.”
Way 3: Stabilize, Don’t Scrub, When the Crystal Shows Tarnish or Early Decay
Best for
This method is for pyrite that looks more than dirty. Maybe the shine has turned patchy. Maybe there is pale powder collecting in cracks. Maybe the specimen smells faintly sulfurous, or you notice tiny fractures that were not there before. At that point, the smartest way to “polish” pyrite is not to scrub harder. It is to stabilize the specimen so it does not keep deteriorating.
What to do
First, isolate the specimen from the rest of your collection. If pyrite is actively oxidizing, you do not want it tucked beside labels, cardboard, wood, or neighboring minerals in a humid display case. Gently remove loose dust or powder with a soft dry brush, but do not scrape aggressively. Then place the specimen in a dry container with fresh silica gel or another appropriate desiccant and store it in a cool, stable, low-humidity environment.
If the specimen is valuable, rare, sentimental, or obviously decaying, consult a mineral conservator or museum professional before experimenting. Advanced treatments do exist, but they are not casual weekend projects. Household acids, random metal polishes, and improvised chemical baths can leave you with a damaged specimen and a powerful new respect for professional conservators.
Why this counts as polishing
Because once oxidation starts, the real win is preserving what is left of the luster. A clean, stabilized crystal with some age marks is far better than a heavily scrubbed crystal with softened faces, chipped edges, or accelerated decay. In other words, pyrite appreciates restraint. This is the rare beauty routine where the best move may be to stop touching your face.
Mistakes to Avoid When Polishing Pyrite Crystals
1. Soaking pyrite in water
This is the classic mistake. Pyrite and prolonged moisture are not best friends. A fast, controlled cleaning step is one thing. A cheerful overnight soak is another. Skip it.
2. Using abrasive compounds
Metal polishes, gritty pastes, rough cloths, and rotary tools may remove grime, but they can also scratch the surface, flatten natural striations, or leave residues in seams. Natural crystal faces are part of the specimen’s beauty. Once you grind them down, you do not get an undo button.
3. Using heat or ultrasonic cleaners
Pyrite is brittle and heat-sensitive. That is not a recipe for aggressive mechanical cleaning. If your cleaning method sounds like something designed for carburetors or diamond rings, it is probably too intense for a collectible pyrite crystal.
4. Storing it in the wrong place after cleaning
Even a beautifully polished crystal can lose the battle if it goes right back into a humid room, a sunny windowsill, or a wooden display box that traps problematic vapors. Pyrite care is not just about cleaning. It is about what happens the next day, and the day after that.
How to Keep Pyrite Shiny After You Polish It
Once your crystal looks good again, the maintenance routine is refreshingly simple. Keep it dry. Handle it less. Dust it with a soft brush instead of washing it. Store it in a stable container away from humidity spikes, cardboard, untreated wood, and direct sunlight. If you live somewhere muggy, a sealed storage box with silica gel packets can do more for your pyrite than any miracle polish on the market.
It also helps to think like a collector instead of a cleaner. The best pyrite care plan is preventive. The less grime, moisture, and chaotic handling your specimen experiences, the less “restoration” it will need later.
What Kind of Finish Should You Expect?
A healthy pyrite crystal should look bright, metallic, and sharply defined after proper cleaning. It may not look like chrome. It may not look like a gold-plated gadget from a luxury catalog. It should look like natural pyrite at its best: crisp edges, reflective faces, and a warm brassy gleam that catches light dramatically.
If your specimen still has some tarnish after careful treatment, that does not necessarily mean you failed. It may simply mean the crystal has aged, oxidized slightly, or has a naturally uneven surface. Good pyrite polishing is about improving appearance while respecting the specimen, not forcing it into a fake showroom finish.
Collector Experiences: What Polishing Pyrite Is Actually Like in Real Life
Here is the part people rarely tell you: polishing pyrite crystals is usually less like a dramatic before-and-after makeover and more like solving a tiny golden mystery. You start with a specimen that looks vaguely tired and dusty. You think, “No problem, I’ll clean this in five minutes.” Forty-five minutes later, you are holding it under a lamp, turning it left and right like a jeweler, and suddenly you have very strong opinions about the difference between dust, tarnish, and a fingerprint from three owners ago.
A lot of first-time collectors expect pyrite to behave like decorative metal. It looks metallic, so the brain says, “Aha, polish!” Then the collector reaches for whatever they would use on brass, silver, or a kitchen fixture. That is usually the moment pyrite teaches its first lesson: just because something looks like metal does not mean it wants the metal-treatment package. The best experiences with pyrite usually begin when people stop trying to overpower it and start working gently.
One of the most common experiences is the surprise factor of the dry-brush method. A specimen that seems dull can brighten dramatically with nothing more than a soft brush, careful air-blowing, and a microfiber cloth. That is a satisfying moment because it feels almost unfairly easy. You expect a complicated mineral-care ritual and instead discover that half the problem was plain old dust doing what dust does best: making beautiful things look tired.
Then there is the second kind of experience, the “why does this still look cloudy?” moment. This usually happens with pyrite that has been handled a lot. Finger oils, shelf grime, and general life residue can mute the shine in a way that brushing alone cannot fix. When a tiny bit of alcohol on a swab suddenly reveals a cleaner, brighter face underneath, it feels like watching a fogged mirror clear after a shower. The key emotional arc here is confidence. At first, you are nervous. By the third swab, you are thinking, “Okay, I see the vision now.”
Not every experience is that cheerful, though. Some collectors meet pyrite in its moodier phase: powder in the cracks, strange dull patches, maybe even a faint sulfur smell. That is the moment when polishing turns into decision-making. Do you keep scrubbing and hope for a miracle? Or do you admit that the specimen needs stabilization, not cosmetics? The more experienced collectors usually choose patience. They isolate the piece, dry it out, improve storage, and resist the urge to perform heroic nonsense with household chemicals. It is less cinematic, but far more effective.
There is also a strangely satisfying long-term experience that comes with pyrite care. Once you have polished and stored it correctly, you begin to notice how much easier maintenance becomes. A quick dusting every now and then. A dry box. A little less handling. No panic. No sudden oxidation surprise. Pyrite starts to feel less like a difficult mineral and more like a well-dressed guest who only asks for decent climate control and a little personal space.
In that sense, learning how to polish pyrite crystals is really learning how to read them. Dusty pyrite asks for brushing. Greasy pyrite asks for careful surface cleaning. Powdery pyrite asks for preservation. The best collectors are not the ones who scrub the hardest. They are the ones who notice the difference. And honestly, that is part of the charm. Pyrite may be called fool’s gold, but caring for it well is a pretty smart hobby.
Conclusion
The best way to polish pyrite crystals depends on what the crystal is actually dealing with. For dust, use a dry brush and soft buffing cloth. For oily film and fingerprints, use a small amount of alcohol and dry it quickly. For tarnish, powder, or signs of pyrite disease, stop trying to shine it up and start thinking like a conservator. In pyrite care, gentle wins, dry wins, and smart storage wins hardest of all.
If you remember one thing, make it this: pyrite does not need brute force to look good. It needs the right level of care, the right level of restraint, and maybe a little distance from humidity and bad ideas.