Blank walls are a little like plain toast: perfectly acceptable, technically useful, and wildly improved by adding something on top. The problem is that not everyone wants to attack drywall with nails, screws, and the kind of confidence usually reserved for reality-show contractors. Renters want their deposits back. Homeowners do not want to patch a constellation of tiny holes every time they change their minds. And some walls are so fussy they act personally offended by a hammer.
The good news is that you can absolutely hang pictures without nails and still make your walls look polished, intentional, and stylish. The trick is choosing the right method for the weight of the frame, the type of wall surface, and how permanent you want the display to be. Some nail-free options are great for lightweight prints and photo frames. Others work better for medium-size artwork. And some methods skip hanging altogether and lean art on shelves or ledges for a layered, designer-friendly look.
In this guide, you will learn five practical ways to hang pictures without nails, plus the common mistakes that send frames sliding to the floor at 2 a.m. like tiny dramatic actors. Whether you are decorating a dorm room, apartment, office, hallway, or family room, these renter-friendly picture hanging ideas can help you display art without damaging your walls.
Before You Hang Anything, Do These 4 Things First
No matter which nail-free method you use, a few minutes of prep can save a lot of frustration.
1. Check the weight of the frame
This is where optimism gets people into trouble. A cute little frame may be heavier than it looks, especially if it has glass, a thick wood border, or a chunky mat. Always check the package rating on adhesive strips, hooks, or other hanging products before you commit.
2. Look at the wall surface
Smooth painted drywall is usually the easiest surface for no-nail picture hanging. Textured walls, brick, concrete, wallpaper, and freshly painted surfaces can be trickier. Some products grip beautifully on smooth walls and absolutely refuse to cooperate on delicate or uneven finishes.
3. Clean the area
Dust, grease, and mystery wall grime are the sworn enemies of anything adhesive. Wipe the area carefully and let it dry fully before attaching strips, hooks, or putty. A clean wall gives you a much better chance of a secure hold.
4. Plan the layout first
Before peeling backing paper off anything, lay your frames on the floor and arrange them there. This helps you avoid the classic gallery-wall mistake: stepping back, squinting, and realizing everything looks one inch too far left. Measure twice. Peel once.
1. Use Adhesive Picture Hanging Strips
Adhesive picture hanging strips are the most popular solution for hanging pictures without nails, and for good reason. They are simple, widely available, renter-friendly, and designed specifically for framed wall art. Most work with a hook-and-loop style system that sticks one side to the wall and the other to the frame. When pressed together, they lock in place and keep the frame fairly level.
Best for
- Framed photos
- Lightweight to medium-weight wall art
- Gallery walls
- Smooth painted walls
Why this method works
Adhesive strips distribute weight across multiple points instead of relying on one central fastener. That makes them especially useful for rectangular frames and neat grid-style arrangements. They are also nice for people who redecorate often because many versions allow you to remove the frame and click it back into place.
How to do it right
Start by matching the strip size and quantity to the weight of your frame. Attach the strips to the back corners of the frame, press firmly, and then mount the frame to the wall according to package directions. For larger frames, use more than one set of strips so the frame stays flat and stable. Press evenly and give the adhesive enough time to bond before trusting it with your favorite wedding photo or limited-edition art print.
Pros
- No holes in the wall
- Easy to level
- Great for creating a clean gallery wall
- Easy to remove or reposition
Watch-outs
Adhesive strips are not magic. They are not the right choice for every surface, and they are not ideal for very valuable, oversized, or extra-heavy pieces. If your wall is textured, freshly painted, or covered in delicate wallpaper, test carefully or choose another option.
2. Try Removable Adhesive Hooks
If your picture frame has a wire hanger, sawtooth backing, or hardware that needs a hook rather than direct wall contact, removable adhesive hooks can be a smart alternative. These hooks stick to the wall and give you a hanging point without drilling or hammering.
Best for
- Small frames with hanging hardware
- Lightweight art
- Seasonal picture displays
- Awkward spots where strips are inconvenient
Why this method works
Hooks are flexible. They can support frames, lightweight signs, and some decorative objects that do not sit neatly against the wall. Clear versions are especially useful if you want the hanging hardware to blend in. They are also handy when you want to suspend a frame from a ribbon, cord, or decorative element instead of mounting it flush.
How to do it right
Choose a hook with the proper weight rating, clean the wall, press the hook in place, and let it set according to the instructions. Then hang the picture carefully and check that the weight hangs straight down rather than pulling outward. For lighter items, you can also use two small hooks for better balance.
Pros
- Great for frames that already have hanging hardware
- Simple to install
- Useful for decorative arrangements and changing displays
- Often available in clear or low-profile styles
Watch-outs
Hooks are typically best for lighter pieces. If a frame swings away from the wall, it may bump, tilt, or twist over time. This is not a deal-breaker, but it may mean you need a small stabilizer strip or a bit of putty at the bottom corners.
3. Use Mounting Putty or Museum Putty for Lightweight Pieces
Mounting putty is the quiet overachiever of nail-free decorating. It is not the star of a giant statement wall, but for small, lightweight pieces it can be incredibly useful. Museum putty or poster putty helps hold items in place without nails, and it can also keep frames from shifting once they are mounted another way.
Best for
- Small prints and lightweight frames
- Postcards, kids’ art, and mini canvases
- Stabilizing the corners of larger frames
- Keeping art from tilting in high-traffic areas
Why this method works
Putty is flexible, simple, and easy to adjust. It is especially useful when you want to avoid bulky hardware or when the item is so light that full picture hanging hardware feels like bringing a bulldozer to plant a tulip.
How to do it right
Roll small amounts of putty into pea-size balls and place them at the corners or along the back edges of the piece. Press gently but firmly against the wall. For best results, use putty on lightweight items only, and do not rely on it for anything fragile or heavy. It is best viewed as a light-duty solution, not a dare.
Pros
- Very easy to use
- Affordable
- Helpful for temporary or rotating displays
- Excellent as a stabilizer for frames that tend to shift
Watch-outs
Putty is not for heavyweight framed art. It can also be less reliable in very hot, humid, or dusty environments. On some surfaces, it may leave residue if left in place too long, so check the manufacturer directions and test carefully first.
4. Display Pictures on Ledges, Shelves, or Mantels Instead of Hanging Them
Here is a little decorating secret: sometimes the best way to hang pictures without nails is to not really hang them at all. Leaning frames on a picture ledge, floating shelf, console, mantel, or built-in bookcase creates a layered, relaxed look that many designers love. It also makes swapping art ridiculously easy.
Best for
- People who change decor often
- Layered, collected interiors
- Hallways, living rooms, bedrooms, and home offices
- Mixing frames, objects, and small decor pieces
Why this method works
Ledges and shelves eliminate a lot of measuring pressure. Instead of locking yourself into one permanent arrangement, you can overlap frames, add books, bring in candles or vases, and refresh the display whenever you want. It looks intentional, not unfinished, especially when you vary heights and frame sizes.
How to do it right
Start with the largest frame in the back and layer smaller ones in front. Keep the color palette somewhat connected so the display feels cohesive. If the shelf is in a high-traffic area, use a small bit of putty at the bottom corners of the frames to keep them from shifting when someone stomps by like they are rehearsing for a marching band.
Pros
- Zero wall damage if the shelf already exists
- Easy to swap and rearrange
- Creates a stylish, casual look
- Works well for both modern and traditional rooms
Watch-outs
This method depends on having a shelf, ledge, built-in, or mantel available. If you need to install a new shelf, that may require hardware and wall anchors, which defeats the whole no-nails mission. But if the surface is already there, this is one of the easiest and most forgiving options.
5. Use Clipboards, Magnetic Boards, or Leaning Displays for Easy Rotation
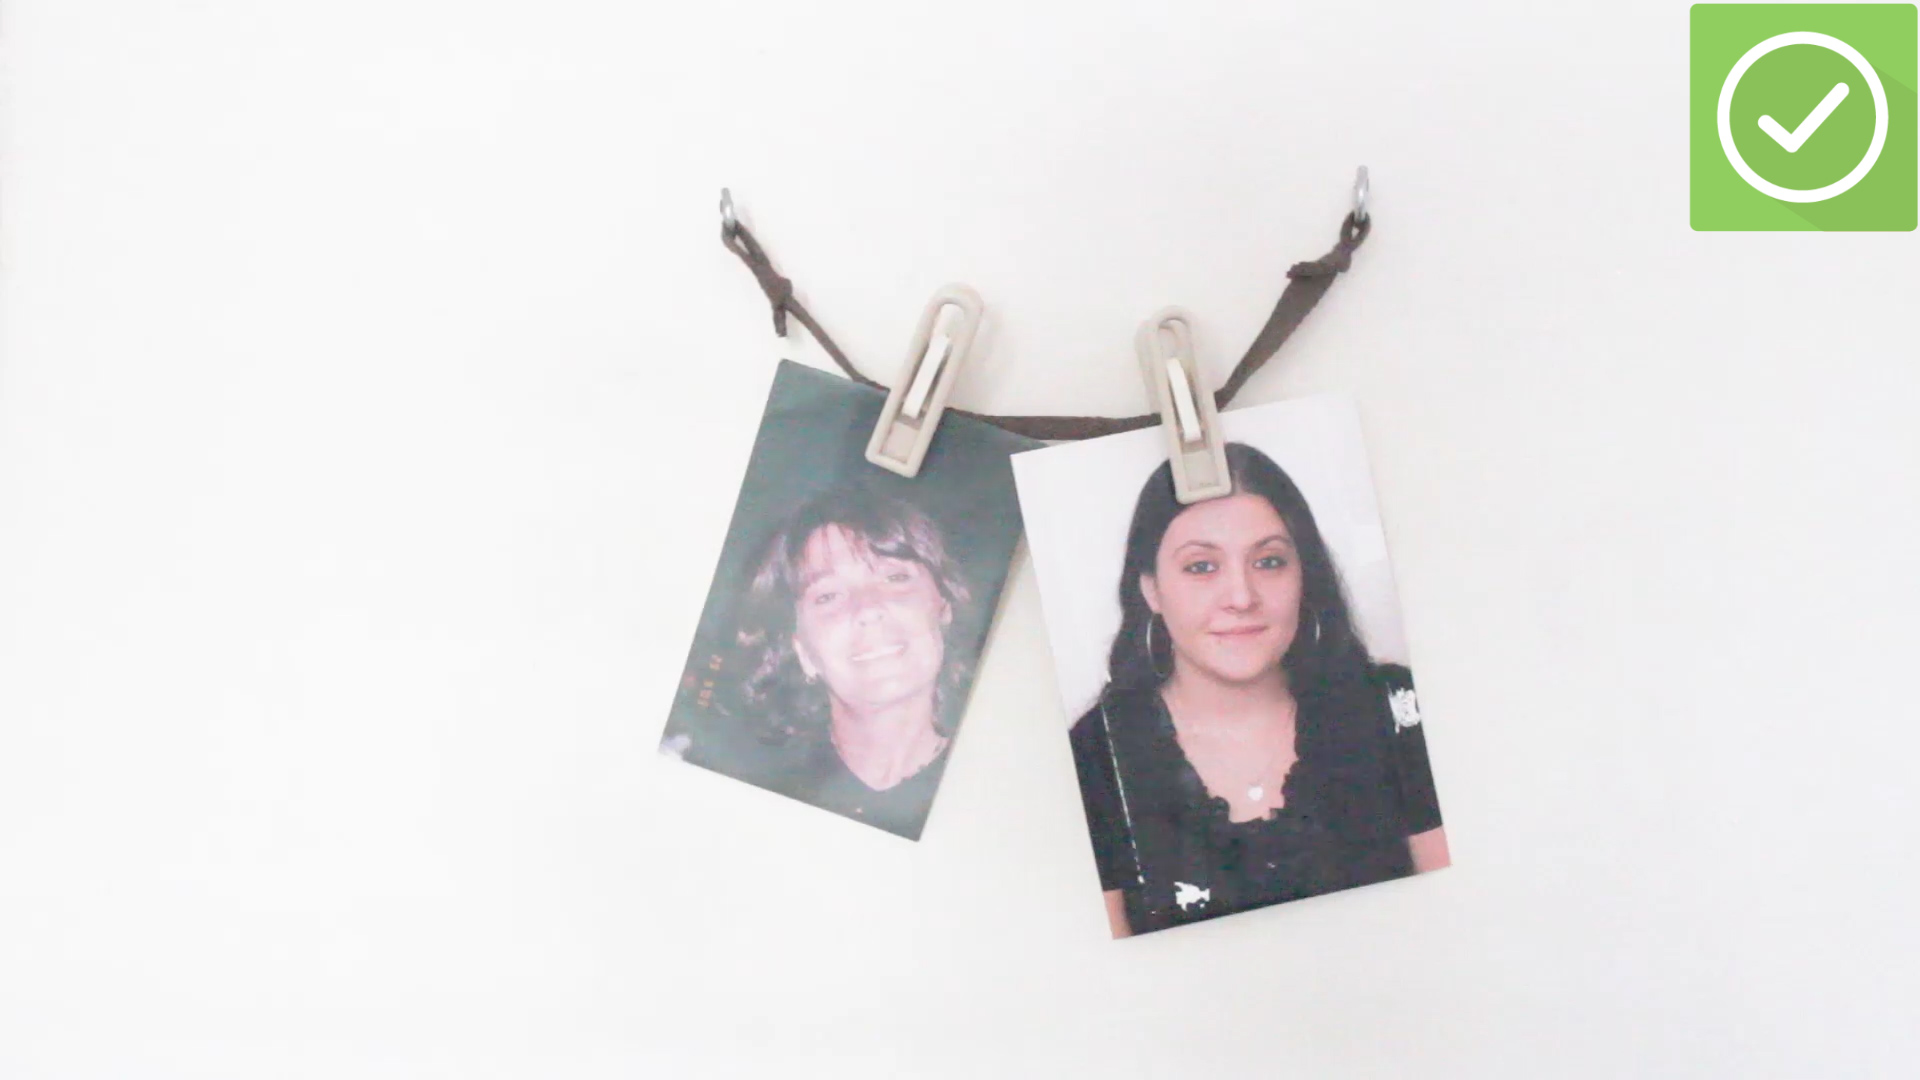
Not all picture displays need to be formal frames on a wall. If you like changing photos often, consider a rotating display system such as decorative clipboards, a magnetic board, a peg rail, or simply leaning art on furniture against the wall. This works especially well for family photos, children’s artwork, postcards, mood boards, or seasonal prints.
Best for
- Changing displays often
- Kids’ art and casual photo walls
- Dorms, offices, craft rooms, and kitchens
- People who love low-commitment decorating
Why this method works
Rotation-friendly displays solve a problem many homes have: too many memories, not enough wall patience. Instead of rehanging frames every month, you can swap in a new photo, print, or art piece in seconds. It is practical and charming, which is a nice combination in a world where many home decor choices are either beautiful or useful and rarely both.
How to do it right
Use removable adhesive hooks or strips to mount lightweight clipboards or display boards if needed, or skip wall mounting entirely by propping them on a shelf, desk, dresser, or countertop. Keep the arrangement simple so it feels curated instead of cluttered. A few strong pieces usually look better than a crowd of visual chaos arguing for attention.
Pros
- Perfect for frequent changes
- Great for family spaces and creative rooms
- Minimal commitment
- Easy to personalize
Watch-outs
This method is usually better for lightweight pieces and casual displays, not large framed artwork. But for everyday decorating, it can be one of the most flexible no-nail picture hanging ideas around.
Common Mistakes to Avoid
Even the best no-nail hanging methods can fail if you rush the setup. Here are the biggest mistakes people make:
- Ignoring weight limits: The product rating is not a suggestion. It is a boundary.
- Skipping surface prep: Dust and grease sabotage adhesion.
- Using the wrong method for the wall: Textured or delicate surfaces often need extra caution.
- Hanging irreplaceable items carelessly: Family heirlooms and expensive art deserve the safest possible support.
- Not letting adhesives set: Immediate success is tempting, but cure time matters.
- Guessing placement: Measure first unless you enjoy asymmetry by accident.
Which No-Nail Picture Hanging Method Is Best?
If you want the short answer, adhesive picture hanging strips are usually the best all-around choice for most framed pictures on smooth walls. They are easy, widely available, and specifically designed for this job.
Removable hooks are great for smaller frames with hanging hardware. Mounting putty is excellent for very lightweight items and for keeping frames from shifting. Shelves and ledges are perfect if you love to restyle often. And rotating display methods such as clipboards and magnetic boards are ideal when your wall decor changes with the seasons, your kids’ creativity, or your attention span.
The best option depends on your wall, your frame, and your decorating style. In other words, the answer is not just “What sticks?” but also “What makes sense for how I actually live?”
Real-Life Experience: What Hanging Pictures Without Nails Taught Me
The first time I tried to hang pictures without nails, I was full of confidence and almost no wisdom, which is a famously dangerous combination in home decorating. I had a stack of frames, a blank wall, and the kind of optimism that makes people believe they can finish a gallery wall before lunch. By dinner, I had learned several lessons, some graceful and some extremely humbling.
My earliest mistake was assuming all frames were basically the same. They were not. One frame looked light enough to float away on a breeze, but the glass made it much heavier than expected. Another frame was physically larger but surprisingly light because it had acrylic instead of glass. That experience taught me to stop judging frames by appearance alone. Weight matters more than vibes.
I also learned that walls have personalities. Smooth painted walls are cooperative. Textured walls are the drama club. One section of my wall accepted adhesive strips beautifully, while another section with subtle texture acted like I had personally offended it. That was the moment I realized surface type is not a boring technical detail. It is the whole game.
Then there was the gallery wall incident. I arranged everything by eye, stepped back, and admired my work for about six seconds before realizing the whole layout was drifting uphill to the left like it was trying to escape. Since then, I always arrange frames on the floor first, take a photo of the layout, and measure the spacing. This sounds less exciting, and it is, but it also prevents the kind of decorating spiral where you peel, restick, mutter at the wall, and begin questioning your depth perception.
One of the best discoveries I made was using a shelf or ledge instead of committing to a fixed arrangement. Leaning art gave me far more flexibility than I expected. I could swap in seasonal prints, rotate family photos, and mix in small objects without treating every change like a construction project. It made the room feel more layered and relaxed, and honestly, it saved me from myself. Sometimes my decorating taste evolves. Sometimes it changes because I saw one inspiring photo online at midnight. Either way, a ledge is forgiving.
Mounting putty was another pleasant surprise. I first used it as a backup plan, mostly to keep lighter frames from shifting, but it turned out to be useful on its own for smaller pieces. It is one of those products that seems unremarkable until you realize it has quietly solved three annoying problems in one afternoon. I would not trust it with anything heavy, but for lightweight art and stabilizing corners, it earned a permanent place in my decorating toolkit.
The biggest lesson, though, was that hanging pictures without nails is not just about avoiding damage. It changes the way you decorate. You become more willing to experiment because the stakes feel lower. You are not committing to patching holes, repainting, and explaining to your landlord why there is a suspicious collection of tiny craters above the sofa. You can test layouts, move things around, and refine your style with less pressure.
That freedom makes rooms feel more personal. Instead of postponing wall decor until you are “totally sure,” you can start now and adjust as you go. A home looks better when it reflects real life, and real life is rarely static. Families grow, tastes shift, kids bring home art, trips produce photos, and favorite colors change. Nail-free picture hanging supports that kind of living beautifully.
So yes, I still love a perfectly hung frame. But I also love options that let me change my mind without turning my wall into Swiss cheese. And if there is one decorating truth I trust completely, it is this: the less permanent a decision feels, the more likely you are to make your space actually feel like home.
Final Thoughts
Hanging pictures without nails is no longer a compromise. With the right products and a little planning, you can create a beautiful, secure display without putting holes in your wall. Adhesive strips, removable hooks, mounting putty, shelf styling, and flexible display systems each have their place. The key is to match the method to the picture, the wall surface, and the way you want the space to function.
If you want a polished gallery wall, start with adhesive strips. If you need a flexible setup, lean frames on a ledge. If your decor changes every five minutes because inspiration struck again, go with a rotating display. There is no single perfect method, but there is almost certainly a perfect method for your wall.