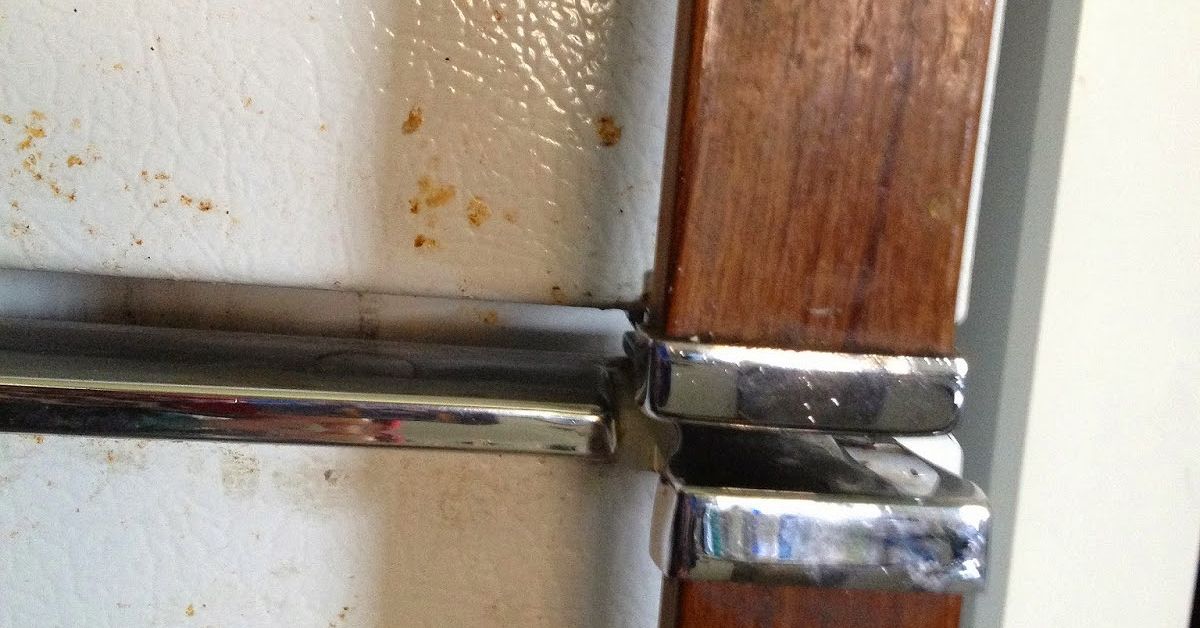
An old refrigerator can be many things: loyal, cold, slightly noisy, and sometimes the visual equivalent of a beige office printer from 1998. But if it still keeps lettuce crisp and ice cream properly dramatic, there is no reason to send it to appliance retirement just because its exterior looks tired. One of the easiest, most affordable, renter-friendly ways to refresh it is with wallpaperspecifically peel-and-stick wallpaper, removable wallpaper, or durable contact paper.
This project is a small kitchen makeover with big personality. Instead of replacing a working fridge, you can cover scratches, yellowed panels, tiny dents, and dated finishes with a pattern that actually fits your style. Think matte black, faux stainless steel, soft florals, terrazzo, retro checkerboard, marble, botanical prints, or a bright color that says, “Yes, I do own matching mugs, and no, I will not apologize.”
The best part? You do not need to be a professional installer. You need patience, a smooth surface, the right tools, careful measuring, and the emotional strength to smooth out air bubbles without blaming the wallpaper, the fridge, or your ancestors.
Why Wallpaper an Old Refrigerator?
Wallpapering a refrigerator is not just about hiding ugly spots. It is a budget-friendly refrigerator makeover that can change the entire mood of a kitchen. A fridge is usually one of the largest visible surfaces in the room. When it looks outdated, the whole kitchen can feel older than it really is. When it looks intentional, the room suddenly feels styled.
Replacing a refrigerator can cost hundreds or thousands of dollars. Painting an appliance is possible, but it takes more prep, special paint, curing time, and a steady hand. Peel-and-stick wallpaper gives you a faster option. It is also easier to remove if you change your mind, move out of a rental, or suddenly decide that tropical flamingos were a “weekend personality” rather than a long-term design commitment.
Best Types of Wallpaper for a Refrigerator Makeover
Peel-and-Stick Wallpaper
Peel-and-stick wallpaper is the most popular choice for this project because it already has adhesive on the back. You peel away the backing, position the panel, smooth it down, and trim the excess. It is ideal for renters, beginners, and anyone who does not want to bring wallpaper paste into the kitchen like a Victorian renovation drama.
Vinyl Contact Paper
Contact paper is another smart option, especially for a faux stainless steel refrigerator look or a simple solid color. Vinyl contact paper is usually wipeable and flexible, which makes it useful around handles, edges, and curved corners. Choose a quality product when possible. Very cheap contact paper can wrinkle, stretch, tear, or remove in tiny pieces later, which is not the relaxing DIY ending anyone deserves.
Removable Appliance Film
Some products are designed specifically for appliances, cabinets, or countertops. These films may be thicker and more durable than regular decorative paper. If your fridge is used heavily by kids, roommates, or snack-seeking adults at midnight, a tougher film may be worth the extra cost.
Before You Start: Safety and Common Sense
A refrigerator is not just a big box with yogurt inside. It is a working appliance that needs airflow. Before applying wallpaper, check your model’s vents, grille, coils, hinges, handles, dispenser panel, seals, and clearance areas. Do not cover vents, warning labels, control panels, water dispensers, ice makers, door gaskets, or areas where heat needs to escape.
Most refrigerator makeover projects focus only on the front door panels and sometimes the visible side panels. That is usually the safest and cleanest approach. Avoid wrapping the back of the fridge, bottom grille, top vent area, or mechanical access panels. A pretty fridge is delightful; an overheated fridge is an expensive snack coffin.
Tools and Materials You Will Need
- Peel-and-stick wallpaper, removable wallpaper, or vinyl contact paper
- Measuring tape
- Pencil or washable marker
- Sharp utility knife or craft knife
- Scissors
- Plastic smoother, felt squeegee, or clean credit card
- Microfiber cloth
- Mild dish soap and warm water
- Rubbing alcohol for final surface cleaning, if suitable for your finish
- Screwdriver, if you plan to remove handles
- Painter’s tape for temporary positioning
- Hair dryer on low heat for gentle edge shaping, optional
Step 1: Choose a Wallpaper That Matches Your Kitchen
The refrigerator is large, so the pattern matters. A tiny print can look busy on a big appliance, while a large-scale design can make the fridge feel like a bold design feature. If your kitchen already has patterned tile, colorful cabinets, or open shelving full of cheerful chaos, a simple wallpaper may work best. If your kitchen is mostly white, gray, or wood-toned, your fridge can handle something more playful.
For a clean modern look, try matte black, brushed metal, linen texture, or soft stone patterns. For a cottage kitchen, consider florals, gingham, or botanical prints. For a retro kitchen, checkerboard, colorful stripes, or rounded geometric patterns can make an old fridge look charming instead of outdated.
Step 2: Measure the Refrigerator Carefully
Measure each section separately: freezer door, refrigerator door, side panel, lower drawer, or any visible flat area. Do not assume both doors are the same size. Refrigerators enjoy keeping secrets. Write down width and height for every panel, then add at least two extra inches on each side for trimming and alignment.
If your wallpaper has a repeating pattern, order extra. Pattern matching requires more material than solid colors. A floral stem cut awkwardly across a door seam can look accidental, while a properly aligned pattern looks custom. When in doubt, buy one more roll than you think you need. Future you may want it for touch-ups, drawer liners, or covering a toaster that has seen things.
Step 3: Clean the Fridge Like It Owes You Money
Wallpaper sticks best to a smooth, clean, dry surface. Remove magnets, photos, sticky notes, grocery lists, and the mysterious coupon from three years ago. Wipe the exterior with warm water and mild dish soap using a microfiber cloth. Pay special attention to handles, edges, and the top of the fridge where dust likes to hold annual conventions.
Dry the surface completely. Any grease, crumbs, cleaner residue, or moisture can weaken the adhesive. If the finish allows it, wipe the surface once more with a little rubbing alcohol on a cloth, then let it dry. Avoid harsh chemicals, abrasive pads, steel wool, or rough sponges because they can scratch appliance finishes and create texture that shows under the wallpaper.
Step 4: Remove Handles If Possible
If your refrigerator handles can be removed easily, take them off before applying wallpaper. This gives you a cleaner finish and avoids awkward cuts. Keep the screws in a small bowl or zip-top bag. Do not place them “somewhere safe,” because that phrase has caused more lost hardware than any known force in home improvement.
If the handles cannot be removed, do not panic. You can still wallpaper around them. Use painter’s tape to hold the wallpaper in place, mark where the handle interrupts the panel, and make careful relief cuts. Work slowly. It is better to trim in tiny slices than to create a giant accidental window around the handle.
Step 5: Cut the Wallpaper Panels
Roll the wallpaper out on a clean floor or table with the backing facing up. Mark your measurements, adding extra material around each edge. Cut each panel slightly larger than needed. Label the backing lightly if you have multiple pieces, such as “freezer door,” “right side,” or “bottom drawer.” This prevents the classic DIY moment where every piece suddenly looks exactly the same.
For patterned wallpaper, decide where the design should begin. You may want the most attractive part of the pattern centered on the main door. If using stripes, check that they run straight. A crooked stripe on a refrigerator will stare at you every morning while you make coffee.
Step 6: Apply the First Panel Slowly
Start at the top of the door. Peel back only about 8 to 12 inches of the backing at first. Do not remove the entire backing at once unless you enjoy wrestling adhesive sheets like a panicked octopus. Align the top edge, leaving a small overhang. Once the first section is straight, press it down lightly.
Use a smoother or felt squeegee to push air bubbles outward from the center toward the edges. Continue peeling the backing a little at a time while smoothing downward. If the wallpaper starts to drift, gently lift it and reposition it. Good-quality removable wallpaper usually allows some adjustment during installation.
Step 7: Wrap or Trim the Edges
For a seamless look, wrap the wallpaper slightly around the door edge if the door shape allows it. Use your smoother to press the paper into the edge. At corners, make small diagonal cuts so the paper folds neatly without bunching. If wrapping creates too much bulk near the gasket or door seal, trim the wallpaper flush with the front edge instead.
Use a sharp utility knife for clean trimming. A dull blade can tear the paper and create fuzzy edges. Replace the blade if it drags. Cut carefully around hinges, handles, logos, and dispenser areas. Never cut directly into rubber seals or plastic trim.
Step 8: Handle Air Bubbles and Wrinkles
Small bubbles happen. They are not a moral failure. For fresh bubbles, lift the wallpaper gently and smooth it back down. For stubborn tiny bubbles, you can prick the center with a fine pin and smooth the air out. Wrinkles usually mean the paper stretched, shifted, or was pressed too aggressively. Peel back to the wrinkle if possible, relax the material, and smooth again.
Some wallpapers respond well to gentle warmth from a hair dryer on low heat, especially around curved corners. Use heat carefully. You want the adhesive to soften slightly, not create a melted craft disaster. Keep the dryer moving and test first on a scrap piece.
Step 9: Reattach Handles and Finish the Details
Once the panels are smooth and trimmed, reinstall the handles. Tighten screws gently. Over-tightening can twist the paper or leave pressure marks. Wipe the finished surface with a dry microfiber cloth to remove fingerprints and admire your work from at least three angles, as required by unofficial DIY law.
Check all edges after a few hours. Press down any lifting corners. If a seam needs extra help, use a small piece of double-sided adhesive made for removable wallpaper, but avoid permanent glue unless you are absolutely sure you never want to remove the covering.
Design Ideas for a Wallpapered Refrigerator
Faux Stainless Steel
If your old white fridge clashes with newer appliances, faux stainless contact paper can help it blend in. This is a subtle update that works well in rentals or budget kitchen refreshes.
Bold Floral Fridge
A floral refrigerator can become the star of a plain kitchen. Pair it with simple cabinet hardware and neutral rugs so the room feels charming, not like a garden center exploded.
Chalkboard Contact Paper
Chalkboard-style contact paper is practical and fun. Use it for grocery lists, meal plans, or passive-aggressive reminders such as “Buy milk before complaining there is no milk.”
Retro Checkerboard
Checkerboard wallpaper can give an old refrigerator a diner-inspired personality. It works especially well with red, mint, black, white, or chrome kitchen accents.
How to Maintain a Wallpapered Refrigerator
Clean the wallpapered surface with a soft damp cloth. Avoid soaking the seams. Do not use abrasive cleaners, bleach, rough scrubbers, or heavy degreasers. If the wallpaper is vinyl or wipeable, mild soap and water should handle most fingerprints and splatters.
Keep an eye on edges near handles because those areas get the most contact. If corners begin to lift, press them down early before dust collects underneath. Also continue normal refrigerator maintenance. Clean the coils when recommended, keep proper clearance around the appliance, and make sure vents are not blocked. A makeover should improve the look of your fridge, not interfere with how it works.
Common Mistakes to Avoid
- Skipping surface prep: Dust, grease, and moisture are the enemies of good adhesion.
- Using the cheapest paper available: Low-quality paper may tear, bubble, or remove poorly.
- Covering vents or grilles: Refrigerators need airflow to function safely and efficiently.
- Cutting too close too soon: Leave extra material and trim after the panel is positioned.
- Ignoring pattern alignment: A mismatched pattern can make the project look rushed.
- Working too fast: Peel-and-stick wallpaper rewards patience, not speed.
Is Wallpapering a Refrigerator Renter-Friendly?
In many cases, yes, especially if you use removable wallpaper or high-quality contact paper. However, always test a small hidden area first. Older appliance finishes, damaged paint, or low-quality adhesive can create removal problems. If you rent, take photos before the project and choose products marketed as removable. Avoid permanent adhesive, spray glue, or anything that sounds like it belongs in an auto body shop.
When it is time to remove the wallpaper, peel slowly from one corner. Use gentle warmth from a hair dryer if needed. Clean any adhesive residue with a mild cleaner suitable for your fridge finish. Again, test first. The goal is a stylish kitchen, not a security deposit mystery.
Budget Breakdown
The total cost depends on the size of your refrigerator and the wallpaper you choose. A small fridge may need only one roll. A large French-door refrigerator may require two or more rolls, especially with pattern matching. Basic contact paper can be very inexpensive, while designer peel-and-stick wallpaper costs more but often looks better and removes more cleanly.
Expect to spend money on wallpaper, a utility knife, a smoothing tool, and possibly extra blades. Even with quality materials, this project usually costs far less than replacing a working refrigerator. It is a smart upgrade for dorm rooms, rental kitchens, laundry rooms, garage fridges, basement bars, and older homes where the appliance works fine but looks like it has been through a casserole war.
Real-Life Experience: What I Learned From Wallpapering an Old Refrigerator
The first thing you learn when giving an old refrigerator a new look with wallpaper is that the fridge is larger than it appears. Standing in the kitchen, it looks like a simple rectangle. Once you are measuring it with a tape measure in one hand and a roll of peel-and-stick wallpaper in the other, it becomes a vertical landscape with hinges, handles, seals, curves, corners, and tiny obstacles you never noticed before.
My best experience-related advice is to treat the project like wrapping a very expensive gift that happens to hum. Do not rush the cleaning step. I once thought a quick wipe was enough, then discovered a small greasy area near the handle where the paper refused to stay down. The wallpaper looked perfect everywhere else, but that one corner kept lifting like it had a personal objection to commitment. After cleaning the spot properly and letting it dry, the repair held much better.
Another lesson: start with the most visible door, not the hardest section. If your fridge has a freezer door on top and a larger refrigerator door below, begin with the simpler, flatter area so you can get comfortable. By the time you reach the trickier cuts around handles or dispensers, your hands will know how the wallpaper behaves. You will understand how much pressure to use, how far you can peel it back, and when a bubble is worth fixing immediately.
Pattern choice also matters more than expected. A busy pattern can hide tiny mistakes, fingerprints, and small dents. A solid color or straight stripe looks sophisticated, but it reveals every bubble and crooked edge. Beginners may have better luck with forgiving designs like small florals, terrazzo, linen texture, faux grasscloth, or soft abstract prints. If you love stripes, use a level and take your time. Stripes are beautiful, but they are also tiny judgmental rulers.
I also recommend removing handles when possible. It may feel like an extra step, but it usually saves time and gives a cleaner result. If you cannot remove them, make relief cuts slowly and sneak up on the final shape. Never cut a huge hole right away. Small cuts are correctable; giant cuts are “creative opportunities,” which is DIY language for “oops.”
The most satisfying moment comes after the handles are back on and the kitchen suddenly feels different. The old fridge is still the same hardworking appliance, but now it looks intentional. It may even make nearby cabinets, rugs, and shelves look better because the biggest visual eyesore has joined the design team. A wallpapered fridge will not remodel your whole kitchen, but it can make the room feel fresher, happier, and more personal in an afternoon.
Finally, remember that perfection is not the goal. A smooth, clean, cheerful finish is the goal. Tiny seams and small imperfections disappear in daily life, especially once the fridge is back to doing what refrigerators do best: guarding leftovers, chilling drinks, and silently judging how many times we open the door just to “see what’s there.”
Conclusion
Wallpapering an old refrigerator is one of those rare DIY projects that is affordable, creative, practical, and genuinely fun. With the right peel-and-stick wallpaper, careful cleaning, patient application, and respect for appliance airflow, you can turn a dated fridge into a design feature without buying a new one.
Whether you want a faux stainless steel finish, a colorful retro pattern, a cottage-style floral, or a sleek modern texture, removable wallpaper gives you room to experiment. Measure twice, cut slowly, smooth from the center outward, and do not cover vents or mechanical areas. Your old refrigerator may not become brand-new on the inside, but on the outside, it can absolutely have a second act.
Note: This article is written in standard American English as publish-ready HTML body content. It contains no source links, no citation placeholders, and no unnecessary publishing artifacts.