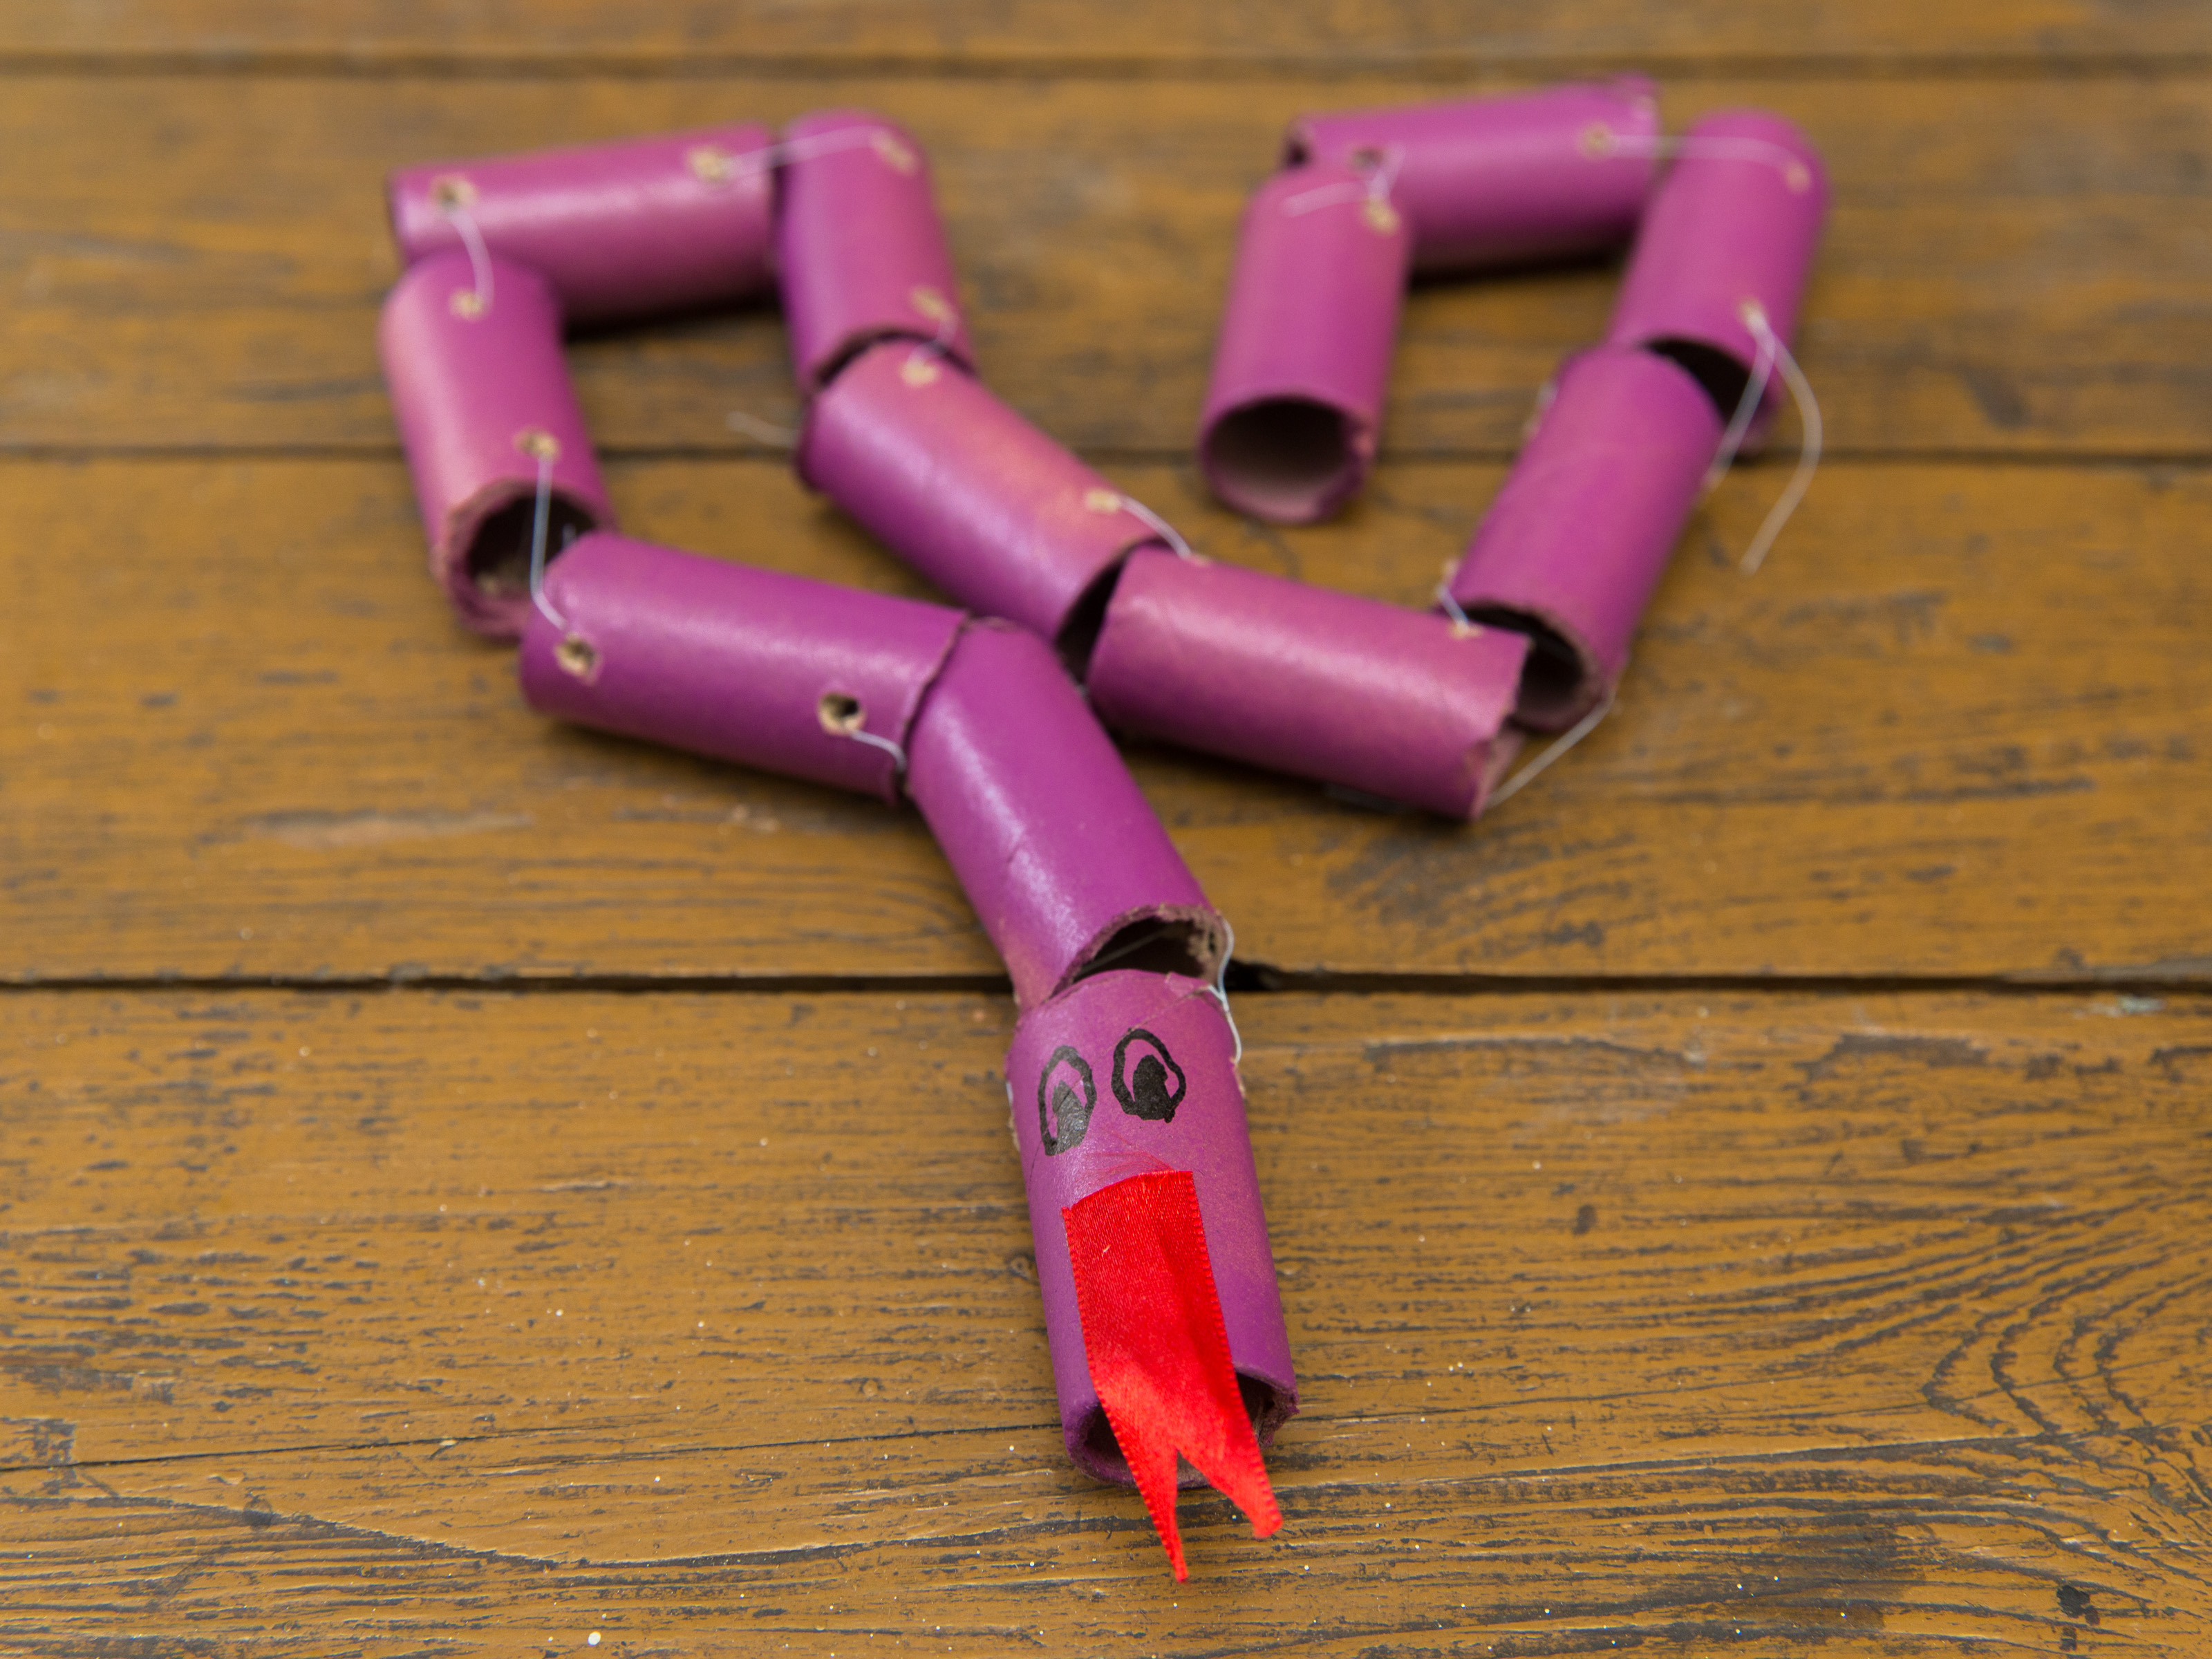
Paper crafts have a magical way of turning one ordinary sheet into something with personality. A rectangle becomes a dragon. A plate becomes a mask. And today, with a little cutting, folding, gluing, and playful decorating, paper becomes a snake that can coil, wiggle, hang, slither, or stare dramatically from the edge of a desk like it owns the room.
Learning how to make a paper snake is a simple, low-cost craft project for kids, families, classrooms, homeschool activities, rainy afternoons, reptile lessons, Lunar New Year projects, and anyone who has ever looked at construction paper and thought, “This could use more scales.” The best part is that there is no single “right” snake. You can make a spiral paper snake from a paper plate, a paper chain snake from strips, or an accordion paper snake that wiggles when you move it. Each version teaches different skills: cutting, folding, pattern making, color planning, fine motor control, patience, and the noble art of not putting glue on the table. Mostly.
This guide walks you through three easy paper snake crafts using basic materials you probably already have at home: paper, scissors, glue or tape, markers, crayons, and optional googly eyes. The projects are beginner-friendly, kid-approved, and flexible enough for preschoolers with help, elementary students working independently, or adults who claim they are “just supervising” while clearly enjoying the googly eyes a little too much.
Why Paper Snake Crafts Are a Great Activity
A paper snake craft is more than a cute reptile with a paper tongue. It is a hands-on activity that combines art, basic engineering, animal learning, and creative decision-making. Children can design repeating scale patterns, compare snake lengths, experiment with curves and coils, and learn how different paper shapes create movement.
For teachers and parents, paper snakes are wonderfully practical. The supplies are inexpensive. The setup is fast. Cleanup is manageable unless glitter enters the building, in which case the glitter has legally moved in. Paper snake crafts also fit many themes: rainforest animals, reptiles, desert habitats, zoo units, Chinese zodiac lessons, spring crafts, summer camp projects, and fine motor skill practice.
Basic Supplies for Making Paper Snakes
Before choosing your favorite snake style, gather a small craft station. You do not need fancy supplies, but sturdy paper makes the final snake easier to display and play with.
Recommended Materials
- Construction paper, printer paper, cardstock, or paper plates
- Child-safe scissors
- Glue stick, craft glue, or tape
- Markers, crayons, colored pencils, or washable paint
- Googly eyes, stickers, or paper circles for eyes
- Red paper for a forked tongue
- Pencil and ruler for guide lines
- String or yarn if you want to hang the snake
Safety note: Adults should supervise young children when scissors are used. If the project uses a hole punch, stapler, or hot glue gun, keep those tools in adult hands. Paper snakes are friendly. Burnt fingertips are not part of the lesson plan.
Method 1: Make a Spiral Paper Plate Snake
The spiral paper plate snake is one of the easiest and most satisfying versions because it naturally curls downward when lifted. It looks impressive, but the structure is simple: draw a spiral, decorate it, cut along the line, and add a head, eyes, and tongue. Suddenly, the humble paper plate becomes a hanging serpent with flair.
Best For
This method is ideal for preschool, kindergarten, elementary classrooms, rainy-day crafts, reptile lessons, and quick decorations. It is also great for practicing scissor control because children cut along one long curved line.
What You Need
- One paper plate
- Markers, crayons, or paint
- Pencil
- Scissors
- Glue
- Googly eyes or paper eyes
- Small strip of red paper for the tongue
- String for hanging, optional
Step-by-Step Instructions
- Draw the spiral. Turn the paper plate over and use a pencil to draw a spiral line from the outer edge toward the center. Leave a slightly larger rounded area in the center for the snake’s head.
- Decorate before cutting. Color the plate with stripes, dots, diamonds, zigzags, or rainbow scales. Decorating first is easier because the plate is still flat.
- Cut along the spiral. Carefully cut from the outside edge along the pencil line until you reach the head shape in the middle.
- Shape the head. Round the center into a snake head if needed. You can trim the edges slightly to make it look less like a pancake thinking about reptiles.
- Add eyes and a tongue. Glue on googly eyes or draw eyes with marker. Cut a small forked tongue from red paper and glue it under the head.
- Hang it up. Punch or poke a small hole near the tail end, thread string through it, and hang the snake from a ceiling, window, doorway, or classroom display board.
Design Ideas for a Spiral Snake
Try a rainforest snake with green and yellow scales, a desert snake with tan and brown patterns, or a totally imaginary neon snake that looks like it escaped from a birthday party. Bubble wrap printing can create a scaly texture, while pom-pom painting gives the snake a playful spotted look. For a science connection, show kids photos of real snakes and ask them to copy patterns such as bands, blotches, or diamonds.
Method 2: Make a Paper Chain Snake
A paper chain snake is perfect when you want a longer, more flexible craft. It is made from paper loops linked together, just like a classic paper chain decoration. Add a snake head at one end and a tail at the other, and the result is a cheerful slithering friend that can stretch across a table, wall, bulletin board, or kid’s bedroom shelf.
Best For
This paper snake project works well for classrooms, group activities, pattern lessons, counting practice, and collaborative crafts. Each child can decorate a few strips, then the class can connect them into one giant snake. Warning: children may request that the snake become “longer than the hallway.” Proceed bravely.
What You Need
- Construction paper or light cardstock in two or more colors
- Scissors
- Glue stick, tape, or staples
- Markers or crayons
- Paper for the head, tail, and tongue
- Googly eyes, optional
- Ruler and pencil, optional
Step-by-Step Instructions
- Cut paper strips. Cut 12 to 20 strips of paper, depending on how long you want the snake. A good beginner size is about 1 to 1.5 inches wide and 8 inches long.
- Decorate the strips. Draw scales, dots, stripes, stars, hearts, zigzags, or repeating patterns. This is a sneaky way to practice math patterns while everyone thinks they are just making a reptile.
- Make the first loop. Bend one strip into a circle and glue or tape the ends together.
- Add the next loop. Thread another strip through the first loop, bend it into a circle, and glue or tape the ends.
- Continue the chain. Keep adding loops until the snake reaches the desired length.
- Create the head. Draw and cut out a snake head from cardstock or construction paper. Add eyes, nostrils, and a smiling or mysterious snake expression.
- Add the tongue and tail. Cut a red forked tongue and glue it to the underside of the head. Cut a tail shape and attach it to the last loop.
- Attach the parts. Glue or tape the head to the first loop and the tail to the final loop.
Creative Paper Chain Snake Variations
Make a color-pattern snake by alternating green and yellow loops. Make a “countdown snake” by writing one number on each loop and removing a loop each day before a zoo trip, birthday, or classroom event. Make a habitat snake by drawing leaves, rocks, logs, or water patterns on the loops. You can also challenge kids to measure their snake with a ruler, compare lengths, or predict how many loops it will take to reach across a table.
Method 3: Make an Accordion Paper Snake
The accordion paper snake is the wiggliest of the three methods. It uses folded strips of paper to create a springy body that expands and contracts. This is the craft to choose when you want a snake that moves when gently pulled, pushed, or bounced in your hand.
Best For
This method is excellent for older preschoolers, elementary-age kids, fine motor practice, early origami-style folding, and anyone who loves crafts that feel like toys. The folding takes a little more patience, but the result is wonderfully lively.
What You Need
- Two long strips of construction paper in the same or different colors
- Glue or tape
- Scissors
- Paper for the head and tongue
- Markers or crayons
- Googly eyes, optional
Step-by-Step Instructions
- Cut two strips. Cut two strips of paper about 1.5 to 2 inches wide. For a longer snake, tape two strips together end to end before folding.
- Form an L shape. Place one strip horizontally and the other vertically so the ends overlap like the letter L. Glue or tape the overlapping square.
- Start folding. Fold the bottom strip over the top strip. Then fold the other strip over it. Continue alternating folds, keeping the edges lined up.
- Finish the body. When you reach the end, glue or tape the final flap so the accordion does not unravel.
- Add a head. Cut a simple oval, triangle, or rounded snake head from paper. Glue it to one end of the accordion body.
- Add details. Attach eyes, draw nostrils, and glue on a forked tongue. Use markers to add scales along the folded body.
- Make it wiggle. Hold the head and tail gently and move the snake back and forth. The folded body should spring and bend like a tiny paper gymnast.
Tips for Better Accordion Folds
Use paper that is not too flimsy and not too thick. Printer paper folds easily but may tear faster. Construction paper gives better color and strength. Cardstock looks nice but can be harder for small hands to fold neatly. If a child gets frustrated, make the strips wider. Wider strips are easier to control and less likely to twist.
How to Decorate Your Paper Snake
Decoration is where the paper snake gets its personality. Real snakes have fascinating patterns, from bands and speckles to diamonds and blotches. Kids can use those as inspiration, or they can create a completely fictional snake species. The “Rainbow Couch Python” is not in any scientific textbook, but it has excellent interior design potential.
Pattern Ideas
- Stripes: Easy for beginners and great for repeating color practice.
- Dots: Simple, playful, and perfect for markers or stickers.
- Diamonds: A classic snake-inspired design.
- Zigzags: Bold and energetic, especially on accordion snakes.
- Scales: Draw small U shapes or overlapping half-circles.
- Nature colors: Green, brown, tan, black, yellow, and orange create a realistic look.
- Fantasy colors: Purple, turquoise, silver, and neon pink create a snake with celebrity energy.
Learning Ideas to Pair With the Craft
A paper snake craft can easily become a mini lesson. Ask children where snakes live, how they move, what they eat, and why their patterns help them survive. You can compare the paper chain snake to real snake movement by discussing how a flexible body bends. You can also connect the spiral snake to shape vocabulary: circle, curve, coil, center, outside edge, and spiral.
For math practice, count the paper chain loops, create AB or ABC color patterns, measure the finished snake, or compare whose snake is longer. For literacy, invite kids to name their snake and write a short story about where it lives. For science, pair the activity with a child-friendly reptile book or a short lesson about habitats such as forests, grasslands, wetlands, and deserts.
Common Mistakes and Easy Fixes
The Spiral Snake Tears While Cutting
Use a thicker paper plate or cardstock circle. Make the spiral wider so the snake’s body is not too thin. Younger children may need an adult to start the cut.
The Paper Chain Falls Apart
Use tape instead of glue if the project needs to hold immediately. If using glue, press each loop for a few seconds and let it dry before moving the snake around.
The Accordion Snake Looks Twisted
Check that each fold is straight and alternates over the previous strip. Wider strips help beginners keep the fold neat.
The Snake Looks Too Plain
Add texture. Use stickers, small paper scraps, tissue paper, bubble wrap printing, or marker patterns. A few bold details can make even a simple snake look finished.
Which Paper Snake Method Should You Choose?
Choose the spiral paper plate snake if you want a fast hanging decoration. Choose the paper chain snake if you want a long, colorful craft that works well for groups. Choose the accordion paper snake if you want a moving paper toy that children can wiggle and play with after crafting.
For the easiest version, start with the paper chain snake. For the best classroom display, make spiral snakes and hang them at different heights. For the most interactive finished craft, make the accordion snake. Of course, the true champion move is to make all three and create a full paper snake habitat. Add paper leaves, rocks, a sun, and a dramatic sign that says, “Reptile Research Center.” The living room may never recover, but the creativity will be worth it.
Extra Experience: What Making Paper Snakes Teaches in Real Life
One of the best experiences related to making paper snakes is watching how quickly children move from following directions to inventing their own rules. At first, they may ask, “Where do I put the eyes?” or “What color should the snake be?” A few minutes later, they are explaining that their snake lives in a volcano, eats marshmallows, and only travels on Tuesdays. That is the quiet power of a simple craft: it gives kids a structure, then leaves enough room for imagination to run wild.
The spiral paper snake is especially fun in group settings because every child’s version turns out differently. Some children color carefully inside each section, while others cover the entire plate in energetic scribbles and announce that it is camouflage. When the spiral is cut and lifted, there is usually a little moment of surprise. The flat plate stretches into a hanging coil, and suddenly the craft feels alive. That transformation is memorable because children can see how a single line changes the whole shape.
The paper chain snake creates a different kind of experience. It is slower, more repetitive, and great for building patience. Children learn that one loop does not look like much, but ten or fifteen loops become something impressive. This makes it a useful craft for teaching persistence. It also invites teamwork. In a classroom, each student can decorate one or two links, then the links can be joined into one giant snake. The final craft becomes a shared project rather than an individual worksheet. It says, “We made this together,” which is a pretty good message for a pile of paper strips.
The accordion snake often brings the most laughter because it moves. Once children understand the fold-over-fold pattern, they become very serious about making the body longer. Then they test the springiness, wiggle it across the table, and compare which snake has the best bounce. This method can be a little challenging at first, but that is part of its value. It teaches that careful folding creates better movement. A crooked fold is not a disaster; it is feedback. The snake still works, just with extra personality.
From a parent or teacher’s perspective, paper snake crafts are wonderfully forgiving. The materials are cheap, the steps are flexible, and mistakes rarely ruin the project. A torn tail can become a shorter snake. Uneven loops can become a “wavy species.” A misplaced eye can become a very alert reptile. These little imperfections help children learn that art does not have to be perfect to be successful.
Paper snakes also make great conversation starters for kids who are curious about animals. After making a snake, many children become more interested in real reptiles. They ask whether snakes blink, how they smell, why they shed skin, and whether all snakes are dangerous. A simple craft can open the door to science, reading, and observation. That is why this project works so well for home learning and classroom units: it starts with scissors and glue but can lead naturally into bigger questions.
Most importantly, making paper snakes creates a screen-free moment where kids can use their hands, make choices, solve small problems, and proudly display something they made. Whether the finished snake hangs from the ceiling, curls on a shelf, or becomes the star of an imaginary jungle adventure, it carries the best part of crafting: the joy of turning everyday materials into something memorable.
Conclusion
Making a paper snake is simple, affordable, and surprisingly full of learning opportunities. With just paper, scissors, glue, and a little creativity, you can make a spiral snake, a paper chain snake, or an accordion snake that wiggles like it has somewhere important to be. Each method offers a different experience: one coils, one stretches, and one bounces. Together, they give kids a fun way to practice cutting, folding, pattern making, measuring, storytelling, and creative thinking.
Whether you are planning a classroom reptile lesson, a weekend craft, a homeschool activity, or a quick project for a rainy afternoon, these three paper snake ideas are easy to adapt for different ages and skill levels. Keep the supplies simple, encourage bold patterns, and let every snake have its own personality. After all, a paper snake does not need to be realistic to be wonderful. Sometimes the best snake is the one with polka dots, one googly eye slightly higher than the other, and a name like Sir Slithers McNoodle.