If you have ever stood over a three-foot putt and thought, “I should really practice this more,” then building a backyard putting green probably sounds like a brilliant idea. And honestly, it is. A good putting green can turn an ordinary yard into a golf-friendly escape, a conversation piece, and a sneaky way to get outside more often. It can also become a swampy patch of regret if you skip the planning and build it like you are making a sandbox for extremely competitive adults.
The good news is that learning how to make a putting green is absolutely doable. The trick is deciding what kind of green you want, building the right base, and being brutally honest about how much maintenance you are willing to do. A natural grass putting green can feel amazing, but it behaves like a tiny golf course and demands real attention. A synthetic putting green is easier to live with and usually easier for homeowners to install, especially if your goal is reliable practice instead of full-time turf management.
This guide walks you through both options, shows you how to avoid the classic mistakes, and helps you end up with a green that actually rolls true instead of one that looks like a fancy welcome mat after a thunderstorm.
Start With the Big Decision: Natural Grass or Synthetic Turf?
Before you buy a single shovel, cup, or roll of turf, choose your lane. This is the part where dreams meet maintenance schedules.
Choose a Natural Grass Putting Green if:
- You want the closest thing to real golf-course feel.
- You are prepared for frequent mowing, irrigation, topdressing, and ongoing turf care.
- You have strong sunlight, good air movement, and a site that drains well.
- You do not mind that your yard project has suddenly become a small agricultural operation with a golf addiction.
Choose a Synthetic Putting Green if:
- You want low maintenance and predictable ball roll.
- You want a project that is more realistic for a DIY homeowner.
- You live in a hot, dry area or simply do not want to mow a green four or more times a week.
- You value practice time more than turf science heroics.
For most homeowners, a synthetic backyard putting green is the smarter choice. For serious golfers who love the craft of turf care and want a more authentic experience, natural grass can be magical. Just know that “magical” and “high maintenance” are roommates.
Step 1: Pick the Right Location
A putting green is only as good as its site. If you put it in the wrong place, the rest of the project becomes an expensive lesson in gravity, shade, and drainage.
Look for an area with:
- Good drainage: Avoid low spots where water collects after rain.
- Plenty of sun: Especially important for natural grass, since putting-green turf likes strong sunlight and does not love heavy shade.
- Air movement: Stagnant, boxed-in corners stay wetter and create more turf problems.
- Safe surroundings: Keep the green away from windows, cars, and the neighbor who already suspects your hobbies are getting out of hand.
- Convenient access: If it is too far away or awkward to use, you will visit it less often.
If your yard slopes, that is not a deal-breaker. In fact, gentle contours can make the green more interesting. But they must be intentional. Random lumpy grades create random frustration. Water should move off the surface smoothly, and puddles should not form in the middle of the putting area.
Step 2: Design the Size, Shape, and Breaks
This is the fun part. You get to pretend you are a golf architect, only with less television coverage.
For a simple home project, start with one of these layouts:
- Small practice green: Great for short putts, easy upkeep, easier budget control.
- Medium green with two or three cups: Better variety and more usable practice angles.
- Green with fringe or chipping area: Best if you want short-game practice beyond straight putts.
Keep the contours subtle. Home putting greens usually work best with gentle breaks instead of dramatic roller-coaster slopes. A ball should move with a little personality, not take a sightseeing tour. If you are building a synthetic green, shape the base before the turf goes down. If you are building a natural green, the finished grade matters even more because bad contours affect drainage, mowing, and turf health.
A smart beginner move is to install cups near edges or on mild shoulders rather than dead-center in every area. That gives you more putting angles and more useful practice without making the surface too severe.
Step 3: Gather Materials and Tools
Your exact list depends on whether you are building a natural or artificial putting green, but the basics are similar.
Common Tools
- Shovels and rakes
- Wheelbarrow
- Level and string line
- Plate compactor or roller
- Utility knife
- Tape measure
- Marking paint
For a Synthetic Putting Green
- Weed barrier fabric
- Crushed rock, decomposed granite, or compactable aggregate
- Putting-green turf with a short pile designed for golf
- Seaming tape and turf adhesive
- Golf cups and flags
- Infill, if recommended by the manufacturer
For a Natural Grass Putting Green
- Drainage pipe and gravel
- Sand-based root zone or a professionally designed growing mix
- Grass seed, sod, or sprigs depending on region and species
- Golf cups
- Reel mower
- Irrigation plan or reliable watering system
Step 4: Build the Base Like You Mean It
If there is one place to avoid shortcuts, it is the base. The surface you play on is only as good as what is underneath it. A pretty green over a bad base is just a delayed complaint.
How to Build a Synthetic Putting Green Base
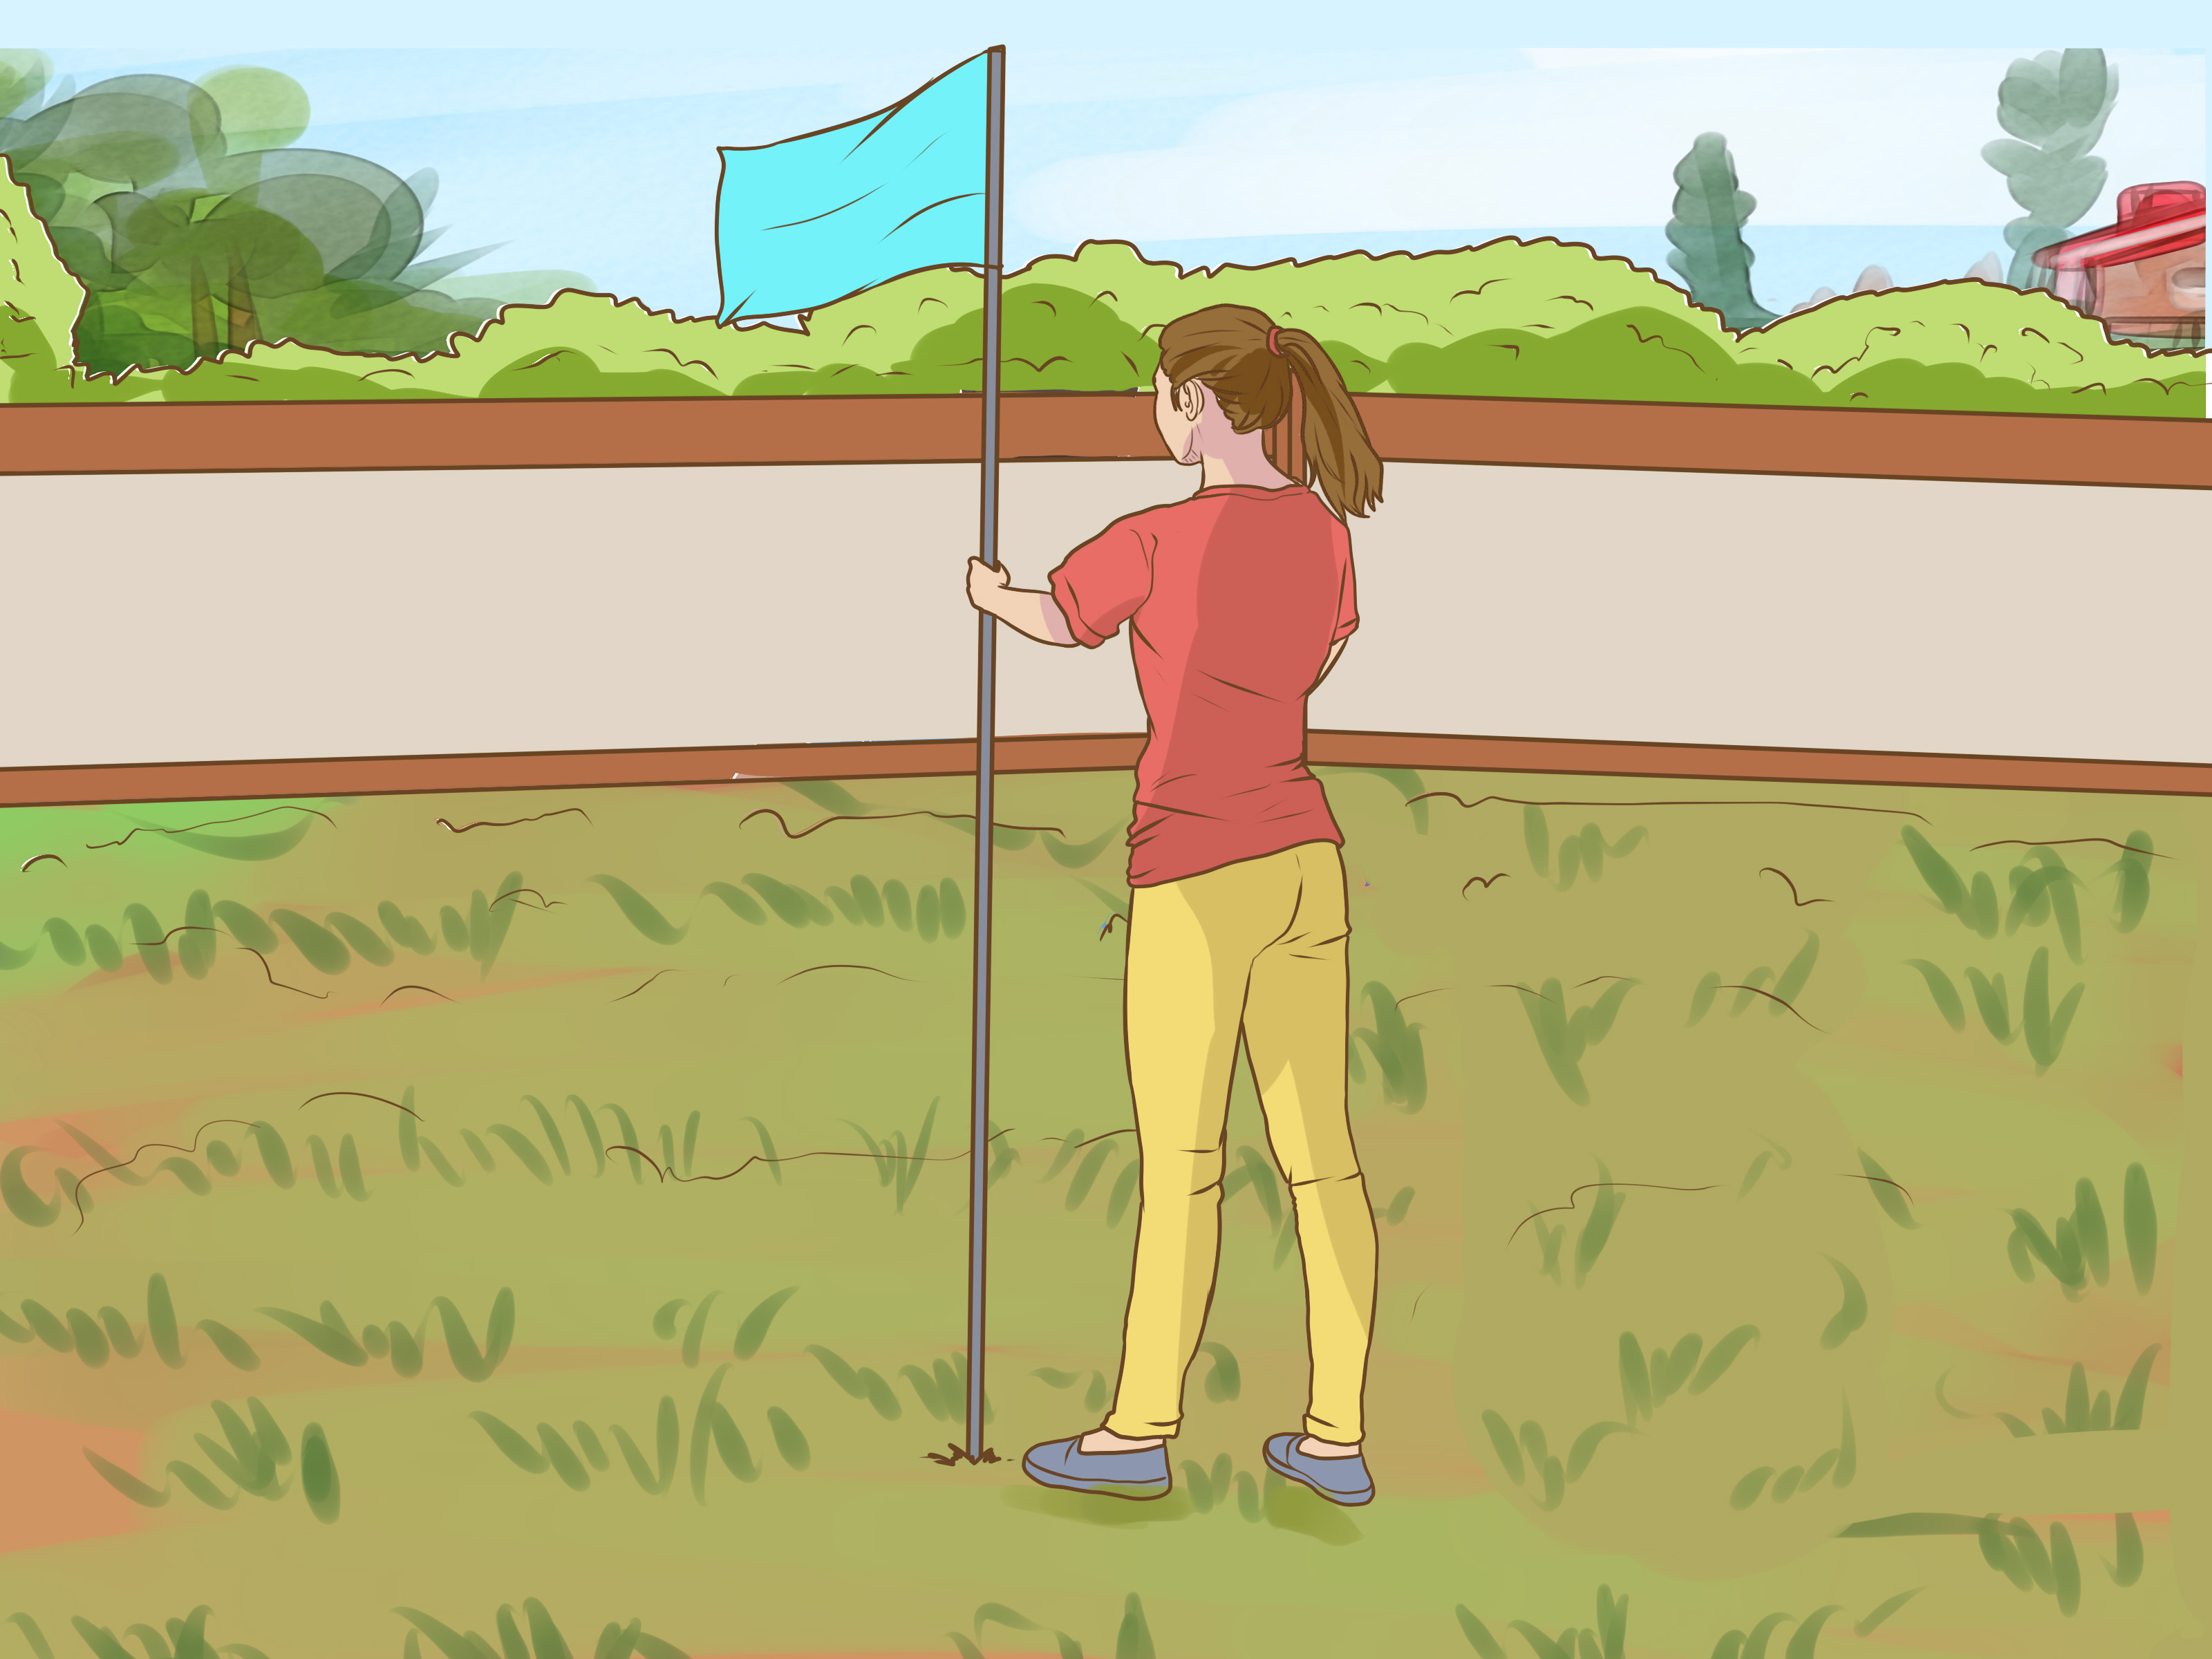
- Mark the shape. Outline the design with paint or a garden hose.
- Remove sod and organic material. Strip out grass, roots, and debris.
- Excavate the area. Depth varies by system, but many DIY installations remove several inches of soil to make room for the base.
- Add weed barrier if desired. This helps reduce weed growth from below.
- Install and compact the base. Use crushed rock, decomposed granite, or compacted aggregate in lifts, compacting each layer thoroughly.
- Shape the contours. This is where you create the breaks and make sure water flows off the surface.
- Set the cups. Place them before the turf goes down, and give each one a path for drainage if your system calls for it.
A great synthetic green usually has a firm, smooth, compacted base with gentle contours and no soft pockets. If the base is uneven, the turf will not hide it. It will announce it every time a ball wobbles off line.
How to Build a Natural Grass Putting Green Base
This is where things get more serious. A real grass putting green is not just lawn in a fancy shape. Proper greens depend on fast drainage, a carefully chosen root zone, and a surface designed to handle very low mowing heights.
If you want a true, high-performance natural green, follow professional-style construction methods with drainage, gravel, and a sand-based root zone. If your budget does not allow that, a simplified native-soil green may be possible, but it will not perform like a golf-course green and will be less forgiving in wet weather.
For a live-turf green, the essential ideas are simple:
- Make water move away quickly.
- Avoid mixed soil layers that trap moisture.
- Use a root zone that supports close mowing and healthy roots.
- Do not build a tiny putting green in a poorly drained bowl and expect heroics.
Step 5: Pick the Best Grass for Your Region
Grass choice matters more than brand-new golf shoes and almost as much as believing your last missed putt was “a good read.”
Best Grass for Northern Areas
Creeping bentgrass is the classic choice for premium cool-season putting greens. It has fine texture and excellent ball-roll potential, but it is also demanding. It needs frequent mowing, careful watering, aeration, and overall high-maintenance care. If you want natural grass and live in a cooler region, bentgrass is usually the conversation starter.
Best Grass for Southern Areas
Bermudagrass is the warm-season favorite for many southern greens. It loves heat, prefers full sun, and handles drought better than bentgrass. But if you want extremely low cutting heights, your surface must be very level, and you will usually need a reel mower. Shade is not its best friend.
Here is the simple rule: choose turf that fits your climate instead of trying to bully the climate into obedience. Nature rarely loses that argument.
Step 6: Install the Turf or Establish the Grass
Installing Synthetic Turf
Roll out the turf over the finished base and let it relax if needed. Trim carefully around the perimeter, cups, and edges. If you use multiple pieces, seam them neatly so the lines disappear as much as possible. Secure the turf according to the system you bought, then brush the fibers upright and apply infill if the manufacturer recommends it.
Use turf made specifically for putting, not general landscape turf. Putting surfaces need a tighter, shorter finish so the ball rolls cleanly instead of bouncing like it is escaping jury duty.
Establishing Natural Grass
For live turf, installation depends on species and region. You may seed, sod, or sprig the surface. During establishment, consistency matters: light traffic, proper moisture, and patience. Once the turf fills in and roots firmly, you can gradually lower the mowing height and begin managing the surface like a true green.
Do not rush the mowing height down too fast. That is how a promising green becomes a stressed patch of disappointment. Healthy density comes first. Speed comes second.
Step 7: Add Fringe, Collar, and Finishing Touches
A good putting green looks better and plays better when it has a clean edge treatment. Add a collar or fringe around the putting surface if space allows. On synthetic greens, the fringe can frame the green and make chip shots more fun. On natural greens, it creates a smoother transition and helps the project look intentional instead of accidentally golf-shaped.
You can also add:
- Stone or paver edging
- A chipping mat or apron
- Landscape lighting
- Benches or storage for practice gear
- Shrubs or planting beds that do not block sun or airflow
Step 8: Maintain It So It Stays Good
Synthetic Putting Green Maintenance
- Brush the surface regularly to keep fibers upright.
- Remove leaves and debris.
- Rinse occasionally if dust builds up.
- Check edges and seams.
- Top up infill if needed.
In other words, synthetic greens ask for basic housekeeping, not a full turf-management thesis.
Natural Grass Putting Green Maintenance
- Mow frequently with a reel mower.
- Water deeply and wisely, preferably in the morning.
- Topdress with sand as needed to smooth the surface.
- Watch for disease, weeds, and thatch.
- Aerate or vent when necessary.
- Feed the turf carefully rather than randomly dumping fertilizer because the bag looked confident.
Natural greens reward detail. They also punish laziness fast. If you want a living putting surface, respect the workload from day one.
Common Mistakes to Avoid
- Ignoring drainage: Water is undefeated.
- Building in deep shade: Turf quality drops fast when sunlight disappears.
- Creating overly steep contours: Fun on paper, annoying in real life.
- Using the wrong turf: Landscape turf and putting turf are not the same thing.
- Skipping compaction: Loose bases settle, shift, and ruin roll.
- Underestimating natural-grass maintenance: A live green is a commitment, not a weekend fling.
Example: Two Smart Backyard Putting Green Approaches
Example 1: The Practical Weekend Golfer
A homeowner with a modest yard chooses a small synthetic green with two cups, a gentle left-to-right break, and fringe around the outside. It drains well, looks sharp year-round, and takes minimal upkeep. This is the best setup for someone who wants easy practice and no mowing drama.
Example 2: The Serious Golf Addict
A golfer in a cooler climate builds a natural bentgrass green with proper drainage, a sand-based root zone, and a reel mower ready for action. The result can be outstanding, but only because the owner treats maintenance like part of the hobby instead of an annoying afterthought.
Final Thoughts
If you want to know how to make a putting green that actually feels good to use, the answer is simple: choose the right location, build the base carefully, pick the right surface for your climate and lifestyle, and never treat drainage like a side quest. That is the difference between a putting green that improves your short game and one that becomes an oddly expensive patch of yard art.
For most people, synthetic turf is the best path to a successful DIY putting green. It is more forgiving, easier to maintain, and far more realistic for a home project. If you crave the real thing and are ready for the maintenance, a natural grass putting green can be fantastic. Just go into it with your eyes open, your reel mower ready, and your optimism properly supervised.
Experience: What It’s Really Like to Build and Live With a Putting Green
One of the most interesting things about building a backyard putting green is that the project changes from “landscaping idea” to “small obsession” almost overnight. At first, most people imagine the fun part: rolling putts at sunset, showing it off to friends, and casually pretending the ten-footer they just made was no big deal. Then the project starts, and reality arrives wearing work gloves.
The first real surprise is how much the base matters. People often begin the job thinking the visible surface is everything, but after a few hours of excavation and grading, it becomes painfully obvious that the invisible part is doing most of the work. A smooth roll does not come from luck. It comes from slow, picky, slightly annoying preparation. You compact. Then you check. Then you rake. Then you compact again. Somewhere in that process, you realize golf has tricked you into becoming very interested in subgrade consistency.
Another common experience is learning that “small slope” and “too much slope” are separated by a very thin line. What looks exciting on paper can feel ridiculous once a ball starts racing away like it owes the IRS money. Homeowners who end up happiest are usually the ones who stay subtle. A gentle break feels realistic. A dramatic break feels like your backyard was designed by a game-show host.
For people who choose synthetic turf, the biggest satisfaction usually comes right after installation. Suddenly the space looks finished, polished, and usable. It feels like you added something both recreational and architectural. The green becomes part of the yard instead of just another project living in the garage. You can practice for ten minutes, or forty-five, and there is a weird joy in being able to walk outside with a putter and no tee time.
For people who choose natural grass, the experience tends to be more emotional. When it looks good, it feels amazing. The ball roll has a living quality that synthetic surfaces try hard to imitate. But the maintenance becomes part of the story. You start noticing weather in a new way. You care about heat, shade, moisture, and mower settings with the intensity of someone monitoring a spaceship landing. It is rewarding, but it is not casual.
Over time, the best part of having a putting green is not just practice. It is how often it gets used. Kids try it. Friends challenge each other. Even people who do not play much golf tend to wander over and take a few putts. It becomes one of those rare backyard upgrades that is both personal and social. And if you build it well, it keeps paying you back in short-game reps, fresh air, and the simple pleasure of seeing a putt track exactly where you wanted it to go.