Note: This guide is for hobby display customs, gifts, and collector art. A customized pony with paint, glue, tiny accessories, wire, beads, clay, or sealant should not be treated as a factory-tested toy for small children, especially children under 3.
Customizing a My Little Pony is one of those crafts that starts innocently: “I’ll just repaint the eyes.” Three hours later, you are holding tweezers, arguing with synthetic hair, and naming your new glittery vampire pegasus “Moonbeam Tax Deduction.” Welcome to the herd.
The good news is that making a custom My Little Pony does not require a professional studio. With a clean “bait” pony, acrylic paint, replacement doll hair, a few simple tools, patience, and a well-ventilated workspace, you can transform an old or duplicate pony into a one-of-a-kind character. This easy guide with pictures walks you through planning, cleaning, removing old paint, rehairing, repainting, sealing, styling, and photographing your finished custom.
What Does It Mean to Customize a My Little Pony?
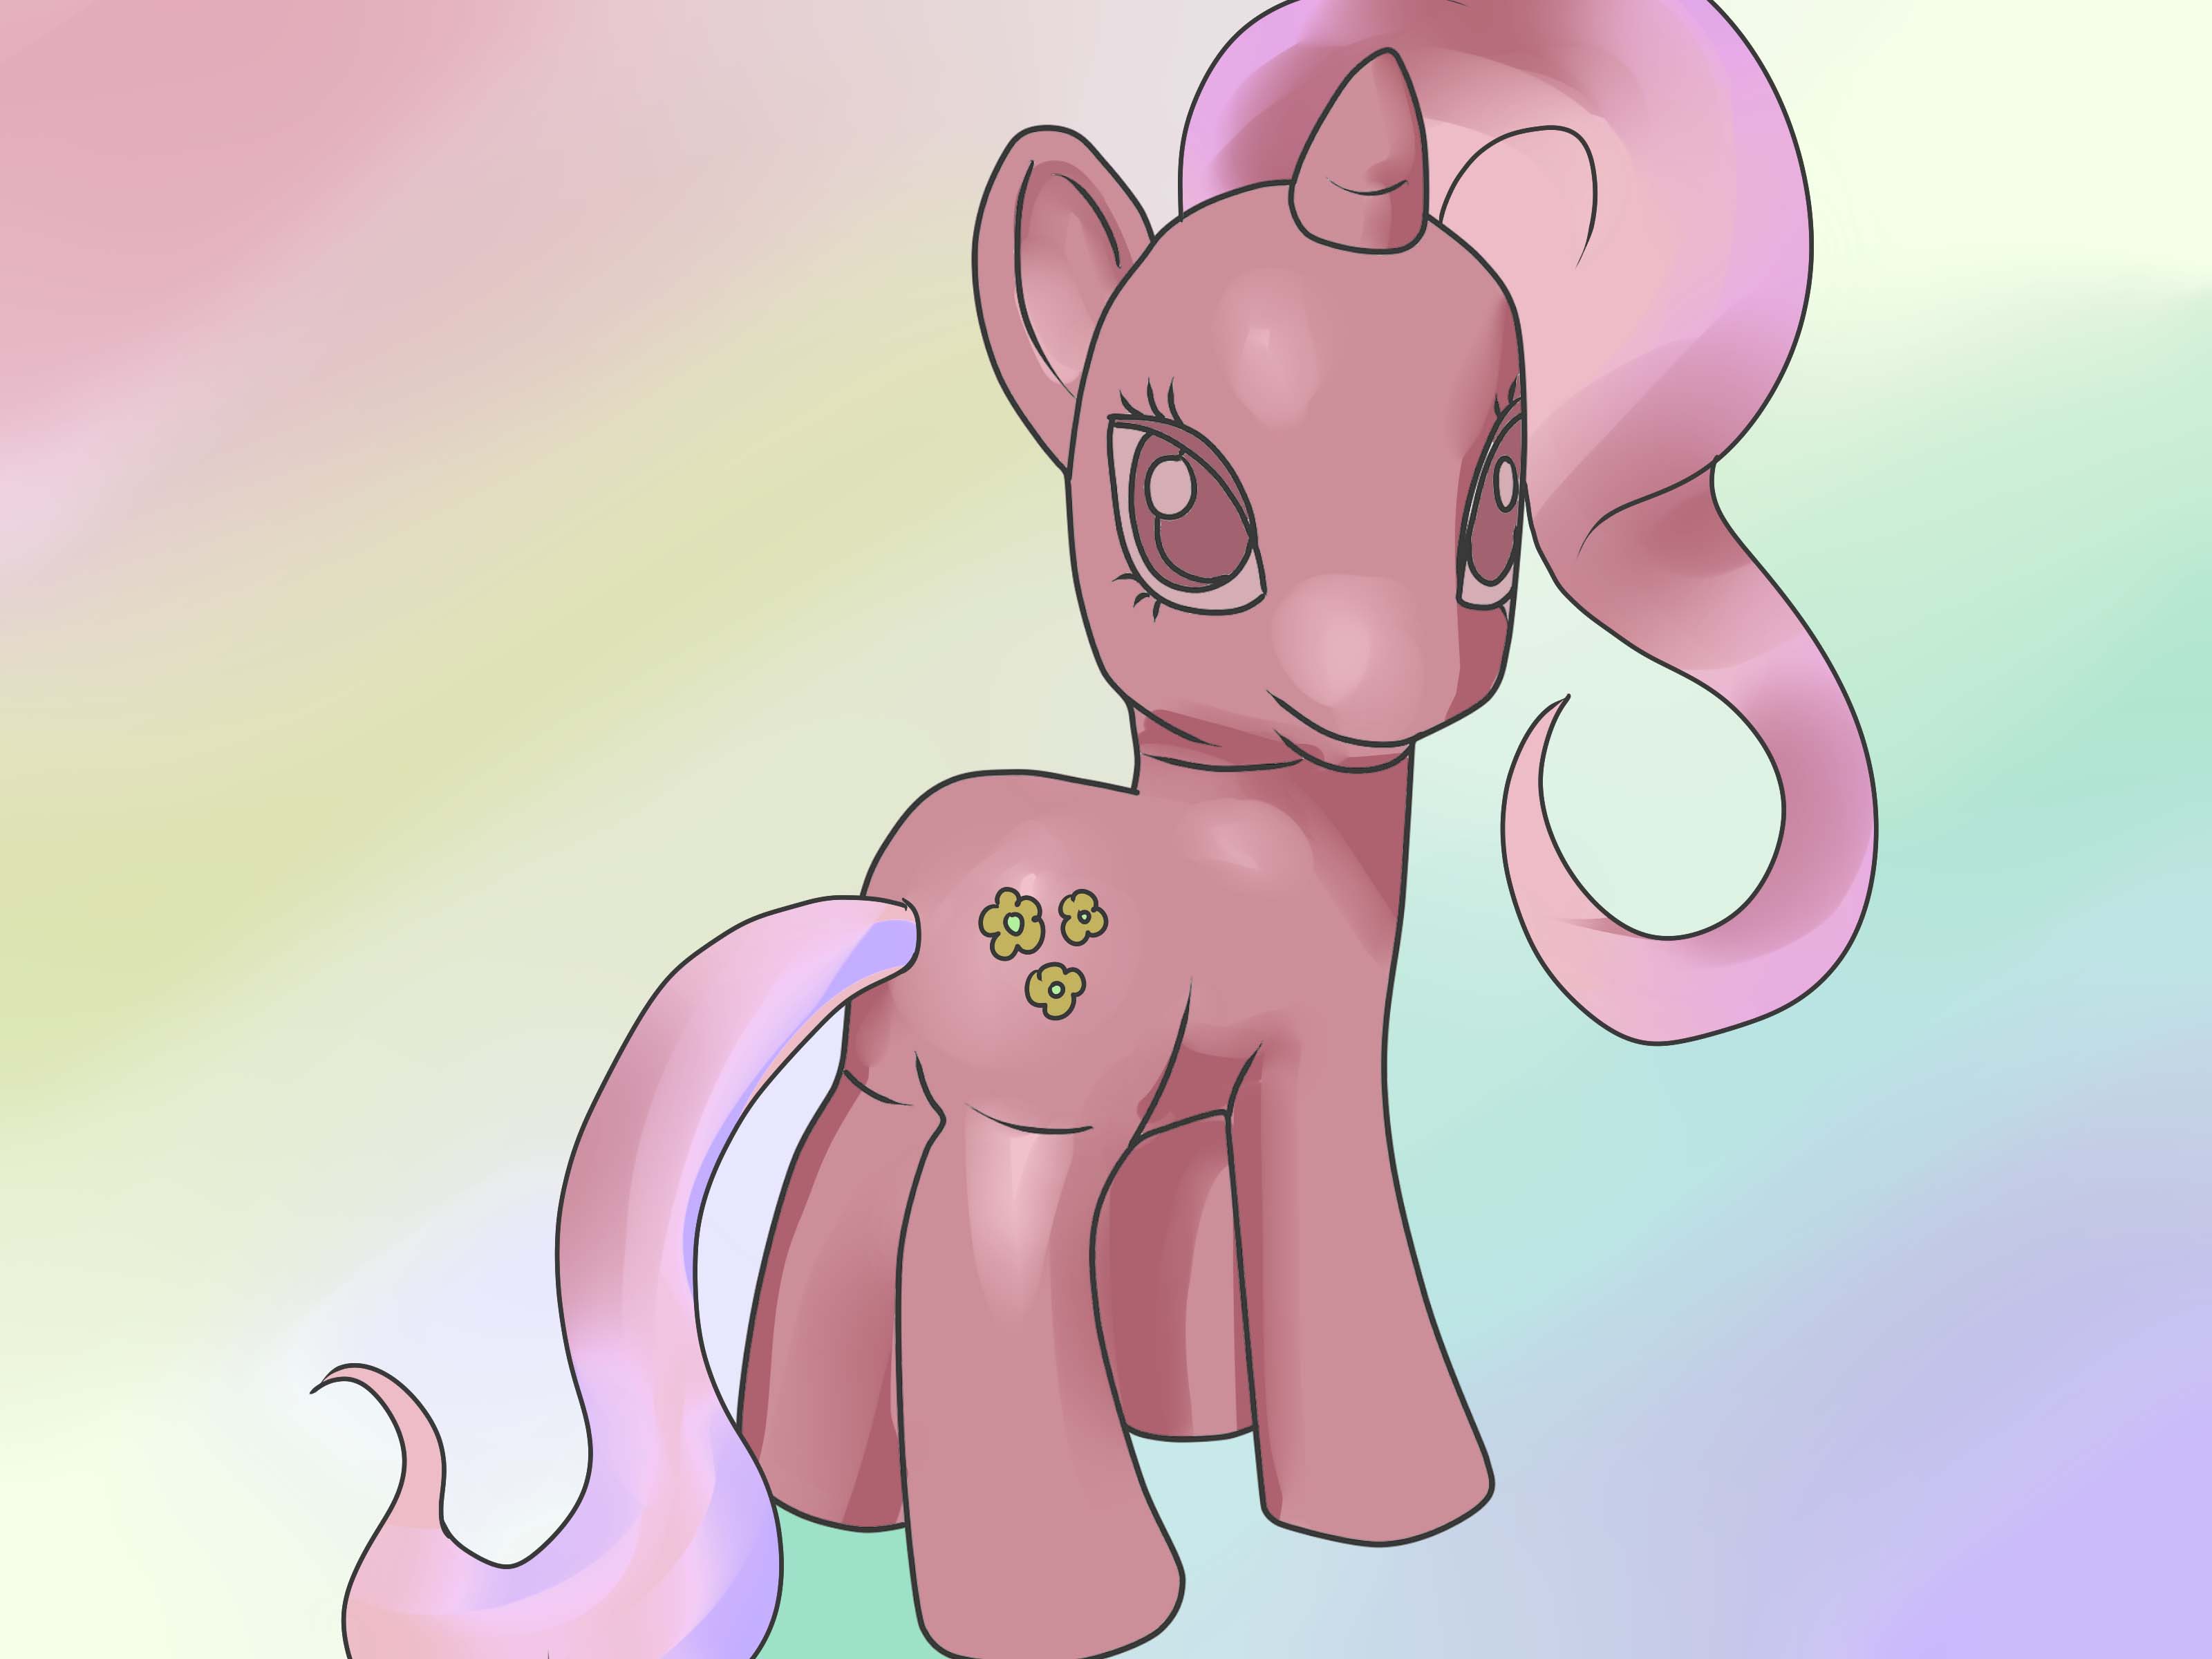
To customize a My Little Pony means to alter an existing pony figure into a new design. Some artists make subtle restorations, such as repainting worn symbols or replacing frizzy hair. Others create full custom ponies with new body colors, sculpted wings, fantasy horns, painted eyes, tiny accessories, dramatic hair blends, and themed cutie marks.
Most beginners start with a damaged or common pony, often called a “bait pony.” A bait pony may have marker stains, missing hair, faded symbols, or scuffed paint. Instead of customizing a rare collector piece, choose a pony that already needs help. Think of it as giving a tired little plastic horse a second career in show business.
Supplies You Need to Customize a My Little Pony
Before you begin, gather your tools. Customizing becomes much easier when you are not hunting for a needle while your pony is sitting there half bald and judging your life choices.
Basic Materials
- A bait My Little Pony figure
- Mild dish soap and a soft toothbrush
- Cotton swabs and paper towels
- 100% acetone or acetone-based nail polish remover for removing factory paint
- Acrylic paints in your chosen colors
- Small detail brushes
- Matte or satin acrylic sealant
- Replacement doll hair, such as nylon, saran, or similar synthetic hair
- Rerooting tool or long needle and strong thread/floss
- Craft glue suitable for vinyl or plastic
- Fine scissors and tweezers
- Optional: air-dry clay, epoxy clay, glitter, beads, rhinestones, ribbons, decals, or fabric scraps
Safety Supplies
- Disposable gloves
- Eye protection when pulling metal tail washers or cutting wire
- A mask or respirator if sanding, spraying sealant, or using strong fumes
- A well-ventilated area away from flames, pets, and children
Acetone can remove factory paint quickly, but it is also strong, flammable, and drying to skin. Use it sparingly, keep it away from open flames, and wash the pony afterward with soap and water. If you are customizing with kids, let an adult handle acetone, cutting tools, sealants, and glue.
Step 1: Choose the Right Pony Base

The best beginner base is a common pony with a simple pose and no complicated molded accessories. A pony with missing hair, marker spots, or scratched symbols is perfect. Avoid very valuable vintage ponies unless you are restoring them carefully instead of completely redesigning them.
Look at the body shape and imagine what it wants to become. A standing pony can make a royal guard, forest fairy, galaxy pony, or cottagecore unicorn. A pony with wings can become a dragon, moth, angel, bat, or celestial character. A unicorn base is great for fantasy customs because the horn already does half the dramatic work for you.
Step 2: Plan Your Custom Pony Design

Do not skip the planning stage. A quick sketch helps you decide the body color, mane colors, eye style, symbol, theme, and finishing details. Your sketch does not need to be fancy. Even a rough drawing with notes like “purple body, mint hair, moon symbol, tiny stars, not terrifying” is enough.
Choose a theme that is easy to explain in one sentence. For example: “a strawberry garden pony,” “a storm cloud pegasus,” “a Halloween witch pony,” or “a galaxy unicorn with silver stars.” A clear theme keeps your design from becoming a craft-store explosion with hooves.
Beginner-Friendly Custom Ideas
- Pastel rainbow pony: Soft body color, blended mane, small cloud or heart symbol.
- Galaxy pony: Dark body, white stars, metallic details, blue and purple hair.
- Flower garden pony: Green or pink body, painted vines, tiny flower cutie mark.
- Ocean pony: Teal body, pearl accents, wave symbol, seafoam hair.
- Birthday pony: Confetti symbols, bright mane, cupcake or balloon design.
Step 3: Clean the Pony Thoroughly

Wash the pony with warm water, mild dish soap, and a soft toothbrush. Scrub gently around the hooves, ears, neck seam, and tail hole. If the pony has old hair, wash and detangle it only if you plan to keep it. If you are removing the hair anyway, do not spend an hour lovingly conditioning doomed bangs.
Let the pony dry completely before painting. Water trapped inside the body can cause problems later, especially with vintage ponies. If you removed the head, allow both the head and body to air-dry with openings facing downward.
Step 4: Remove Old Hair and Factory Paint

To remove the mane, cut the hair close to the scalp. Then use tweezers or small pliers to pull the remaining plugs from inside the head. Many ponies have glue inside the head, so go slowly. For the tail, older ponies may have a metal washer or clamp inside the body. Pulling it out may require pliers and patience. Wear eye protection because tiny metal pieces can be sharp.
To remove factory-painted eyes or symbols, dampen a cotton swab with acetone and rub carefully. Acetone can also affect the vinyl if left sitting too long, so use small amounts and wipe quickly. After removing paint, wash the area with soap and water to remove residue.
Step 5: Decide Whether to Repaint the Whole Body
You have two main options: keep the original body color or do a full body repaint. Keeping the original body color is easier and more durable for beginners. A full repaint gives you total creative freedom, but it requires smoother brushwork, more drying time, and better sealing.
If you repaint the full body, use thin layers of acrylic paint rather than one thick coat. Thick paint can peel, crack, or leave brush marks. Thin coats dry more evenly and look more professional. A makeup sponge can help create a soft, airbrushed effect when gently pounced over the surface.
Painting Tips for a Smooth Finish
- Wash your hands before handling the pony so oils do not affect the paint.
- Thin acrylic paint slightly with water or acrylic medium.
- Apply several light coats instead of one heavy coat.
- Let each coat dry before adding the next.
- Use a tiny brush for eyes, symbols, lashes, and highlights.
- Seal between major stages if you are worried about smudging.
Step 6: Paint the Eyes and Cutie Mark

The eyes and cutie mark give your custom pony personality. Start with the largest shapes first, then add details. For eyes, paint the white or base area, then the iris color, pupil, shine marks, lashes, and final outline. For the cutie mark, use your sketch as a guide. A tiny pencil mark can help you place the design before painting.
If your hands shake, rest your wrist on the table and turn the pony instead of twisting your brush hand. A toothpick can be useful for dots, stars, freckles, and tiny highlights. Remember: symmetrical eyes are nice, but personality matters more. A slightly uneven eye can look charming. A wildly uneven eye can look like your pony has just seen the future. Both are technically storytelling.
Step 7: Rehair the Mane

Rehairing is the step that scares many beginners, but it becomes easier once you understand the rhythm. Cut small sections of doll hair, fold each section, and insert it into the mane holes using a rerooting tool. Work from one end of the mane line to the other. Use smaller plugs than you think you need; oversized plugs can split the vinyl or make the hair look bulky.
If you do not have a rerooting tool, you can use the floss method. Thread a long needle with strong thread or dental floss, pass it through a mane hole, loop the hair, and pull the hair plug into place. It is slower, but it works well and is friendly for beginners who do not want to buy special tools yet.
After the mane is rooted, add glue inside the head to secure the plugs. Let the glue dry completely before brushing or styling. Do not rush this part. Wet glue and enthusiastic brushing are not friends; they are the beginning of a tiny hair disaster.
Step 8: Make and Attach the Tail
A pony tail is usually made from a larger bundle of hair folded in half and secured through the tail hole. Some customizers use a washer or zip tie inside the body. Others use glue and thread. The goal is simple: the tail should stay put when gently styled.
Choose tail colors that match or complement the mane. You can blend two or three colors for a more magical look. For example, a moon pony may have navy, silver, and lavender hair. A strawberry pony might use red, pink, and pale green. A spooky pony could use black, violet, and electric green, because subtlety is not invited to every party.
Step 9: Add Sculpted Details and Accessories

Once the body, hair, and painted details are complete, you can add extras. Air-dry clay or epoxy clay can create horns, wings, flowers, armor, crowns, shells, tiny pumpkins, or dragon scales. Lightweight accessories work best because heavy pieces may fall off or make the pony unstable.
For a beginner custom, choose one focal accessory instead of covering the entire pony. A small crown, a sculpted necklace, or a few flowers around one hoof can look elegant. Too many details can compete with each other and turn your pony into a walking craft drawer.
Step 10: Seal the Paint
Sealing protects your paint from scratches, dust, and handling. Use a matte or satin acrylic sealant for a soft professional finish. Gloss sealant can be beautiful for eyes, gems, water effects, or candy-themed ponies, but it can look too shiny on the whole body unless that is your goal.
If using spray sealant, work outdoors or in a very well-ventilated area and follow the label directions. Apply light coats, not a wet blast. Let each coat dry fully. If using brush-on sealant, choose a soft brush and avoid overworking the surface.
Step 11: Style the Hair

Once everything is dry, style the mane and tail. You can trim the hair straight, curl it around straws, braid it, twist it into buns, or leave it long and flowing. Warm water can help set synthetic hair into gentle curls, but avoid extreme heat unless you know the fiber can handle it.
For curls, wrap small sections of damp hair around straws or curlers and secure them with clips. Let the hair dry completely before removing the curlers. For sleek hair, comb gently from the ends upward to avoid pulling out plugs.
Step 12: Photograph Your Finished Custom Pony
A finished custom deserves a mini photoshoot. Use natural light near a window, a plain background, and a clean surface. Take pictures from the front, both sides, and close-ups of the eyes, cutie mark, mane blend, and accessories. If you plan to share your custom online or sell it, clear pictures matter almost as much as the customization itself.
Try adding simple props that match the theme. A garden pony can stand near small silk flowers. A galaxy pony can pose against dark paper with silver stars. A winter pony can stand on white felt that looks like snow. Just make sure the props do not overwhelm the main character: the pony is the star, not the decorative pinecone lurking in the background.
Common Mistakes Beginners Should Avoid
Using Too Much Paint
Thick paint is the enemy of smooth customs. It creates texture, hides molded details, and can peel. Thin layers win every time.
Skipping the Cleaning Step
Paint does not love dust, oils, or mystery grime from a thrift store bin. Wash the pony first and let it dry completely.
Overloading Hair Plugs
Too much hair in each hole can stretch or split the vinyl. Use small, even plugs for a cleaner mane.
Forgetting Safety
Acetone, sealant, glue, wire, and tiny decorations require care. Work in a safe space, read product labels, and keep small parts away from young children.
Customizing a Rare Pony by Accident
Before repainting a vintage pony, check whether it is rare or valuable. Some ponies are better restored than redesigned. When in doubt, customize a common duplicate.
Easy Custom My Little Pony Project for Beginners
Here is a simple first project: a “Cloudberry Dream” pony.
Design Plan
- Body: Original light pink or lavender body
- Mane: Pink, white, and pale blue synthetic hair
- Eyes: Soft blue with white highlights
- Cutie mark: A cloud with three tiny berries
- Accessories: Small ribbon at the tail base
Why This Project Works
This design is beginner-friendly because it does not require a full body repaint. You only need to remove the old symbol, repaint the eyes if desired, reroot the hair, and paint a simple cutie mark. The colors are soft, forgiving, and easy to blend. Even if your cloud is slightly lumpy, it still looks like a cloud. Nature is generous like that.
How to Make Your Custom Pony Look Professional
The secret to a professional-looking custom is restraint. Clean lines, smooth paint, balanced colors, and neat hair styling make a bigger difference than adding twenty accessories. Choose a color palette of three to five main colors. Repeat those colors in the hair, eyes, symbol, and accessories so the design feels intentional.
Another trick is to add highlights and shadows. A tiny white dot in each eye makes the pony look alive. A thin darker outline around the cutie mark helps it stand out. A little metallic paint on a crown, horn, or symbol can make the finished piece feel special without turning it into a disco ball on hooves.
How to Care for a Custom My Little Pony
Custom ponies are art pieces, not rough-play toys. Keep them away from direct sunlight, heat, damp storage, and sticky hands. Dust them gently with a soft brush. Avoid soaking them in water after customization because moisture can loosen glue, affect sealant, or damage accessories.
If the mane becomes messy, comb it gently from the ends upward. If an accessory falls off, reattach it with an appropriate craft glue. If paint chips, touch it up with a fine brush and reseal the area. With careful handling, a custom My Little Pony can remain bright and display-ready for years.
Real-Life Experience: What Customizing a My Little Pony Teaches You
The first time you customize a My Little Pony, you may expect a relaxing afternoon craft. And parts of it are relaxing. Washing the pony, choosing colors, and sketching a design can feel peaceful. Then you try to remove old hair from inside the head, and suddenly you are negotiating with a plastic toy like it owes you rent.
That is part of the fun. Customizing teaches patience in a way few crafts do. You quickly learn that rushing creates problems. If you paint before the pony is dry, the surface may look uneven. If you seal before the paint cures, details can smear. If you brush the hair before the glue sets, your beautiful mane may slide out like a dramatic wig reveal. The craft rewards slow, careful work.
One of the best experiences is watching the character appear little by little. At first, the pony looks like a plain base with missing hair. Then the new body color changes its mood. The eyes add emotion. The cutie mark gives it a story. The mane creates movement. By the time you style the tail and add the final highlight, the pony no longer feels like a toy you changed. It feels like a character you met.
Mistakes are also surprisingly useful. A crooked symbol might inspire a vine design that wraps around the leg. A paint smudge can become a star, freckle, flower, or beauty mark. Hair colors that looked strange in the package may look amazing once blended. Customizing a My Little Pony often proves that creativity is not about avoiding mistakes; it is about making mistakes look planned.
Another helpful lesson is that simple customs can be more beautiful than complicated ones. Beginners often want to add glitter, wings, jewelry, clay flowers, painted socks, metallic hooves, eyelashes, freckles, and possibly a small emotional support dragon. Those ideas can be wonderful, but a clean design with one strong theme usually photographs better and feels more polished. A strawberry pony with a neat red-and-pink mane and one perfect berry symbol can be more memorable than a pony carrying the entire contents of aisle seven at the craft store.
Customizing also connects you with a generous collector and artist community. Many hobbyists share tips about cleaning old ponies, matching hair colors, fixing frizz, painting symbols, rerooting manes, and choosing sealants. Looking at other artists’ work can teach you techniques, but it can also help you find your own style. Some customizers love soft pastels. Others create gothic ponies, fantasy creatures, food-themed ponies, seasonal designs, or elaborate sculpted art pieces. There is room in the stable for all of them.
If you are making your first custom, start small and finish it. Do not wait until you have every perfect supply or a flawless idea. Choose a simple theme, use a common bait pony, and learn as you go. Your first custom may not be gallery-level, but it will teach you more than reading twenty tutorials without touching a brush. Plus, when you place that finished pony on your shelf, you get the small but mighty joy of thinking, “I made that.”
Conclusion
Learning how to customize a My Little Pony is a creative mix of restoration, painting, doll hair work, design, and storytelling. Start with a common bait pony, clean it well, remove old paint and hair carefully, plan a clear theme, repaint in thin layers, reroot with patience, seal your work, and style the hair once everything is dry. The process may look intimidating at first, but each step is manageable when you take your time.
Whether you create a pastel garden pony, a glittering galaxy unicorn, a spooky Halloween pegasus, or a simple restored childhood favorite, the best custom is one that reflects your imagination. Give yourself permission to learn, make mistakes, laugh at the tiny disasters, and keep improving. Every custom pony begins as a plain figure. With a little paint, hair, and personality, it can become something completely magical.