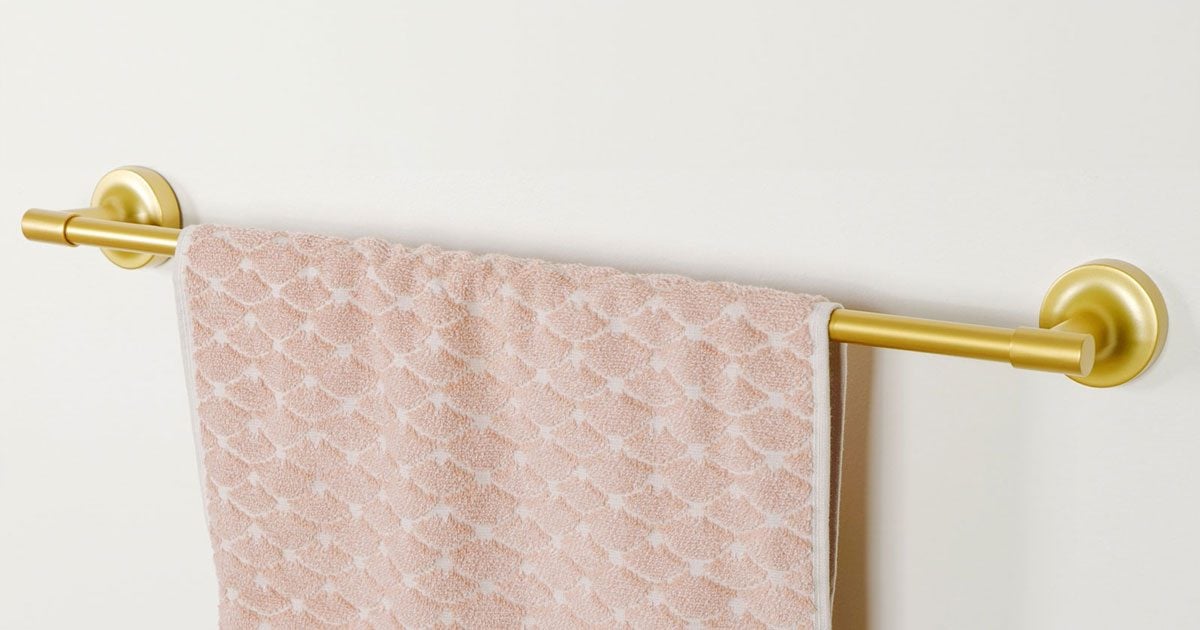
A bathroom towel bar looks innocent enough. It just sits there, all polished and respectable, pretending it has an easy life. But in reality, a towel bar lives in a high-moisture, high-traffic, high-yank environment where damp towels get tugged, twisted, and occasionally used as a balance beam by someone who absolutely should know better. That is why so many towel bars loosen, wobble, or launch themselves off the wall like they are quitting the job.
The good news is that a towel bar does not have to be temporary bathroom jewelry. With the right installation method, you can permanently anchor a towel bar so it stays straight, strong, and drama-free for years. The trick is knowing when a basic drywall anchor is enough, when a heavy-duty anchor is smarter, and when the truly permanent fix is to add solid wood backing behind the wall. In this guide, we will walk through the best ways to install a bathroom towel bar, how to avoid the common mistakes that make hardware fail, and how to get a result that looks clean and holds like it means business.
Why Bathroom Towel Bars Fail in the First Place
Before installing a towel bar the right way, it helps to understand why the wrong way fails so often. A lot of homeowners install a towel bar using the tiny plastic anchors that come in the package. Those anchors may be fine for very light duty, but bathrooms are not light-duty spaces. Wet towels weigh more than dry ones, people tug down instead of lifting off, and repeated movement slowly enlarges the holes in drywall.
Moisture does not help either. Bathrooms see humidity spikes every day, and while that does not automatically destroy hardware, it can make weak installations feel weaker over time. Add a crooked bracket, an overtightened screw, or a bar mounted only to drywall with bargain-bin anchors, and you have the perfect recipe for the dreaded one-sided towel bar droop.
In plain English: towel bars fail when the load is carried by the drywall alone, when the anchor type is too weak for repeated pulling, or when the bar was not mounted level and tight from the start. A permanent installation solves all three problems.
What “Permanent” Really Means for Towel Bar Installation
When people say they want to permanently anchor a towel bar, they usually mean one of three things:
- The bar should not loosen after normal daily use.
- The brackets should not rip out of drywall.
- The hardware should stay level, solid, and repair-free for as long as possible.
There are three practical ways to get there. The best method depends on your wall, your tile situation, and how far you are willing to go.
1. Mount Directly Into Studs
This is the gold standard when the stud locations line up with your towel bar brackets. Screwing at least one side into a wall stud dramatically improves strength. If both ends can hit studs, even better. A towel bar anchored into framing has a much better chance of surviving years of daily use without loosening.
2. Use Better Drywall Anchors
If studs are not where you need them, do not panic. Plenty of bathrooms require hardware to be mounted between studs. The key is using the right drywall anchor. Heavy-duty toggle-style, winged, or high-quality self-drilling anchors generally outperform the flimsy plastic plugs that ship with many accessories. This is the difference between “installed” and “installed with confidence.”
3. Add Wood Blocking Behind the Wall
If you want the most permanent towel bar installation possible, this is the champion move. By opening the wall, adding solid wood blocking between studs, and then patching the wall, you create a secure wood surface behind the drywall exactly where the towel bar brackets need support. It is more work, yes. It is also the kind of fix that makes future you weirdly proud every time you hang a towel.
Best Location and Height for a Bathroom Towel Bar
Placement matters more than many people think. A towel bar should be convenient, allow the towel to hang flat, and keep fabric away from the toilet, baseboard heater, or floor. In many bathrooms, a standard towel bar height is about 48 inches from the floor, though that can shift depending on vanity height, user preference, and towel size.
For hand towels near a sink, the bar may be lower or mounted on the side of a vanity cabinet if wall space is tight. For bath towels, the goal is enough clearance for the towel to hang unfolded and dry properly. A towel bar placed too low creates a sad little cloth puddle. One placed too close to the shower can trap moisture and slow drying.
Before drilling anything, hold the actual towel up in place. This tiny step saves big regret.
Tools and Materials You May Need
- Tape measure
- Level
- Pencil
- Stud finder
- Drill and bits
- Screwdriver or driver bit
- Heavy-duty drywall anchors or toggle bolts
- Mounting screws
- Painters tape
- Tile bit if installing through ceramic or porcelain tile
- Safety glasses
- Wood blocking, drywall patch materials, and joint compound for the permanent in-wall method
How to Install a Bathroom Towel Bar So It Stays Put
Step 1: Find the Studs First
Even if you expect to use anchors, always start with a stud finder. If one or both brackets can land on studs, that is the strongest setup. Mark the stud centers lightly with pencil. It is common for the ideal bar location and stud spacing to disagree like two coworkers in a group project, but it is worth checking before moving on.
Step 2: Mark the Height and Bracket Positions
Measure up from the floor and mark your chosen height. Use a level to create a straight reference line. Then position the mounting template or bracket locations according to the towel bar’s instructions. Double-check the distance between brackets before drilling. Triple-check if you enjoy fewer wall repairs.
Step 3: Match the Fastener to the Wall Type
If you hit a stud, pre-drill a pilot hole slightly smaller than the screw and drive the bracket screws into wood. If you are mounting in drywall only, use anchors rated for repeated pull and moderate weight. If the wall is tiled, use the correct tile bit and work slowly to avoid cracking the tile.
Step 4: Drill Carefully and Keep the Bit Straight
Drill perpendicular to the wall. Crooked holes can make anchors sit poorly and brackets mount unevenly. If you are drilling through tile, place painters tape over the mark first to help prevent the bit from skating. Avoid drilling too close to tile edges, which are more prone to cracking than the center area of the tile.
Step 5: Install Anchors Without Overdoing It
For standard drywall anchors, drill the correct-size hole, insert the anchor flush to the wall, and drive the screw as directed. For self-drilling anchors, let the anchor do the work without forcing it. For toggle-style anchors, make sure the back side fully opens behind the drywall before tightening.
One of the most common mistakes in bathroom towel bar installation is overtightening. People get enthusiastic, the anchor spins or crushes the drywall, and suddenly the “secure” install becomes a repair project. Tighten until firm, not until your wrist starts negotiating.
Step 6: Attach the Brackets and Check for Level Again
Once the mounting hardware is in place, attach the brackets and confirm they are level. Small alignment errors become very visible once a long metal bar stretches between them. This is not the place for “close enough.” Bathrooms are unforgiving, and chrome loves exposing human optimism.
Step 7: Install the Bar and Tighten the Set Screws
Slide the bar into place, attach the decorative posts, and tighten the set screws. These little screws are easy to ignore until the bar rattles loose later. Snug them properly, but do not strip them. A tiny hex wrench deserves respect, not rage.
The Most Permanent Method: Add Wood Blocking Behind the Wall
If your towel bar keeps ripping out, or if you are remodeling and want the strongest installation possible, add wood blocking between the studs. This method creates a solid nailing surface behind the drywall so your screws go into wood exactly where you need them.
How It Works
You cut open the drywall in the towel bar area, expose the studs, and install a horizontal piece of lumber between them at the correct height. In some methods, the studs are notched so the wood backing sits flush. Then the wall is patched, finished, and painted. Once the surface is repaired, the towel bar brackets mount directly into the hidden wood backing.
Why It Is Worth It
This method spreads the load into framing instead of relying on drywall paper and hollow space. That makes it the best long-term solution for a family bathroom, a frequently used guest bath, or any installation where you are tired of pretending anchors will behave better this time.
When to Choose It
Choose wood blocking if:
- The old towel bar has failed more than once.
- The wall is already open for remodeling.
- You want a true permanent anchor, not just a stronger patch.
- The bathroom gets heavy daily use.
It is more labor, but it is also the method most likely to outlive your current paint color and possibly your current faucet trend.
Installing a Towel Bar on Tile Without Cracking Your Confidence
Tile adds beauty, durability, and just enough anxiety to make you question every drill bit in your toolbox. If your bathroom towel bar installation goes onto tile, slow down and use the correct bit for ceramic or porcelain. Mark carefully, tape over the mark, and drill at a controlled speed.
Whenever possible, place the holes near the center of the tile rather than near the edges. Edges are more vulnerable to cracking. Keep the drill level, apply steady pressure, and do not rush the process. Once you get through the tile, continue into the substrate behind it using the right anchor or stud-mounting approach.
If your tile is expensive, vintage, or emotionally intimidating, it is perfectly reasonable to practice on a spare tile first.
Mistakes That Make Towel Bars Loosen Fast
- Using the weak anchors included in the box without checking their quality.
- Skipping the stud finder and assuming there is no framing where you need it.
- Drilling oversized holes.
- Mounting into damaged drywall.
- Ignoring level during layout.
- Overtightening screws until the anchor fails.
- Using a towel bar as a grab bar. It is a towel bar, not a stunt double for safety hardware.
Repair or Replace an Existing Loose Towel Bar?
If the towel bar is loose but the hardware is still in good shape, you may be able to remove it, patch the damaged holes, and reinstall it using stronger anchors or a slightly adjusted location. But if the drywall is crumbling, the holes are enlarged, or the bar has failed repeatedly, it is smarter to start fresh.
Sometimes moving the brackets slightly higher or wider lets you catch a stud or reach undamaged wall. In other cases, especially in a remodel, opening the wall for blocking is the move that saves endless future annoyance.
How to Make Your Installation Last Longer
Even a well-installed towel bar benefits from a few common-sense habits. Do not overload it with multiple soaked bath sheets. Do not yank down on the towel while it is still hanging. Tighten any loose set screws before they become big problems. And if the bar is in a humid bathroom, use the exhaust fan so the room dries more quickly and the towels do not stay heavy and damp longer than necessary.
A well-mounted towel bar should feel boring. That is the dream. No wobble, no squeak, no mystery screw rolling under the vanity at 10 p.m. Just reliable bathroom hardware doing its tiny, noble job.
Experience and Real-World Lessons From Bathroom Towel Bar Installation
One of the most common experiences people report with bathroom towel bar installation is the false confidence that comes from the first five minutes. The bar comes out of the package looking sleek, the mounting template seems straightforward, and the included anchors appear to say, “Trust us, we’ve got this.” Then six weeks later, one side is wobbling like it has already given up on life. That is usually the moment the real lesson arrives: a towel bar is not tested by the installation day, but by repeated daily use.
Another frequent lesson is that location often matters just as much as hardware. Many DIYers install the bar in the visually perfect spot, only to realize the towel brushes the toilet tank, drapes into the vanity, or hangs too close to the shower where it never dries fully. In practice, the best-looking location and the best-performing location need to meet in the middle. A smart install considers reach, airflow, towel length, user height, and how people actually move through the bathroom. Real experience tends to humble the original “I’ll just eyeball it” approach.
There is also a pattern that shows up in older homes: the wall itself tells the story. Sometimes the drywall is softer than expected, the previous hardware left hidden damage, or the tile covers a substrate that is less forgiving than standard drywall. In those cases, a homeowner might start with a simple anchor replacement and end up learning that the wall needs repair before any new hardware goes in. It can feel annoying in the moment, but it is often the turning point between a temporary fix and a durable installation.
People who choose the in-wall wood blocking method almost always describe the same reaction afterward: it was more effort than they planned, but the finished result feels completely different. The bar no longer flexes. The screws bite into something solid. The hardware feels like part of the room rather than an accessory nervously clinging to painted gypsum. That is the hidden payoff of doing the permanent version properly. You stop thinking about the towel bar because it stops behaving like a future repair.
There is also a funny psychological shift that happens once someone installs one correctly. The next bathroom project gets approached with far less optimism and far more wisdom. Suddenly the drill bit is matched carefully to the anchor. The stud finder comes out before the pencil. The level becomes a trusted friend instead of an optional accessory. Real experience does not make DIYers cynical; it makes them precise.
And finally, the biggest lesson of all is this: bathroom hardware should match real life, not showroom fantasy. In a real home, towels are wet, hands are rushed, kids are enthusiastic, and guests assume everything on the wall is stronger than it probably is. A permanently anchored towel bar accounts for human behavior. It is not just about hanging a towel neatly. It is about installing something that can survive the wonderfully chaotic way bathrooms actually get used.
Conclusion
If you want a bathroom towel bar installation that lasts, the formula is simple: find studs whenever possible, upgrade your anchors when studs are not available, and use wood blocking behind the wall when you want the most permanent solution possible. Keep the bar level, choose a sensible height, drill carefully through drywall or tile, and avoid the weak shortcuts that turn simple hardware into repeat repairs.
A towel bar may not be the flashiest project in a bathroom makeover, but it is one of those details you notice every single day. Install it well, and it quietly does its job for years. Install it poorly, and it becomes the household’s smallest, shiniest source of irritation. Choose peace. Choose solid anchors. Choose the version of this story where the towel bar stays on the wall.