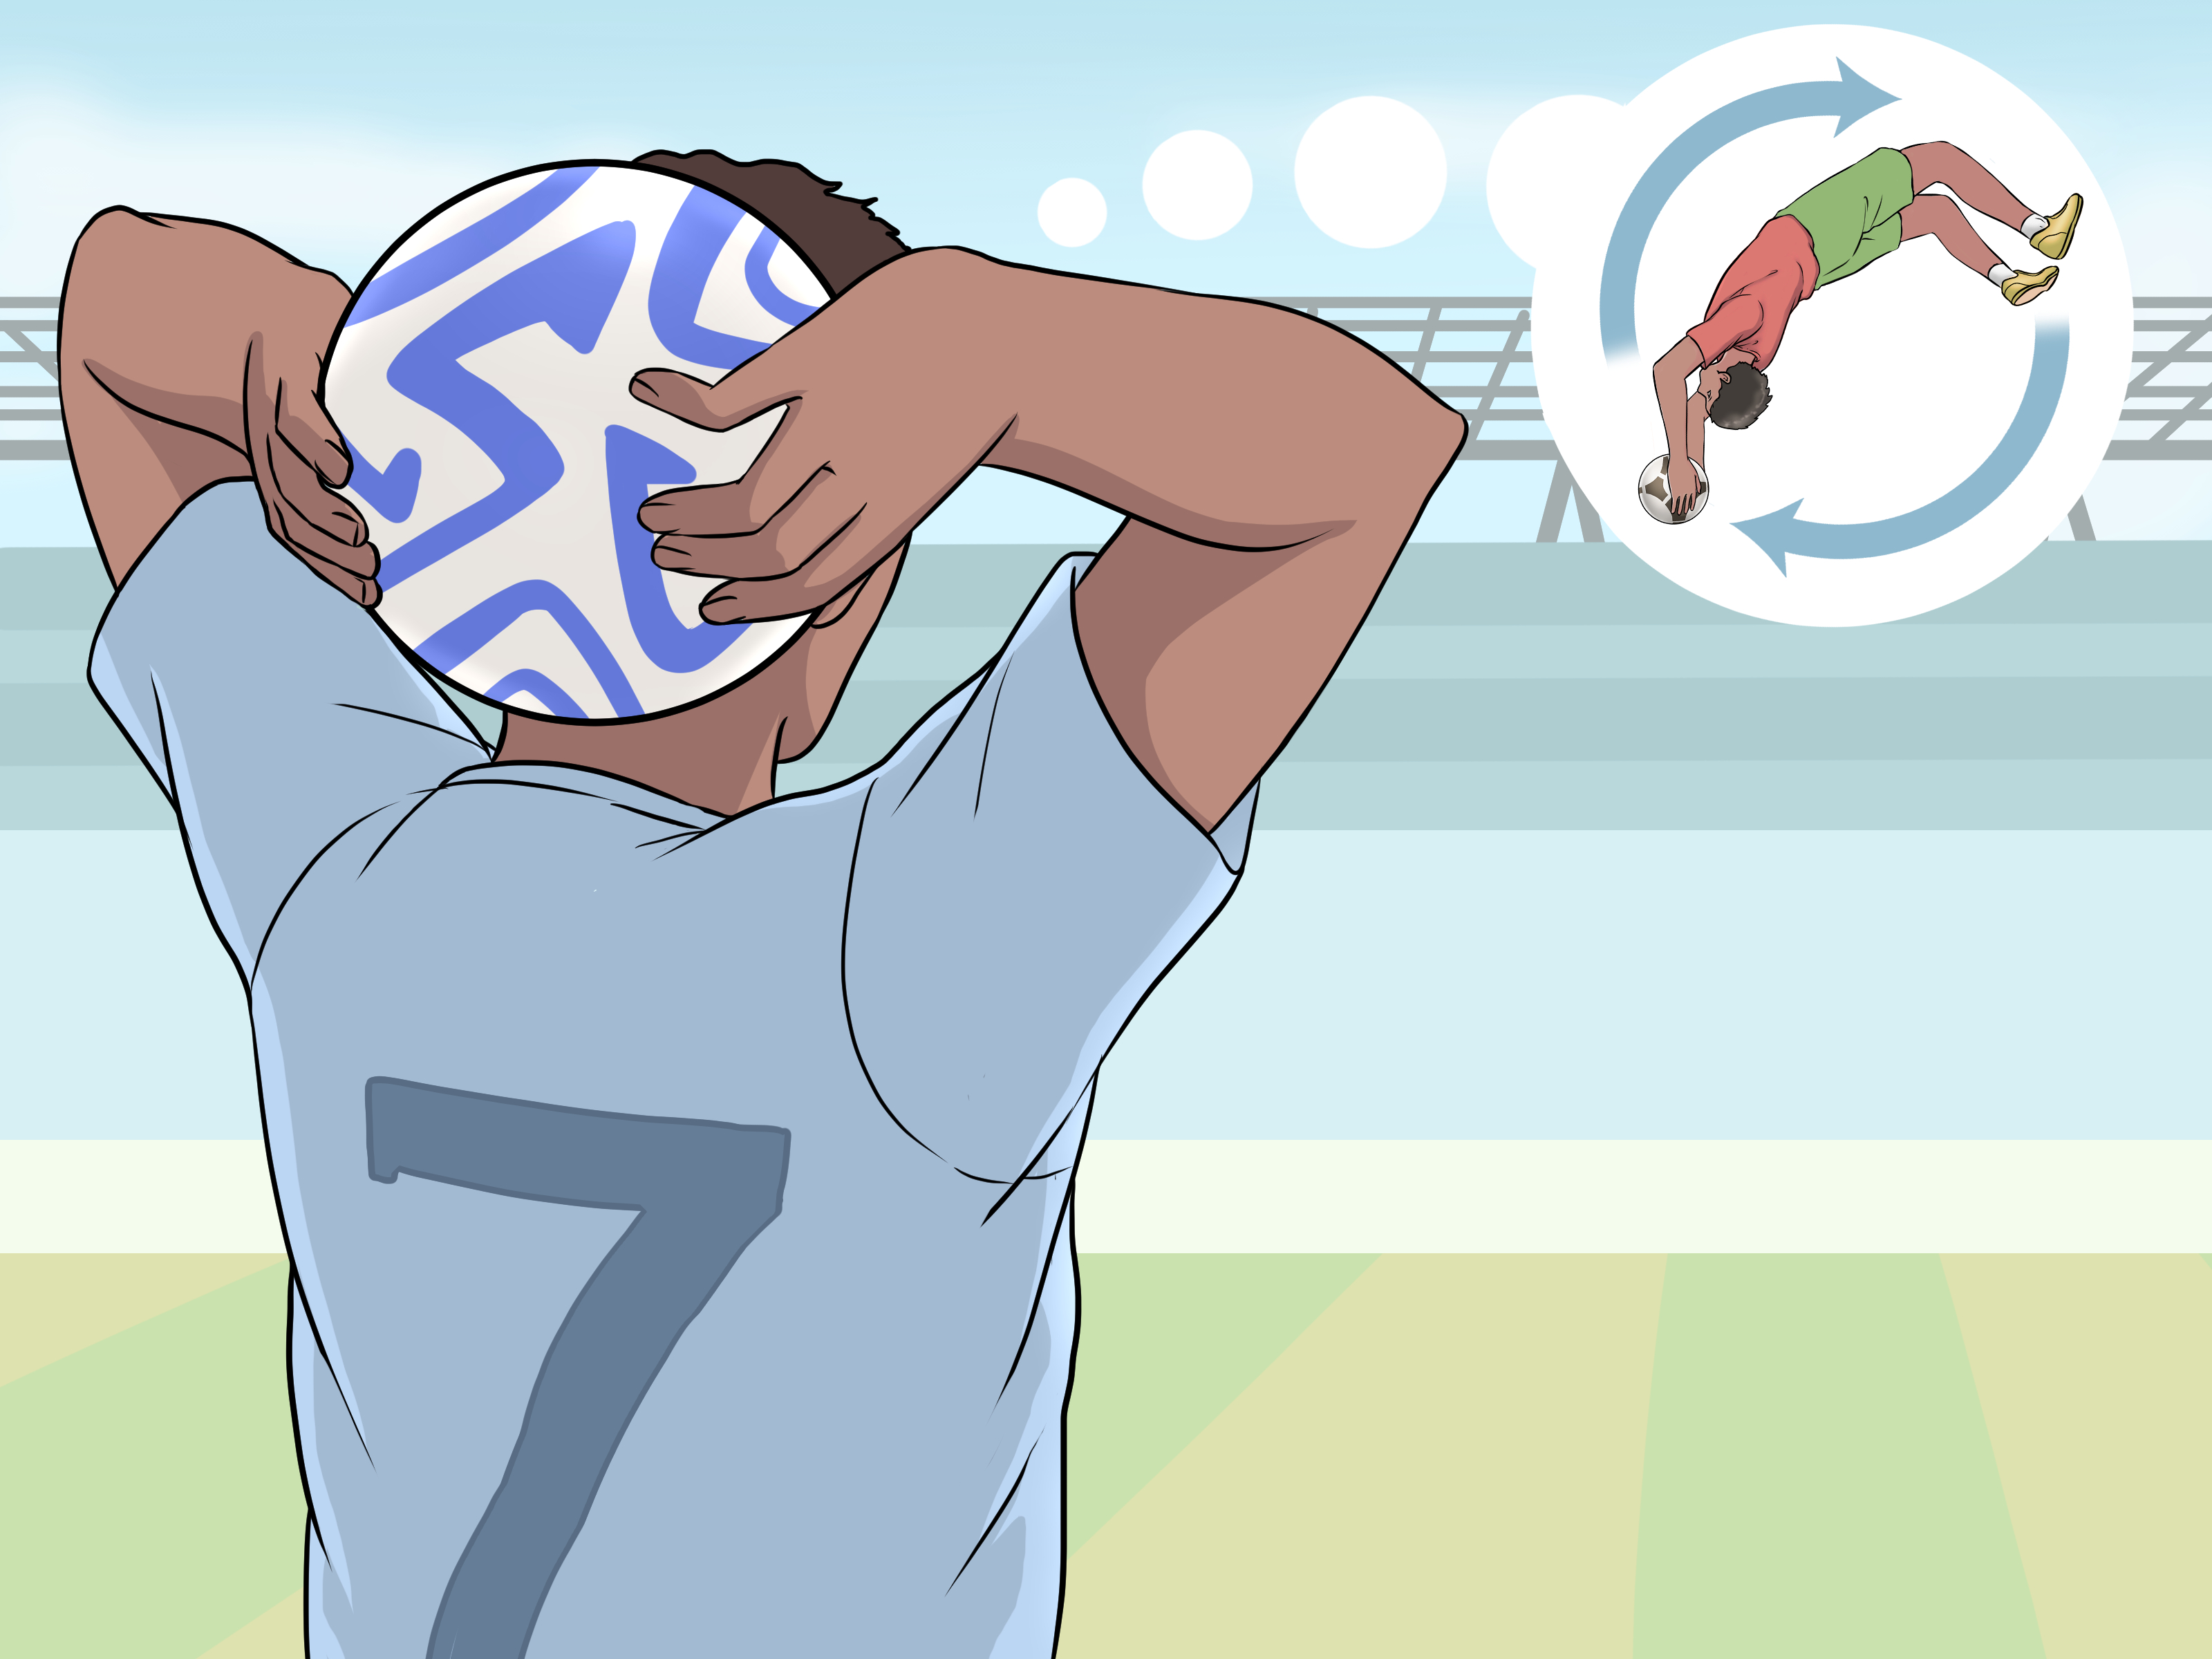
A flip throw in soccer is the move that makes everyone on the sideline suddenly look up from their water bottle. One second, a player is standing near the touchline. The next, they are doing a front handspring with a soccer ball and launching it into the penalty area like a human catapult with cleats. It is dramatic, useful, and, when done correctly, completely legal under the standard throw-in rules.
But here is the important part: a flip throw is not just a party trick. It is an advanced soccer throw-in technique that combines gymnastics, timing, upper-body strength, core control, and game awareness. Done well, it can turn a simple restart into a dangerous attacking chance. Done carelessly, it can become a quick lesson in why coaches say, “Let’s practice that on a safe surface first.”
This guide breaks down how to do a flip throw in soccer step by step, including the rules, body mechanics, training progressions, common mistakes, safety tips, and real-game strategy. Whether you are a player trying to add a new weapon to your game or a coach deciding whether your team should use it, this article will help you understand the flip throw without turning practice into a circus audition.
What Is a Flip Throw in Soccer?
A flip throw is an advanced version of a soccer throw-in where the player performs a front handspring while holding the ball, then releases the ball into play after completing the rotation. The motion creates extra momentum, which can help the ball travel farther than a standard standing or running throw-in.
In simple terms, the player uses the ground, arms, shoulders, core, hips, and legs to generate power. The ball is usually placed in the hands, brought forward toward the ground as the player enters the flip, and then released after the body rotates through the movement. When timed correctly, the throw can reach the penalty area from deep positions near the sideline.
The flip throw is most useful in the attacking third, especially when your team wants to send the ball into the box like a corner kick. It is not necessary for every throw-in. In fact, using it near your own defensive third is usually like bringing a marching band to a library: impressive, but not exactly practical.
Is a Flip Throw Legal?
Yes, a flip throw can be legal in soccer if it follows the standard throw-in requirements. The thrower must face the field of play, use both hands, deliver the ball from behind and over the head, and have part of each foot on the touchline or on the ground outside the touchline at the moment the ball is released.
The key phrase is “at the moment the ball is released.” During the flip, the player may temporarily be upside down or moving through a handspring. What matters is whether the final delivery satisfies the throw-in procedure. If both feet are not properly positioned when the ball leaves the hands, or if the ball is not thrown from behind and over the head using both hands, the referee can call a foul throw and award the throw-in to the other team.
Basic Legal Throw-In Checklist
- The thrower faces the field of play.
- Both hands are used to deliver the ball.
- The ball comes from behind and over the head.
- Part of each foot is on the touchline or outside the touchline when the ball is released.
- The throw is taken from the correct spot where the ball crossed the touchline.
- The thrower does not touch the ball again before another player touches it.
If you remember only one thing, remember this: a flip throw is not legal because it looks cool. It is legal only when it obeys the same rules as every other throw-in.
Who Should Try a Flip Throw?
A flip throw is best for players who already have good body control, strong shoulders, confidence in a front handspring motion, and experience with normal throw-in technique. It is not a beginner skill. Younger players should first master safe landing mechanics, basic tumbling progressions, and regular soccer throw-ins before attempting anything acrobatic.
Players with wrist, shoulder, back, neck, knee, or ankle problems should avoid flip throws unless cleared by a qualified coach, athletic trainer, or medical professional. The move places stress on the upper body and spine, especially during the hand plant and rotation. If your body says, “Absolutely not,” listen to it. Your body has excellent customer service when you pay attention.
Safety First: Before You Practice
Before learning how to do a flip throw in soccer, set up a safe training environment. Practice on grass or a quality turf surface that is dry, flat, and not slippery. Start without defenders nearby. Use a coach, trainer, or experienced spotter when learning the movement. If possible, begin on a gymnastics mat before moving to the field.
Do not practice flip throws on concrete, wet grass, muddy ground, uneven turf, or near walls, benches, bags, or other players. The ball and hands should be dry, because slipping during the hand plant can cause a rough fall. Cleats should have proper grip, but they should not catch awkwardly in the ground during landing.
Warm-Up Before Attempting a Flip Throw
- Jog lightly for 5 minutes to raise body temperature.
- Stretch wrists, shoulders, hips, hamstrings, and calves.
- Do arm circles, inchworms, lunges, and plank holds.
- Practice basic throw-ins to loosen the shoulders.
- Review front handspring mechanics without the ball.
The flip throw is powerful because it uses the whole body. That also means the whole body needs to be ready.
How to Do a Flip Throw in Soccer Step By Step
Now let’s break the movement into clear steps. Do not rush from step one to step ten in five minutes. A good flip throw is built gradually, like a sandwich. Skip the foundation and everything falls apart in your hands.
Step 1: Master the Regular Throw-In First
Before you add the flip, your normal throw-in should already be legal and consistent. Stand facing the field, hold the ball with both hands, bring it behind your head, keep both feet down, and throw over your head toward a teammate. Practice accuracy before distance.
A flip throw with poor throwing mechanics is just a dramatic foul throw waiting to happen. Your release must still feel like a real soccer throw-in, not a chest pass, spike, or random launch into orbit.
Step 2: Learn the Front Handspring Motion Without the Ball
The flip throw is based on a front handspring. Start by practicing the movement without a soccer ball. With supervision, step forward, place both hands on the ground, kick your legs up, rotate over your hands, and land on your feet. Your arms should stay strong, your core tight, and your head neutral.
Do not collapse your elbows when your hands touch the ground. Think of your arms as strong support beams. If the beams fold, the building has a bad day.
Step 3: Practice the Hand Plant Position
The hand plant is one of the most important parts of the flip throw. Hold the ball firmly with both hands and rehearse placing the ball and hands on the ground in front of you. Your hands should be balanced around the ball, and your shoulders should stack over your hands as you enter the rotation.
At first, do this slowly. Walk into the motion, bend forward, place the ball on the ground with your hands around it, and pause. This teaches control before speed. If you cannot control the setup slowly, adding speed will not magically fix it. It will only make the mistake arrive faster.
Step 4: Start With a Short Run-Up
Most flip throws begin with a short run-up of two to four steps. The run-up should be controlled, not wild. You are trying to build momentum, not audition for a runaway shopping cart scene.
Approach the touchline at a slight angle or straight on, depending on your comfort and field position. Keep your eyes forward and know exactly where you want the ball to go before you start the motion. A flip throw is too demanding to decide your target halfway through the flip.
Step 5: Bring the Ball Forward and Down
As you reach your takeoff point, bring the ball forward and down toward the ground. Your arms should remain extended and firm. The ball becomes part of your base as your hands touch down. Keep your grip secure and your fingers spread.
The goal is to transfer your running momentum into the ground through your arms and shoulders, then use that energy to rotate your body over the ball. This is where coordination matters more than brute strength.
Step 6: Kick Up Into the Flip
After the hand plant, kick one leg upward and let the other follow. Your hips should rise over your shoulders. Keep your core engaged and your legs tight. A loose, floppy flip wastes power and makes the landing harder to control.
Imagine your body moving like a smooth wheel. The better your rotation, the cleaner your release. If your legs drift sideways, the throw often loses accuracy and may come out crooked.
Step 7: Snap Through and Prepare to Land
As your legs come over, begin snapping your body through the rotation. Your feet should move toward the ground outside or on the touchline. The landing matters because the throw-in rules require proper foot position when the ball is released.
Many players lose legality here. They complete the flip but release the ball before both feet are properly placed. Train yourself to land first, then release as part of one smooth motion.
Step 8: Release the Ball From Behind and Over the Head
The release should happen after the ball has traveled from behind and over the head using both hands. Your shoulders, core, hips, and arms should work together to launch the ball forward. Follow through toward your target.
For distance, aim for a powerful but controlled arc. For an attacking throw into the box, the best target is often the space between the penalty spot and the six-yard box, depending on your teammates’ runs. Do not simply throw as hard as possible. A long throw that nobody can attack is just a generous gift wrapped for the opposing goalkeeper.
Step 9: Land Balanced and Stay Out of the Play Until Another Touch
After releasing the ball, stay balanced and avoid stepping onto the field too early in a way that interferes with play. Also remember that the thrower cannot touch the ball again until another player has touched it. After the throw, quickly recover your position and be ready for a second ball, clearance, or defensive transition.
Step 10: Add Accuracy Before Power
Once you can complete the movement safely and legally, train accuracy. Set up target zones: near post, central penalty area, far post, and short option. A useful flip throw is not just long; it is repeatable.
Start with 5 to 10 controlled attempts in a session rather than launching 50 throws until your shoulders feel like cooked spaghetti. Quality beats quantity.
Best Drills for Learning a Flip Throw
Drill 1: Wall Handstand Hold
Practice kicking into a handstand against a wall to build shoulder strength, balance, and confidence upside down. Hold for a few seconds, come down safely, and repeat. This drill helps players understand body alignment before adding the ball.
Drill 2: Front Handspring Progression
Work on front handsprings with a coach or spotter. Focus on strong arms, tight core, and controlled landing. Do not add the soccer ball until the basic movement is safe and consistent.
Drill 3: Ball-to-Ground Placement
Hold the soccer ball, step forward, and place it on the ground with both hands. Pause in the loaded position, then step out. This teaches a clean hand plant and prevents slipping.
Drill 4: Half-Speed Flip Throw
Perform the flip throw at half speed without trying for distance. The goal is legal form: face the field, both hands, correct foot position, and a clean over-the-head release.
Drill 5: Target-Zone Challenge
Place cones or markers in the penalty area and aim for specific zones. Award points for accurate throws. This makes practice more game-like and helps the thrower develop touch, not just power.
Common Flip Throw Mistakes
Releasing the Ball Too Early
This is one of the biggest reasons flip throws become illegal. The player flips beautifully, everyone gasps, and then the referee gives the ball to the other team. Make sure both feet are legally positioned when the ball leaves your hands.
Using One Hand More Than the Other
A legal throw-in requires both hands. If one hand dominates too much, the ball may spin sideways or look like a one-handed throw. Keep pressure even through both hands and release with both arms together.
Poor Surface Choice
Wet grass, loose turf, and muddy fields can make flip throws risky. If the surface is slippery, choose a normal throw-in. Smart soccer is knowing when not to be fancy.
No Target Plan
A flip throw should have a purpose. Before you start the run-up, know whether you are targeting the near post, far post, penalty spot, or a teammate making a short check. Random power is not strategy.
Trying It Too Soon in Games
Do not debut your flip throw in a tight match if you have only practiced it three times after school. Use it in games only after it is safe, legal, and reliable in training.
How to Use a Flip Throw in a Real Match
The flip throw is most dangerous near the opponent’s penalty area. From there, it can act almost like a corner kick. Teams often send tall players forward, position runners near the goalkeeper, and attack second balls around the box.
A smart attacking setup includes one player making a near-post run, one player attacking the central area, one player staying far post, and one or two players waiting outside the box for clearances. The thrower should communicate before the restart. A simple call like “near,” “deep,” or “drop” can help teammates know what is coming.
Defensively, teams should be ready for a quick counterattack if the throw is cleared. Because several players may move forward for the flip throw, losing the second ball can leave space behind. Coaches should assign at least one or two players to stay back and protect against the break.
Flip Throw vs. Regular Long Throw
A regular long throw is easier, safer, and faster to execute. It is usually the better choice when your team needs possession, tempo, or a short passing option. A flip throw offers more power and surprise, but it takes longer and carries more risk.
Use a regular throw when you want to keep the ball. Use a flip throw when you are close enough to create a scoring chance and your team is organized to attack it. The best players know both options and choose based on the moment.
Coaching Tips for the Flip Throw
Coaches should treat the flip throw as a specialized skill, not a requirement for every player. Start with safety checks, movement screening, and basic throw-in technique. Then progress through tumbling mechanics, hand placement, slow repetitions, legal release work, and target practice.
It is also smart to create a team plan. Decide when the flip throw is allowed, who takes it, where teammates should run, and who stays back defensively. Without structure, a flip throw becomes entertainment. With structure, it becomes a set piece.
of Practical Experience: What Learning the Flip Throw Feels Like
Learning how to do a flip throw in soccer step by step is a lot like learning to ride a bike, except the bike is upside down, the handlebars are a soccer ball, and your teammates are pretending not to laugh while absolutely laughing. The first experience many players have is not fear of the throw itself, but confusion about the timing. You know you are supposed to run, plant the ball, flip, land, and throw. Easy, right? Then you try it and discover your arms, legs, and brain have scheduled three separate meetings.
The biggest breakthrough usually comes when a player stops thinking of the flip throw as a “trick” and starts thinking of it as a sequence. The run-up creates momentum. The hand plant controls direction. The kick-up starts rotation. The core keeps the body tight. The landing sets the legal base. The release turns movement into distance. When each piece has a job, the skill becomes less mysterious.
In practice, most players improve faster when they slow everything down. A common mistake is trying to launch a monster throw on the first day. That usually leads to crooked flips, awkward landings, or throws that travel far but land nowhere useful. The better approach is to begin with short-distance throws and focus on clean mechanics. Once the movement is smooth, power can be added naturally.
Another real experience is learning that confidence matters. If a player enters the flip halfway committed, the movement becomes heavy and uncomfortable. The body needs a clear decision. That does not mean being reckless. It means practicing enough progressions that the player trusts the motion. A good coach or spotter makes a huge difference because they can correct small details before they become habits.
Players also learn that the flip throw is physically demanding. Wrists may feel tired. Shoulders may fatigue quickly. Core strength becomes important. Even legs matter because the landing must be stable. That is why flip throw training should be limited and intentional. A few high-quality repetitions are better than endless attempts.
In games, the first successful flip throw can change the energy of a team. Defenders become nervous. Goalkeepers start organizing earlier. Teammates suddenly treat a sideline restart like a scoring opportunity. But the best flip throwers stay calm. They do not use it just because the crowd wants it. They use it when the field position, surface, score, and team shape make sense.
The most useful lesson is simple: the flip throw is not about showing off. It is about creating advantage. If the move helps your team, use it. If a simple throw to a teammate keeps possession, use that instead. Good soccer decisions beat flashy soccer decisions almost every time.
Conclusion
A flip throw in soccer is one of the most exciting restart skills in the game, but it works best when it is trained with patience, safety, and tactical purpose. To perform it well, first master the legal throw-in, learn the front handspring movement, practice controlled hand placement, build a smooth run-up, land with both feet legally positioned, and release the ball from behind and over the head with both hands.
The flip throw can be a powerful attacking tool near the opponent’s penalty area, especially when teammates know where to run and how to attack second balls. Still, it should never replace smart decision-making. Sometimes the best throw-in is not the longest one; it is the one that keeps possession, creates space, or finds the right teammate at the right time.
Note: Practice the flip throw only on a safe surface with proper supervision, especially when learning. If the field is wet, the ball is slippery, or your body does not feel ready, choose a regular throw-in instead.