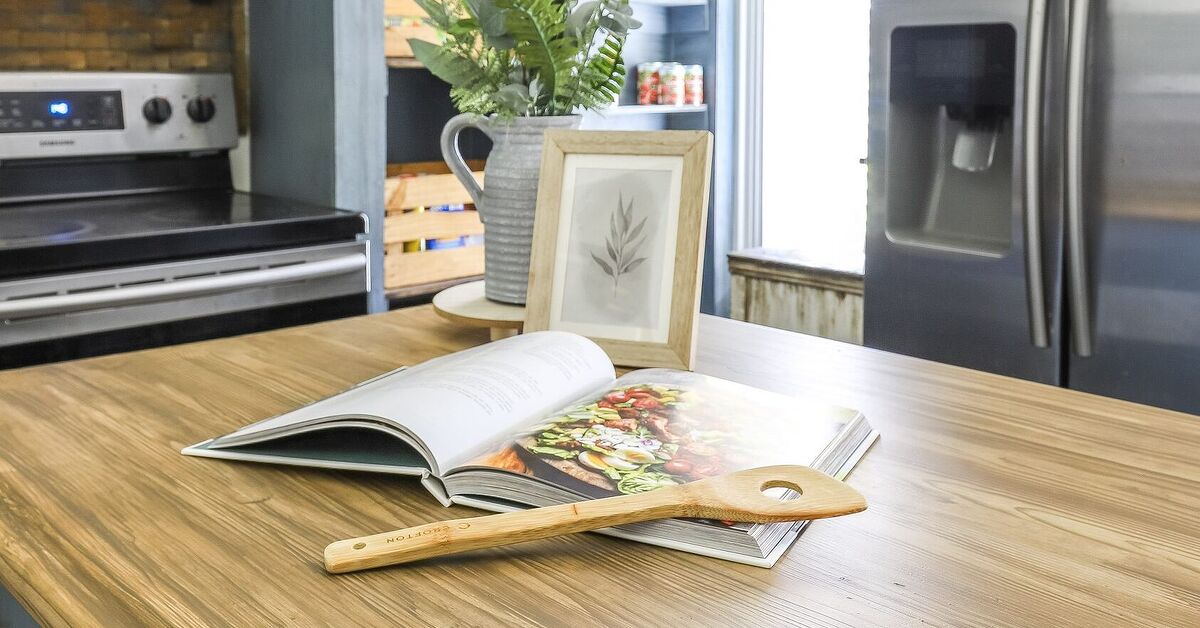
Laminate countertops are like that one reliable friend who shows up to every party wearing the same shirt: practical, affordable, and slightly tired-looking after a few years. The good news? You do not have to rip them out, hire a crew, or explain to your wallet why dinner is now cereal for the next six months. With the right prep, paint, faux wood-grain technique, and protective topcoat, you can paint laminate countertops to look like wood and give your kitchen or bathroom a warm, butcher-block-inspired makeover.
This project is not magic, although the before-and-after photos may feel suspiciously close to wizardry. Laminate is slick, nonporous, and designed to resist stains, which means it also resists paint unless you prepare it correctly. The secret is not one fancy brush or one miracle can of coating. The real secret is patience: clean thoroughly, sand gently, prime properly, build realistic wood tones in layers, seal like your coffee pot depends on it, and let the surface cure before returning it to daily chaos.
Below is a practical, step-by-step guide to painting laminate countertops with a convincing wood look, plus design tips, mistakes to avoid, and real-world experience from the kind of DIY project where one small drip can suddenly become “rustic character.”
Can You Really Paint Laminate Countertops to Look Like Wood?
Yes, you can paint laminate countertops to look like wood, but there is an important difference between “painted to look like wood” and “now magically wood.” The finished surface can mimic the color, grain, warmth, and movement of butcher block or stained wood, but it will still behave like a painted countertop. That means it needs protection from sharp knives, hot pans, standing water, harsh cleaners, and enthusiastic children with metal toy trucks.
Laminate is one of the better countertop materials for painting because it can accept primer and paint after proper cleaning and scuff sanding. However, durability depends heavily on surface preparation and the topcoat. A countertop receives more abuse than a wall, cabinet door, or decorative table. It deals with spills, appliances, crumbs, heat, moisture, cleaning products, and the occasional mystery stain nobody in the house admits to creating.
For best results, treat this as a refinishing project, not a quick craft. A faux wood countertop works especially well in budget kitchen updates, laundry rooms, RV renovations, rental-friendly upgrades with permission, powder rooms, craft spaces, and older laminate surfaces that are structurally sound but visually stuck in another decade.
Before You Start: When Painting Is a Good Ideaand When It Is Not
Painting laminate countertops is a smart option when the surface is firmly attached, mostly smooth, and free from swelling, bubbling, water damage, or major cracks. Small scratches and dullness are fine because sanding and primer can help level the visual field. Deep chips, loose edges, warped seams, or soft spots near the sink are warning signs. Paint cannot fix a countertop that is already failing underneath. It will simply put a cute hat on a structural problem.
This project also makes sense if you want an affordable wood-look finish without installing real butcher block. Real wood countertops are beautiful, but they require cutting, fitting, sealing, and ongoing maintenance. A painted wood-look laminate counter gives you warmth and visual texture at a lower cost, especially if you already own basic painting supplies.
However, if your countertop gets extremely heavy use, if you regularly place hot cookware directly on it, or if you expect the finish to behave like factory-made laminate or quartz, pause before grabbing the roller. Painted countertops can last, but they need gentler habits. Use cutting boards, trivets, soft cleaning cloths, and mild soap. Think of the finished surface as “durable with manners,” not “indestructible superhero.”
Tools and Materials You Will Need
A successful faux wood countertop begins with the right supplies. You do not need a professional spray booth or a secret handshake from the Paint Guild, but you do need products that bond to slick surfaces and hold up under daily use.
Basic Supplies
- Degreasing cleaner or mild detergent
- Clean rags or microfiber cloths
- Painter’s tape
- Plastic sheeting or drop cloths
- Fine-grit sandpaper, usually 180- to 220-grit
- Sanding block or orbital sander used gently
- Tack cloth or vacuum with brush attachment
- Bonding primer made for glossy or nonporous surfaces
- Interior acrylic paint or countertop coating in a wood-toned base color
- Darker and lighter accent paints for grain variation
- Clear water-based polyurethane, countertop topcoat, or resin system
- Foam rollers and high-quality synthetic brushes
- Wood-graining rocker tool, graining comb, or stiff-bristle brush
- Disposable gloves and eye protection
Choosing Wood Colors
For a believable wood-look countertop, choose at least three tones: a base color, a mid-tone glaze color, and a darker grain color. For a light butcher-block look, start with honey beige, wheat, or pale tan. For walnut, use medium brown, espresso, and warm black-brown accents. For oak, combine golden tan, caramel, and soft brown. For driftwood, choose greige, taupe, and muted gray-brown.
The most common mistake is choosing colors that are too orange or too flat. Real wood has variation. Even a simple pine board has streaks, knots, dark lines, and subtle shifts. If your countertop looks like one solid brown rectangle, it may read more “painted school desk” than “custom wood finish.”
Step 1: Clean the Countertop Like You Mean It
Countertops collect grease, soap film, cooking oil, fingerprints, coffee splashes, and invisible kitchen grime. Paint hates all of that. Before sanding or priming, scrub the laminate with a degreasing cleaner. Pay extra attention to areas near the stove, sink, coffee maker, and backsplash seam. Rinse with clean water and dry completely.
Do not rush this step. A countertop can look clean while still holding oily residue. If primer goes over grease, it may peel later, and peeling paint on a countertop has the emotional energy of a bad haircut: visible, annoying, and hard to ignore.
Step 2: Repair Small Damage
Inspect the laminate for chips, open seams, or dents. Fill small imperfections with a suitable repair filler, then sand smooth once dry. If an edge is lifting, glue and clamp it before painting. If laminate is swollen from water damage, painting is usually not worth the effort because the damaged area may continue to expand.
For a wood-look finish, minor unevenness can sometimes blend into the faux grain. Still, do not rely on paint to hide everything. Paint is decorative, not a tiny construction worker.
Step 3: Sand the Laminate Lightly
Laminate has a shiny surface, and primer needs something to grip. Use fine-grit sandpaper to dull the sheen. You are not trying to remove the laminate pattern or carve into the countertop. You are simply scuffing the surface so it feels less slick.
Sand evenly across the top, edges, and backsplash if you plan to paint it. Be careful around corners and seams because laminate is thin. Oversanding can expose the substrate underneath, which creates more problems than it solves. After sanding, vacuum the dust and wipe with a tack cloth or slightly damp microfiber cloth. Let everything dry before priming.
Step 4: Tape and Protect the Surrounding Area
Apply painter’s tape where the countertop meets walls, cabinets, sinks, appliances, and backsplashes. Remove or protect faucet fixtures if possible. Cover cabinets and floors with drop cloths or plastic. Faux wood painting involves layers, glaze, and brush movement, so expect your hands to become temporarily more artistic than planned.
If you have an undermount or drop-in sink, tape carefully around the rim. Water exposure is one of the biggest threats to painted countertops, so clean edges and a strong seal matter around sinks.
Step 5: Apply Bonding Primer
A bonding primer is essential for laminate countertops. Choose a primer designed for glossy, nonporous, or difficult surfaces. Apply a thin, even coat with a foam roller, using a brush for edges and corners. Let it dry according to the manufacturer’s directions. Some projects benefit from a second coat of primer, especially if the existing laminate pattern is dark, busy, or high contrast.
Primer should look smooth and even, but it does not have to look beautiful. Its job is adhesion, not glamour. If you see ridges, dust specks, or raised areas after it dries, sand very lightly with fine-grit paper and wipe clean before painting.
Step 6: Paint the Base Wood Tone
Now apply your base color. For a butcher-block effect, this might be a warm tan or honey shade. For walnut, choose a medium brown. For white oak, try a pale beige-gray. Roll the paint in long, even strokes from back to front, keeping a wet edge. Avoid heavy coats, which can dry unevenly and leave texture.
Let the first coat dry completely, then apply a second coat if needed. This base layer becomes the “wood underneath” your faux grain. If the base is streaky, the final effect may look messy rather than naturally varied. A smooth base gives you more control when creating grain.
Step 7: Create Faux Wood Grain
This is the fun part, also known as the moment when your countertop starts to look either like wood or like a nervous zebra. Do not panic. Wood grain is built in layers, and the first pass rarely looks perfect.
Mix a darker paint with clear glaze if you want more working time. Glaze keeps the paint wet longer, allowing you to drag, comb, soften, and adjust the grain before it dries. Work in small sections, about two feet at a time. Brush or roll a thin layer of glaze mixture over the base coat, then pull a wood-graining rocker through it. Rock the tool slowly as you drag it to create cathedral grain patterns. Use a graining comb or dry brush for long straight lines.
For a butcher-block look, divide the countertop visually into long plank sections using painter’s tape or a straightedge. Alternate the direction and intensity of grain from plank to plank. One “board” can be lighter, the next slightly darker, and another more streaked. This variation creates the illusion of separate wood pieces rather than one giant painted slab.
Simple Faux Wood Grain Formula
Start with a honey beige base. Add a caramel glaze layer and pull it with a graining tool. After it dries, dry-brush a few thin lines in soft brown. Add tiny darker knots sparingly with a small brush, then soften them with a rag. Finish with a clear satin topcoat. The result can resemble light butcher block without feeling too orange or fake.
Step 8: Add Depth With Highlights and Shadows
Real wood is not perfectly even. To make painted laminate countertops look like wood, add subtle highlights and lowlights after the first grain layer dries. Use a nearly dry brush with a lighter tan to skim a few areas. Then use a thin darker brown line along some plank edges or grain streaks. Keep it subtle. If every inch has dramatic grain, the countertop may look busy, especially in a small kitchen.
Step back often. A pattern that looks too faint from six inches away may look perfect from across the room. Countertops are viewed from standing height, not through a magnifying glass. Unless your dinner guests regularly inspect your counters like museum conservators, overall realism matters more than microscopic perfection.
Step 9: Let the Paint Dry Fully
Before sealing, let the decorative paint layer dry completely. Dry time depends on the product, humidity, temperature, and thickness of application. If the paint feels cool, tacky, or soft, wait longer. Sealing too soon can trap moisture and cause cloudiness, bubbling, or a finish that stays gummy.
Good airflow helps, but avoid blowing dust directly onto wet paint. A fan across the room is better than a fan aimed at the countertop like it is trying to dry a celebrity manicure.
Step 10: Seal the Countertop
The topcoat is what protects your faux wood finish from normal use. Use a clear countertop topcoat, water-based polyurethane, or resin system appropriate for interior countertops. Satin or semi-gloss finishes usually look more like real sealed wood than ultra-gloss finishes, although gloss can work if you want a polished, modern look.
Apply thin, even coats with a high-quality roller or brush. Follow the product instructions for recoat windows. Many countertop coating systems require multiple coats and specific waiting times. Do not improvise cure times. The label is not making suggestions for its health; it is telling you how the coating becomes hard enough to survive real life.
Lightly sand between coats only if the product instructions allow it. Remove dust completely before adding the next coat. Around sinks and edges, make sure the sealer covers every painted area. Water sneaking under a painted finish is the villain in many countertop makeover stories.
Step 11: Cure Before Heavy Use
Curing is different from drying. A surface may feel dry to the touch but still be soft underneath. Depending on the coating, light use may be possible after a day or two, while full cure can take a week or longer. Some countertop systems recommend up to two weeks before regular cleaning or heavy use.
During the curing period, avoid placing appliances, heavy objects, dish racks, or decorative trays on the surface. Do not scrub it. Do not set hot pans on it. Do not test the finish with your fingernail because curiosity has ruined many DIY projects. Let the coating harden fully for the best chance of long-term durability.
How to Maintain Painted Wood-Look Laminate Countertops
Once cured, clean painted countertops with mild dish soap, water, and a soft cloth. Avoid abrasive powders, harsh chemicals, bleach-heavy cleaners, and scouring pads. Use cutting boards for chopping and trivets for hot cookware. Wipe spills promptly, especially around seams and sink edges.
Small scratches can often be touched up with matching paint and a fresh dab of topcoat. Keep leftover paint labeled and sealed for future repairs. If the surface begins to dull after years of use, you may be able to lightly scuff and reapply a compatible clear coat.
Common Mistakes to Avoid
Skipping the Degreasing Step
Grease is the invisible enemy of adhesion. Clean more than you think necessary, especially near cooking areas.
Using Regular Wall Paint Alone
Wall paint is not designed for countertop abuse. Use the right primer, durable paint, and protective topcoat.
Making the Grain Too Perfect
Real wood has irregular lines, knots, and color shifts. Perfectly repeated grain can look printed or fake.
Applying Thick Coats
Thick paint and sealer coats take longer to cure and are more likely to dent, bubble, or peel. Thin coats are stronger and smoother.
Using the Countertop Too Soon
This is the classic DIY heartbreak. A countertop may look finished, but using it before the topcoat cures can leave marks that become permanent souvenirs.
Design Ideas for a Wood-Look Painted Countertop
For a farmhouse kitchen, pair a light butcher-block finish with white cabinets and matte black hardware. For a modern look, try pale white oak tones with flat-panel cabinets and simple lighting. For a cozy traditional kitchen, a walnut-inspired countertop can add richness without the cost of real hardwood. In a laundry room, a faux wood counter over machines can make the space feel custom instead of purely practical.
You can also use the wood-grain direction to change the visual feel of the room. Long grain running parallel to the countertop length makes the surface feel wider and calmer. Plank sections add a butcher-block illusion. Diagonal or herringbone patterns are possible, but they require more planning and can look busy on small counters.
Real-World Experiences: What This Project Feels Like in Practice
The first thing most DIYers learn when painting laminate countertops to look like wood is that preparation takes longer than painting. Cleaning, taping, sanding, wiping, waiting, priming, and waiting again can feel like the countertop is training you in patience. But that slow beginning usually determines whether the finish lasts. The people who are happiest with the final result tend to be the ones who treat prep as part of the project, not as an annoying obstacle between them and the fun wood-grain tool.
Another common experience is surprise at how strange the countertop looks halfway through. After primer, the surface may look flat and chalky. After the base coat, it may look too plain. After the first grain pass, it may look too streaky. This is normal. Faux wood painting often goes through an awkward teenage phase. The trick is to keep layering gently. A dry brush can soften harsh lines. A damp rag can blur an overly dark streak. A second glaze layer can add warmth. Once the clear topcoat goes on, the colors usually deepen and the surface starts to look more intentional.
Testing on a scrap board or hidden area is one of the best lessons from experience. A wood-graining rocker is simple, but it has a rhythm. Drag too fast and the grain looks stretched. Rock too dramatically and you get giant cartoon arches. Press too hard and you scrape away too much glaze. After ten minutes of practice, your hand relaxes and the pattern becomes more natural. That little practice session can save the actual countertop from becoming your learning curve.
Many DIYers also discover that lighting changes everything. A color that looks like soft oak in the garage can look orange under warm kitchen bulbs. A dark walnut glaze can look elegant in daylight but heavy at night. Before committing, paint sample swatches and view them in morning, afternoon, and evening light. Place the samples near your cabinets, flooring, and backsplash. Wood tones interact strongly with surrounding colors, so the “perfect brown” in the store may become “pumpkin spice emergency” at home.
Edges are another real-world challenge. The flat countertop surface is easy compared with rounded laminate edges, backsplash curves, and sink cutouts. Use a smaller brush on edges and keep the grain direction believable. On a rounded front edge, long horizontal streaks usually look better than trying to force dramatic knots. Around the sink, prioritize sealing over decoration. A beautiful grain pattern is nice, but a watertight topcoat is what keeps the makeover alive.
The final lesson is that painted countertops change habits. After the project, most homeowners become loyal users of cutting boards, trivets, spoon rests, and soft cloths. This is not a bad thing. Even real wood, laminate, and stone last longer when treated well. A painted wood-look laminate countertop is best for people who enjoy a budget transformation and are willing to maintain it with common sense. It may not be the right choice for a commercial kitchen, but for a home refresh, it can deliver a warm, custom look for a fraction of replacement cost.
Conclusion
Painting laminate countertops to look like wood is one of those DIY projects that rewards patience more than perfection. The process is simple in concept: clean, sand, prime, paint, create grain, seal, and cure. The artistry comes from building natural-looking color variation and resisting the urge to rush the protective finish. Done well, a faux wood countertop can warm up a kitchen, disguise dated laminate, and create the look of butcher block without the cost or installation work of real wood.
The most important takeaway is this: durability begins before the first coat of paint. A clean, dull, well-primed laminate surface gives paint something to hold. A layered grain technique gives the finish depth. A strong clear topcoat gives the countertop a fighting chance against daily life. Add careful maintenance, and your old laminate can go from “please ignore me” to “yes, I did that myself.”
Note: This article synthesizes practical guidance from reputable U.S. home-improvement, paint, coating, and laminate-care sources. Source links are intentionally omitted for clean web publishing, as requested.